Step 1 Server settings
Start FA-Server and follow the steps below to set up the tags. In this example, we will use a virtual device instead of connecting to PLC. If you have a PLC at hand, you can set up the tags for PLC.
1.Adding a unit
Right-click "Driver" in the tree on the left side of the screen to display the menu and select "Add Unit".
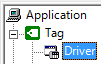
A selection dialog will appear, so select "Memory", "Virtual Communication", and "Virtual Device", and then click "OK".

2.Add Folder
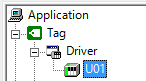
Right-click "U01" to display the menu and select "Add Folder".
3.Add Tag
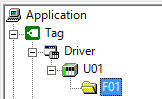
Right-click "F01" to display the menu and select "Add Tag". The tag "T01" will be added.
4.Tag property settings
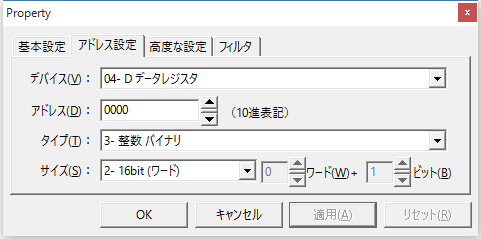
Right-click "T01" from the list to display the menu, and select "Properties".
Select "04 - D Data Register" from the "Address Settings" tab and click "OK." In the following example, D0000 (word register) is set as the numeric tag.
5.Now save the configuration file and bring the application online.
![]()