overview
This is a setting example for connecting to the HIDIC-2αH series via RS-232C.
Model used
item |
Model etc. |
PLC |
HIDIC-2αH |
Communication Unit |
CPU Attached Port |
Configuration environment
item |
environment |
OS |
Windows7 Professional 64Bit |
Configuration details
item |
setting |
Setting items |
Configuration Example |
PC settings |
Unit Settings |
COMPort |
Communication port number to connect to |
Transmission speed |
19200bps |
||
Byte Size |
8 bits |
||
Stop bits |
Odd |
||
parity |
1bits |
* Most of the settings on the computer will be adjusted to match the settings on the unit.
|
When using the CPU attached port, the communication specifications are fixed (transmission speed: 19200bps, byte size: 8 bits, stop bit: 1 bit, parity: odd). Therefore, there are no settings. |
|
The connection is made directly to the port attached to the CPU, and the parameters at the time of connection are fixed, so there are no special items to be set on the unit side.
|
PC settings
Use the Server application to connect to the PLC for which you have set up communications.
1.Right-click "Application" - "Driver" in the tree and select Add Driver.
2.Select the following units from the displayed driver list and add them:

3.Open the properties of the added unit (U01) and click Communication Settings.
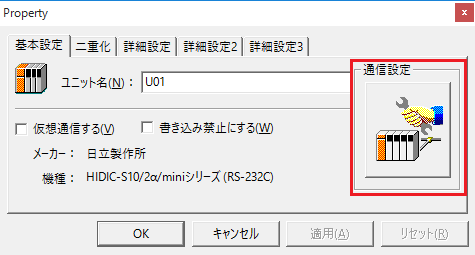
4.Set "Communication Settings" as follows:

setting |
Setting contents |
COMPort |
Communication port number to connect to |
Transmission speed |
19200 |
Byte Size |
8bits |
Stop bits |
1bits |
parity |
Odd |
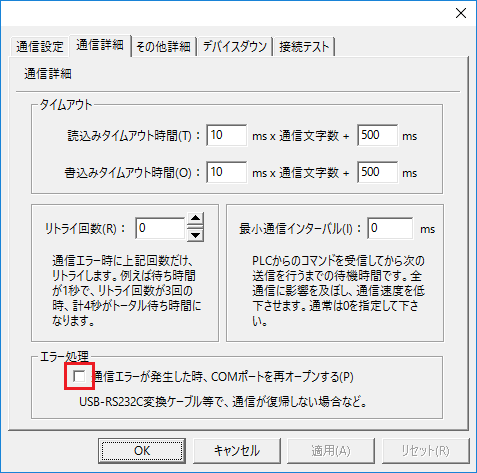
5.USB-RS-If you are using a 232C conversion cable, the COM port may be locked in the event of a communication error, so check the reopen setting.
6.Perform a connection test to check the connection
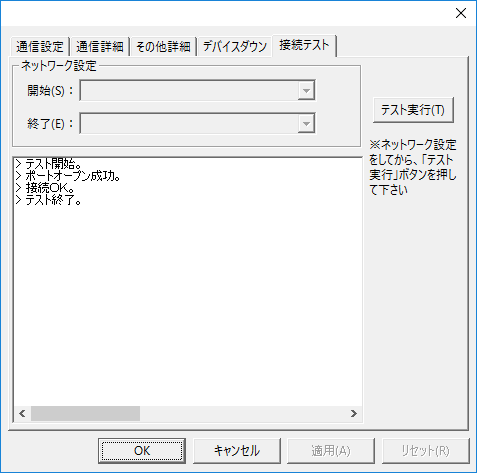
If a message such as "Connection OK" is displayed, the connection is confirmed to be OK.