overview
This is a configuration example for connecting to WDR via Ethernet.
Model used
item |
Model etc. |
WDR |
WDR-L-Z2 |
WDT |
WDT-6LR-Z2 |
Configuration environment
item |
environment |
OS |
Windows7 Professional 64Bit |
tool |
WDS-WIN01 Ver 1.03 |
Configuration details
item |
setting |
Setting items |
Configuration Example |
WDR |
WEB Settings via browser and tools
|
IP address |
192.168.0.1 |
Subnet mask |
255.255.255.0 |
||
Port number |
10001 |
||
ExtendedPanID |
0000 0000 0000 0000 |
||
Frequency Channel |
any |
||
WDT |
Set with tools |
ExtendedPanID |
0000 0000 0000 0000 |
Frequency Channel |
any |
||
How to start a network |
Automatic startup (recommended) |
Device side (WDR IP address and port number) settings
Set up "WDR-L-Z2". Settings are done via a web browser.
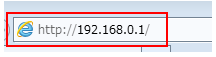
1.Enter the IP address of this machine into a web browser to display the login screen.
|
The factory default IP address is "192.168.0.1". When connecting for the first time, use this IP address. If you have changed the IP address, use the new IP address to connect. |
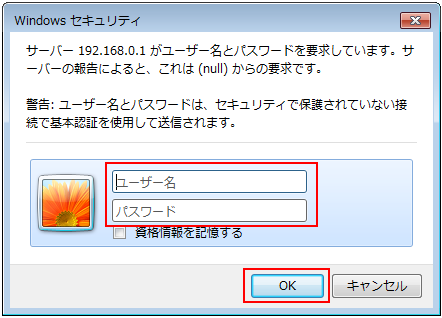
2.Specify the user name and password, and click "OK."
|
The factory default username/password is blank. If they are not set, just click "OK". |
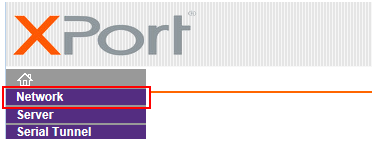
3.When the settings screen opens, select "Network" from the left menu.
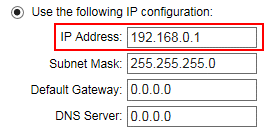
4.Specify any IP address
*Here, we will use the default IP address "192.168.0.1".
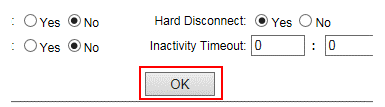
5.Click "OK" at the bottom of the screen to confirm the settings.

6.Select "Connection" from the left menu
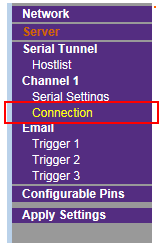
7.Specify any port number
*Here, we will use the default port number "10001".

8.Click "OK" at the bottom of the screen to confirm the settings.
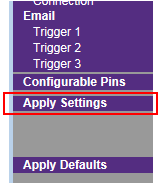
9.Click "Apply Settings" on the left menu to apply the settings.
Device side (WDR and WDT) settings
Set up the connection between WDR and WDT. The settings are done on "WDS-WIN01".
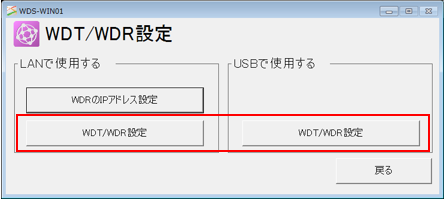
1.Start "WDS WIN01" and select "WDT/WDR Settings"

2.Click "WDT/WDR Settings"
*Connection will be via LAN or USB. Please press the button for the one you wish to use.
3.Configure the following settings and click "Apply all settings changes"
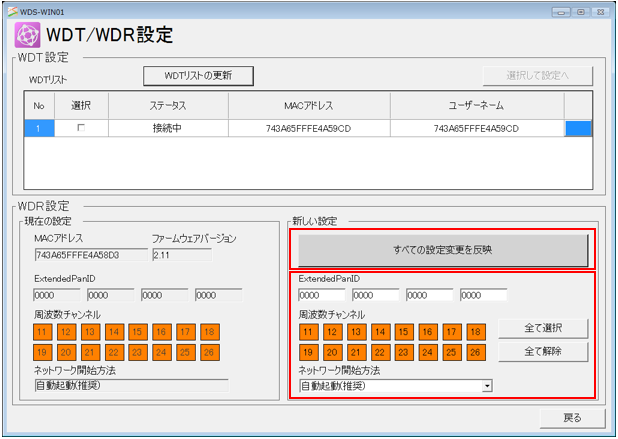
setting |
Setting contents |
ExtendedPanID |
0000 0000 0000 0000 |
Frequency Channel |
Select all (choose according to your situation) |
How to start a network |
Automatic startup (recommended) |
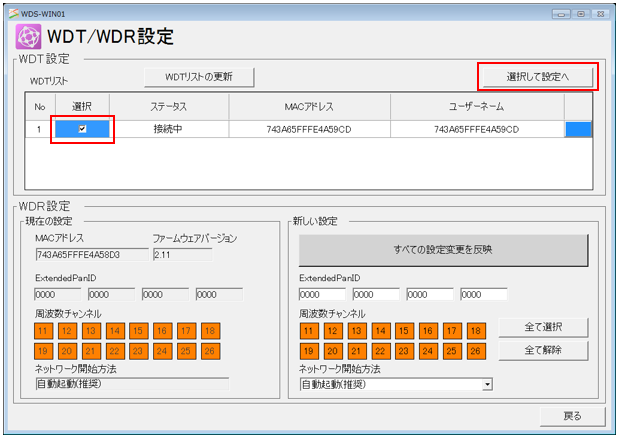
4.Select the target WDT and click "Select and set up"
5.Configure the following settings and click "Apply all settings changes"
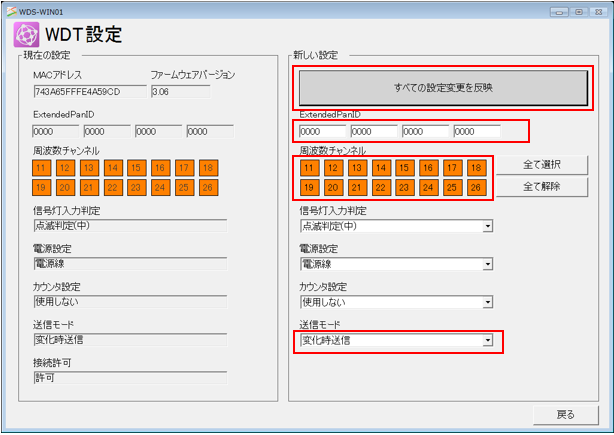
setting |
Setting contents |
ExtendedPanID |
0000 0000 0000 0000 |
Frequency Channel |
Select all (choose according to your situation) |
How to start a network |
Send on change (select according to the situation) |
6.After completing the settings, click "Back"
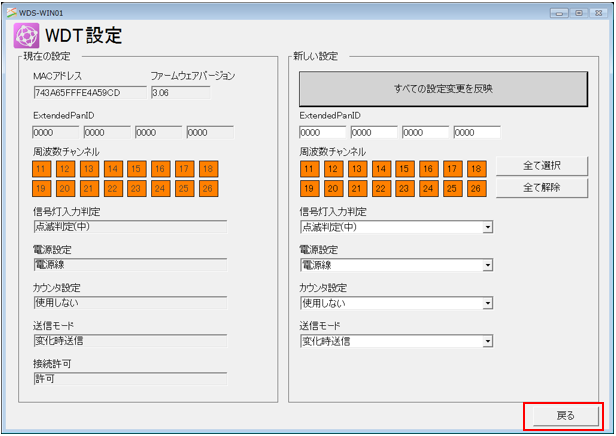
7.Check that the status is "Connecting"

PC settings
Use the Server application to connect to the device for which you have set up communications.
1.Right-click "Application" - "Driver" in the tree and select Add Driver.
2.Select the following units from the displayed driver list and add them:

3.Open the properties of the added unit (U01) and click Communication Settings.
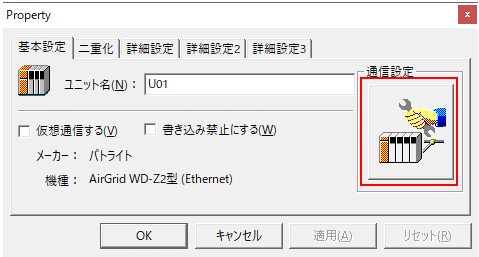
4.Set "Communication Settings" as follows:
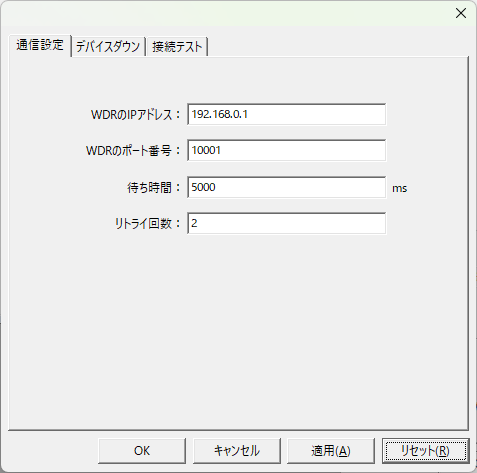
setting |
Setting contents |
IP address of WDR |
192.168.0.1 |
WDR port number |
10001 |
Waiting time |
5000 |
Retry count |
2 |
5.Perform a connection test to check the connection
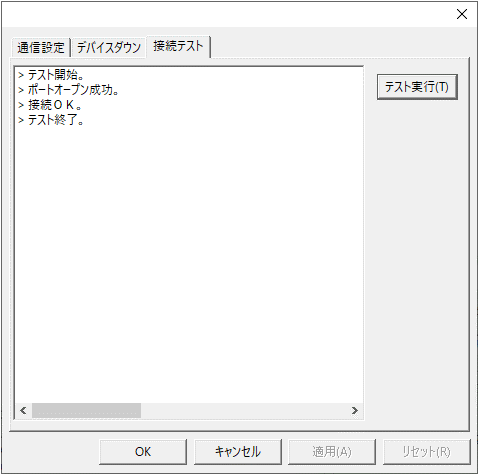
If a message such as "Connection OK" is displayed, the connection is confirmed to be OK.