Creating tags one by one
This section explains how to create tags one by one.
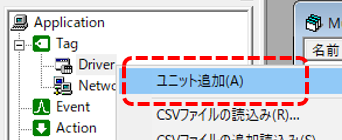
1.Adding a unit
To add a unit, right-click "Driver" in the tree selection view and select "Add Unit" from the menu that appears.
A list of drivers will then be displayed.
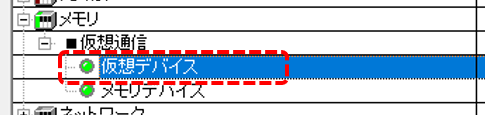
2.Add the target unit from the driver list
We use the "Virtual Device" unit as an example here.
From the list, open "Memory" > "Virtual Communications", select "Virtual Device", and click "OK".
Then, the "U01" unit was added under Tag/Driver.
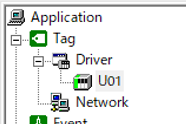
You can use the unit name "U01" as is for development, but you can also change it to another name (for example, "PLC01").
In the above example, a virtual device was selected, but normally you would select the actual PLC to connect to.
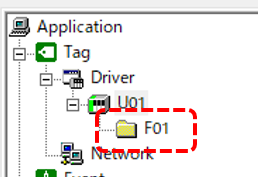
3.Add a folder
To add a folder, right-click on the unit "U01" to display the menu and select "Add Folder".
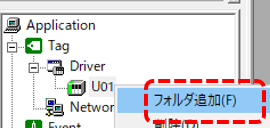
Then, a folder called "F01" was added.
4.Create a tag
Create a tag under "F01" created above.
To add a
tag, right-click the folder to display the menu and select "Add Tag".

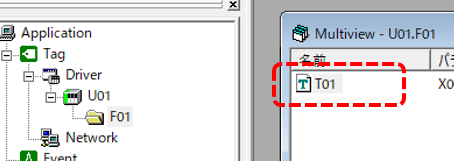
Then, a tag "T01" was added. You can change the tag name to something else (for example, "TAG01").
When you select a folder, the tags in the folder are displayed in list format on the multiview in the center of the screen.
5.Setting tag properties
After adding a tag, configure the tag's data type, device address, etc.
These settings are made through the tag's Property dialog.
Double-click the "T01" tag in the multiview to display the Property dialog (or right-click "T01" and select Properties from the menu).
When the Properties dialog appears, select the Address Settings tab.
■ When setting as a numeric tag
To assign data register "D", change the device to "Data Register". Also, for the address number, specify the device address number to be assigned. In the following example, "0" is used.
This setting will assign the "D0" device to this tag.
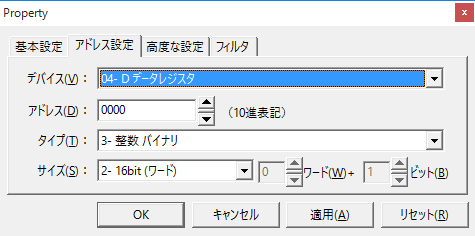
By default, data registers are numeric type tags. If you want to treat the value as a number, you do not need to change the type.
■ When setting as a bit tag
To assign an internal relay "M", change the device to "Internal Relay". Also, specify the device address number to be assigned as the address number. In the following example, "0" is used.
This setting will assign the "M0" device to this tag.
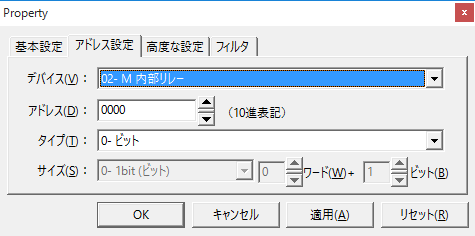
Furthermore, the internal relay will be a bit type tag by default.
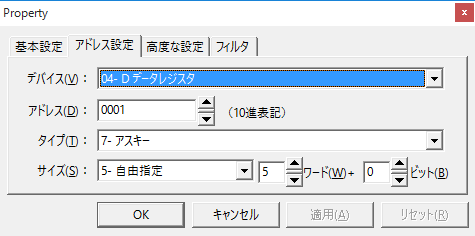
■ When setting as a string tag
For example, if you want to assign an ASCII string (10 characters) to the five words from 1 to 5 in the data register "D", change the device to "Data Register" and specify the first address of the device range to be assigned as the address number. Then, set the size to "Free Specification" and "5 words".
With this setting, a five word device, D1 to D5, will be assigned to this tag, allowing you to write ASCII strings.
|
This package allows you to flexibly set the interpretation of devices assigned to tags. For example, you can treat only the first 12 bits of a word device as a numeric tag, and import the lower 4 bits separately as bit tags. For details on how devices are assigned, see "Device Interpretation". |