Line control (shape)
Line control is a control contained within a shape that allows you to draw lines on a form.
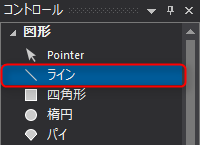
1.From the Control View, select the shape Line control.
2.On the form, place the mouse cursor where you want the line to start and click once, then click where you want the line to end.
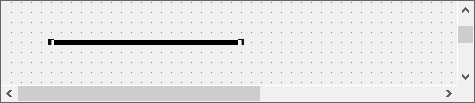
As an example, let's draw a line from left to right.
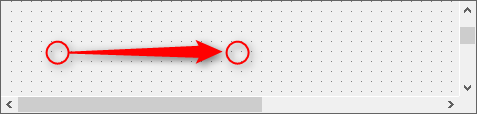
Line drawn.
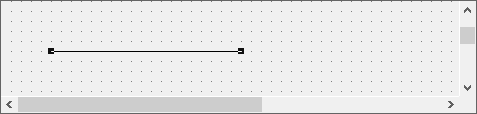
3.Next, edit the line you just drew.
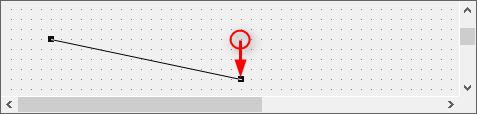
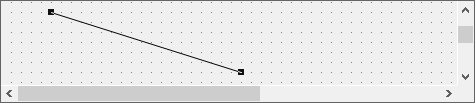
You can freely move the end of the line by dragging the black square that you want to move at either end of the line (these squares are called "handles").
For example, if you pull down the handle on the right side, the line will be distorted diagonally.
You can move the
line to any location by dragging it with the mouse.
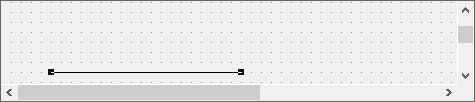
As an example, try grabbing the center of the line and dragging it down.
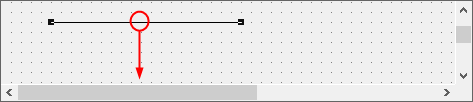
Line has moved.
|
The controls pasted on a form and the form itself are collectively called "objects." From here on, the actual entities of controls pasted on a form will be called objects. |

|
When an object is selected, you can use the arrow keys on the keyboard to move the object in the desired direction. This is useful when you want to fine-tune the placement of an object. |
4.You can also edit the lines by directly manipulating the properties in the Property View. You can make the same changes as those you can make by editing with the mouse as described above.
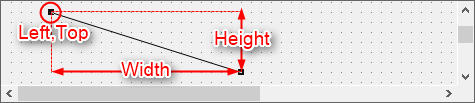
As an example, let's try directly entering coordinate values for the Height, Left (left end), Top (top point), and Width (width) properties of a line object.
The following is the state of the line before the change.
The property value before the change.
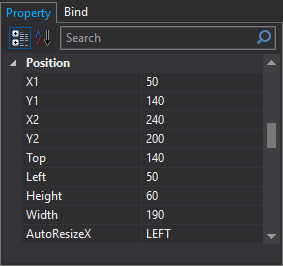
Now, try changing Height to 20.
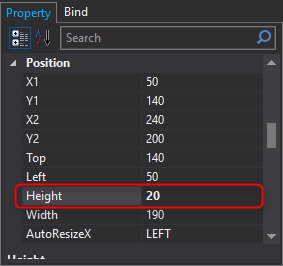
The vertical width of the line has been narrowed.
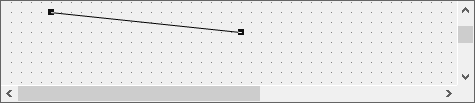
In this way, you can edit the shape of an object by directly specifying coordinate values from the properties. To understand the coordinate values of Line control, imagine that only the diagonal lines of an invisible rectangle are solid. The coordinates of the left edge of the rectangle (Left and Top), and the height (Height) and width (Width) starting from those are the coordinate values specified here.
5.Let's try changing the line color (edit properties).
Let's try changing the line color by editing the properties. First, try changing the line color. Select the line object and click on the LineColor input box in the property view. A selection button "..." will then be displayed, so click on it with the mouse.
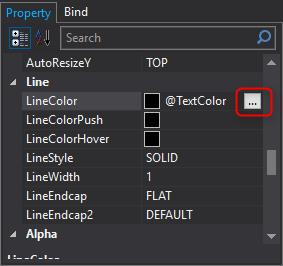
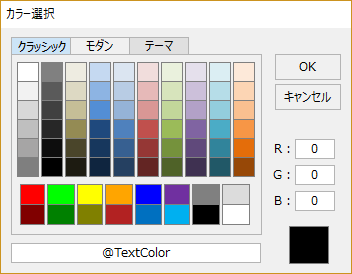
Then, a color palette like the one below will be displayed. Select the desired color from the palette and the line color will change.
|
In addition to editing properties from the Property View, you can also edit properties from the Property dialog that appears when you double-click the control. |
|
In addition to selecting a color from the color palette, you can also specify a color by directly entering RGB values in the following format. This format is called the "RGB format." In the RGB format, you specify red, green, and blue in hexadecimal numbers from 00 to FF after a single half-width "#" character at the beginning.
Example: Red: #FF0000, Green: #00FF00, Blue: #0000FF.
|
6.Try changing the line style (edit properties).
Next, let's change the line style. A style is the appearance of a line, such as a straight line or a dashed line. Select the line object and change the LineStyle of the Line in the Properties view. The default is SOLID, so select DASH here.
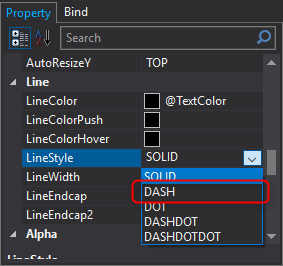
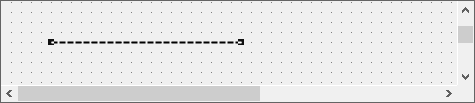
The line style has changed to a dashed line. For ease of understanding, the LineWidth has been set to 2 in the following example.
7.Try changing the line style (edit properties).
Next, try changing the line thickness. Select the line object you want to change, then change the LineWidth of the Line in the Properties view. The default is "1", so try entering "5" here.
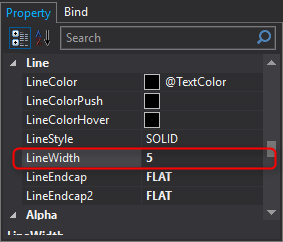
The line thickness has changed
|
For controls such as rectangles and polygons, the concept of border color, thickness, etc. is the same as the Line control introduced above. |