Rectangle control (shape)
Rectangle control is a control contained in Shapes that allows you to draw rectangles on a form.
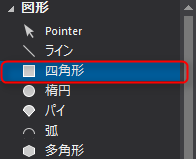
1.From the control view, select the shape Rectangle control.
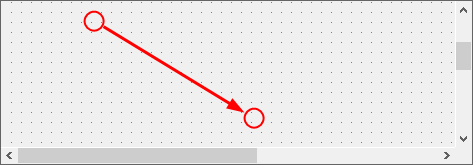
On the form, place the mouse over the position you want to use as the start point of the rectangle, and drag diagonally to the position you want to use as the end point.
As an example, let's try drawing from the top left to the bottom right.
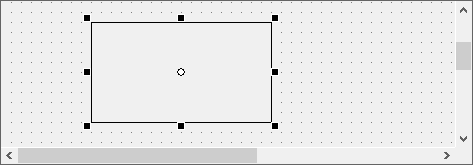
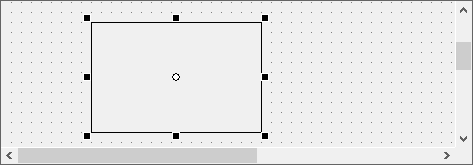
I was able to draw a rectangle.
2.Edit the rectangle. Try editing the rectangle with the mouse.
When you select a rectangle object with the mouse, the object becomes selected and handles are displayed around the rectangle. To change the shape of the rectangle, drag any of the handles with the mouse.
As an example, select the handle in the bottom right corner and drag it diagonally down to the right.
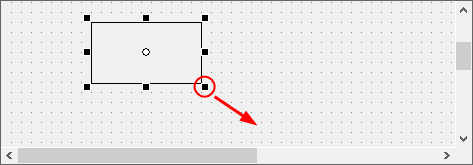
The rectangle expands diagonally downward to the right.
|
Hold down the "Shift" key on your keyboard and drag with the mouse to zoom in or out while maintaining the aspect ratio. |

3.Change the fill.
Next, let's change the color of the rectangle.
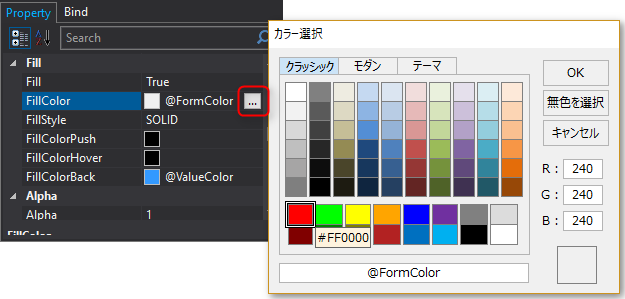
Select the rectangle object and change the “FillColor” property in the Properties view.
Here, let's make it red.
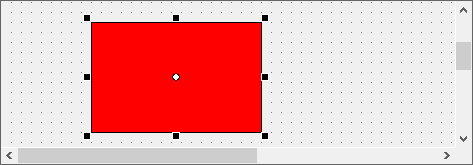
The rectangle is now filled with red.
|
Controls with borders, such as Rectangles and Ellipse control, have two color attributes: the fill color inside the border (FillColor) and the border color (BorderColor). This allows you to use black for the border and blue for the fill, for example. Furthermore, if you want to remove the border, you can hide the border by setting the Border property to "False" (there is no need to specify the same color for the fill and border). |
4.Try changing the fill style of the rectangle.
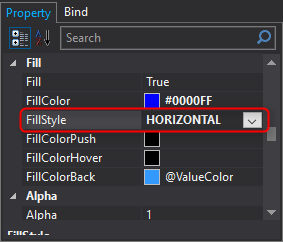
The fill style is specified by the FillStyle property. The default is "SOLID" (solid fill). There are also several other patterns available, such as "HORIZONTAL" and "VERTICAL". Here, we will try "HORIZONTAL".
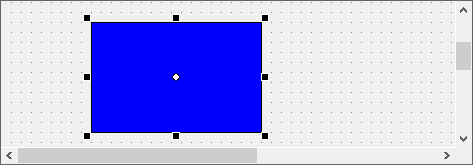
The FillStyle property of the rectangle below is SOLID (solid color).
From the
FillStyle property, select “HORIZONTAL”.
The fill now has horizontal stripes.
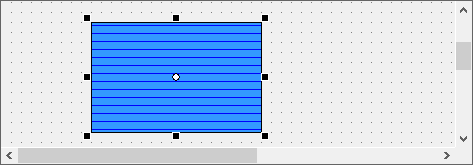
This way you can change the fill pattern.
|
Depending on the type of control, the style may be expressed by two colors, "FillColor" and "FillColorBack".
|