Drawing method by combining objects
Most shapes can be represented by combining shapes such as rectangles and ellipses.
Here, you will actually try drawing a picture using multiple objects, and experience the feeling of "combining objects."
1.way of thinking
Here, we will use the following drum shape as an example.
Example)
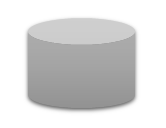
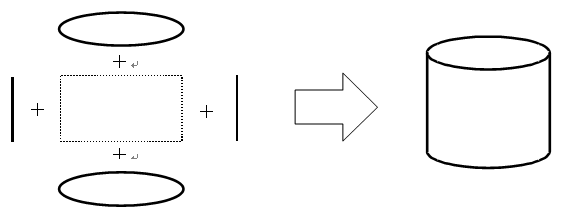
When drawing a shape like this, imagine what kind of objects you can use to express it. In the case of a drum like this, it can be expressed with two ellipses of the same size, one rectangle, and two lines of the same length. The image is the following combination.
2.Drawing procedure
Below is an example of the steps to draw a drum shape.
First, draw an ellipse.
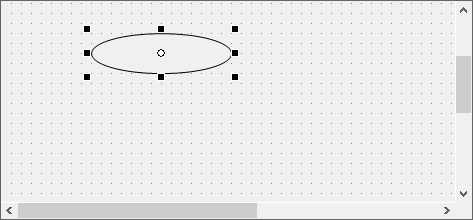
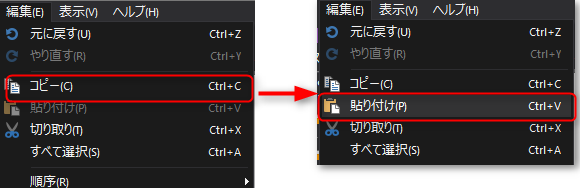
Next, create another ellipse of the same size. The copy and paste function is convenient for performing this type of operation. Copy operations are performed from the Edit menu. Select the object to be copied and click "Copy" from the Edit menu. Next, click "Paste" from the Edit menu.
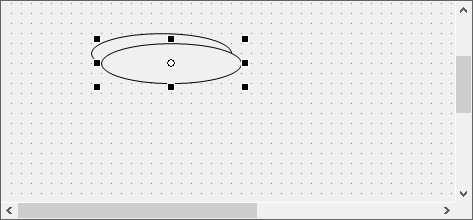
There are now two ellipse objects.
|
You can also copy and paste using the following shortcuts:
Copy: Ctrl + C Paste: Ctrl + V
|

Move the newly created ellipse down.
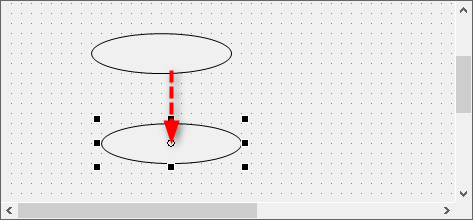
Next, align the display positions of the ellipses. You can change the coordinate values in the property view, but here we will use the alignment function. First, select the objects you want to align at the same time.
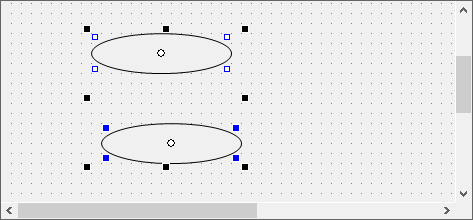
Select an area surrounding the two ellipses.
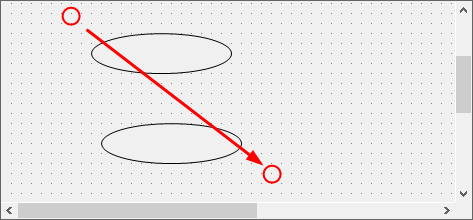
Two ellipses are selected at the same time.
|
You can also select multiple objects at the same time by holding down the Ctrl key and clicking each object with the mouse.
|
|
When selecting an area with the mouse, any object that is even slightly selected will be selected. Also, when selecting an area with the right-click drag of the mouse, only objects that are completely surrounded by the area selected with the mouse will be selected. |
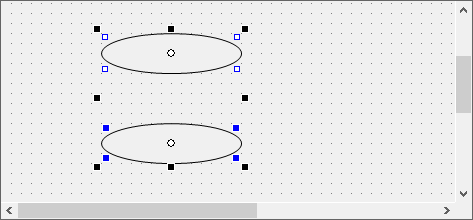
With both ellipses selected at the same time, select Edit (Edit) / Arrange/Align (Align or Distribute) / Right Align (Align Right) from the menu.
The objects are now right-justified and aligned.
|
Alignment has many variations, such as top, bottom, left, right, centered, and evenly spaced, making it a very useful function that is used frequently. It is a very powerful function for quickly making detailed screen adjustments, so please try to master it. |
|
To make full use of the alignment function, you need to be aware of which of the multiple selected objects the alignment will be based on. Among the multiple selected objects, the one with a blue mark is the reference object, and alignment will be performed based on that. Note that the last object selected during multiple selection will be the reference object. |
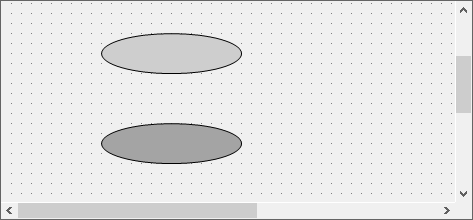
Change the color of the ellipse so that the shape appears three-dimensional.
Here, we've used grey colours as an example.
Next, draw a rectangle.
Draw the top and bottom sides of the rectangle at the same height as the centers of each ellipse.
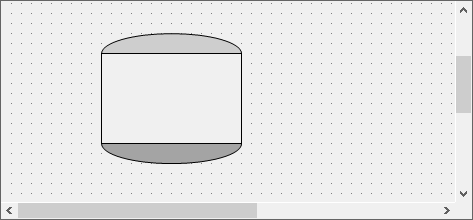
Next, change the properties of the rectangle.
Set the fill color to the same color as the lower ellipse and make Border invisible (False).
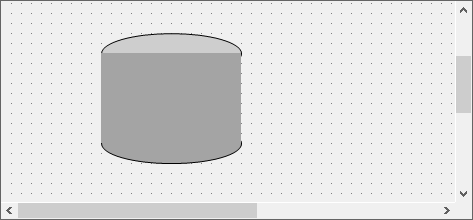
Next, change the display order of the objects. Currently the rectangle is layered on top of the ellipse, so you need to edit the top ellipse so that it is on top of the rectangle. You can change the display order of objects from the Edit menu: select the top ellipse and choose Edit (Edit) > Order (Order) > Bring to Front (Front) from the menu.
The upper ellipse has been moved to the front.
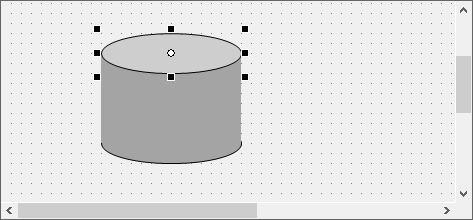
Finally, draw the lines. You need two lines of the same length, so it will be quicker to draw one accurate line and then copy and create the other one.
The drum is finished.
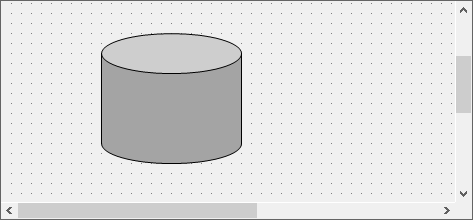
|
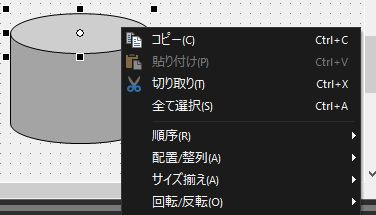
The display order of objects will be the order in which the controls are pasted. In other words, the last object drawn will be displayed at the top. Operations such as changing the display order can also be performed from the pop-up menu. The pop-up will be displayed when you right-click on the target object. In addition to changing the display order, this menu also includes copy and paste, alignment, and object rotation/flipping.
(Right-click to display the pop-up menu)
|