Creating an analog display (numeric display)
This section provides an example of how to create a display that displays analog values as numbers using the standard control Label control.
■ Creation procedure
The following steps assume that the following tags are registered in Panel Server.
•U01.F01.T01 - Numeric tag
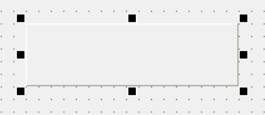
1.Create a frame with 3D frame control.
As an example, we will use a 3D frame for the control that will frame the display.
Let's change the
BorderStyle property to "3D_RAISE1" to give it a raised appearance.
2.Affix a label to display the numerical values.
A label to display numerical values is attached inside the display frame.
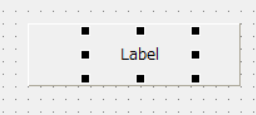
After pasting the label, edit the following properties:
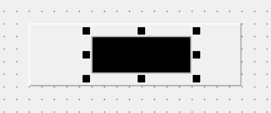
•Delete Text “Label”
•TextColor to #00FF00 (green)
•Increase the point size of TextFont (to about 16 points)
•Change Border to True
•Change Fill to True and FillColor to #000000 (black).
Then the label format changed to the following:
3.Bind a tag that displays a numeric value.
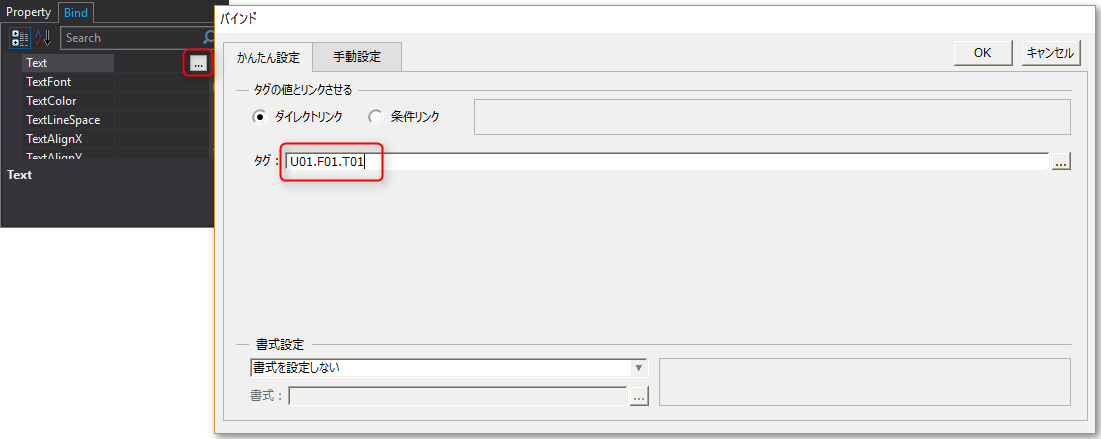
Assign a tag to the binding of the label's Text property. In this example, we use the U01.F01.T01 tag.
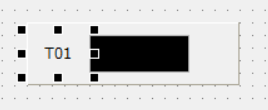
4.Attach a label to indicate the name.
Next, paste a label to display the name of this number. For example, let's display "T01" as a left-justified label in the left margin of the number display.
Next, paste a label that shows the unit of the analog value displayed on this display. For example, let's display "kg/h" as a left-justified label in the right margin of the numeric display.
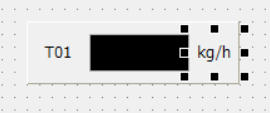
This completes the construction.
|
Components created by combining multiple standard controls can be easily managed by "grouping". For details about grouping, see "Grouping Objects". |

5.Operation check
When you bring Panel Server and Panel Browser online, you will see the following:
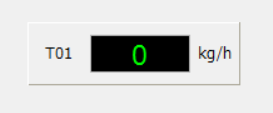
Edit the value of the T01 tag from Panel Server and make sure it displays correctly.
|
By editing the properties of each control, you can change the numeric values to be right-justified or to a color other than green. |
Creating an analog indicator (square meter display)
This section introduces an example of how to create a display that displays analog values as a bar graph using the standard control Rectangle meter control.
■ Creation procedure
The following steps assume that the following tags are registered in Panel Server.
•U01.F01.T02 - Numeric tag
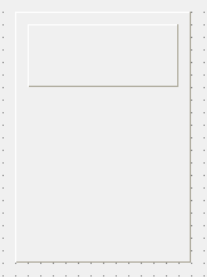
1.Create a frame with 3D frame control.
Try changing the properties of 3D frame control to create a frame like the one below.
2.Create the numeric display section.
Using the steps for displaying numerical values introduced earlier as a reference, place a label for displaying numerical values in the upper frame.
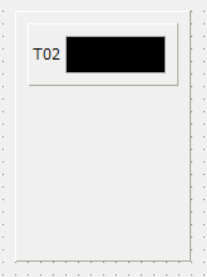
Below is an example of setting properties.
•Delete the text “Label” for displaying numerical values.
•Similarly, set TextColor to #00FF00 (green)
•Similarly, increase the point size of TextFont (to about 16 points)
•Similarly, change Border to True.
•Similarly, change Fill to True and FillColor to #000000 (black).
•Similarly, bind "U01.F01.T02" to Text
•Display "T02" on the name label
3.Create the meter part.
Let's try using Rectangle meter control for the meter display. From the Control view, select Rectangle meter control and paste it into the form.
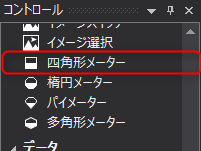
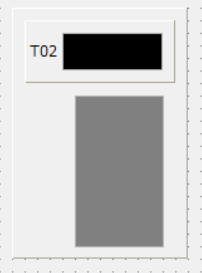
In this example, we will place it vertically, near the bottom of the numerical display.
Bind the U01.F01.T02 tag to the Value property of the pasted rectangle meter.
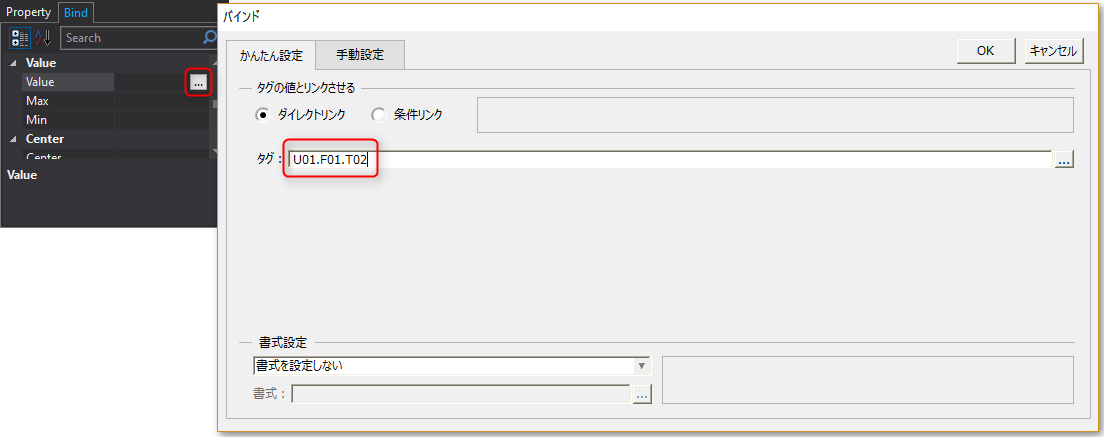
|
By changing the properties of the square meter, you can also change the display as follows: •Change the fill direction of the meter (default is bottom to top) •Change the minimum and maximum values of the meter (default is 0 to 100. Adjust the settings according to the range of the analog tag you want to display) •Change the meter fill color (default is green) |
4.Adds a scale display to the meter.
Although it still functions as a meter, we would like to have a scale to read the meter. So, we will use Vertical scale control to create a scale display for the meter.
From the Controls view, select Vertical scale control and paste it onto the form.
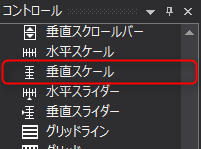
Position it so that it matches the height of the square meter exactly.
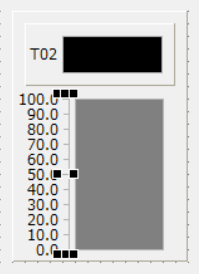
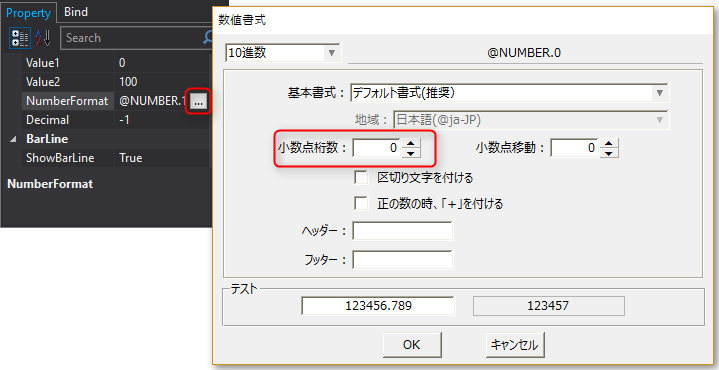
Change how numbers are displayed. Click "..." in the NumberFormat property to display the Number Format dialog. Here, set the number of decimal places to "0".
By default, the scale memory display is 0 to 100, so we will use it as is here.
This completes the construction.
|
By changing the vertical scale properties, you can change the display as follows: •Change the scale range (default is 0 to 100) •Change the number of divisions displayed on the scale (how many divisions to use) •Change the format of numbers displayed on the scale (decimal point display, etc.) |
5.Operation check
When you bring Panel Server and Panel Browser online, you will see the following:
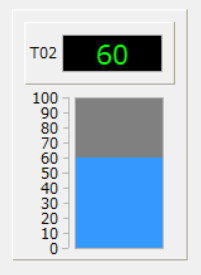
Edit the value of the T02 tag from Panel Server and make sure it displays correctly.