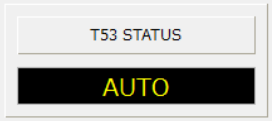
Creating a digital display (color change)
Here we will introduce an example of creating a lamp display that changes color depending on the ON/OFF state, using the standard control Rectangle control.
■ Creation procedure
The following steps assume that the following tags are registered in Panel Server.
•U01.F01.T51 ... bit tag
1.Create a display frame with 3D frame control.
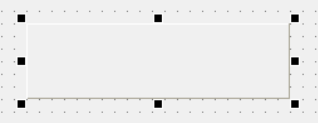
2.Paste the rectangle you want to change the color of.
After pasting the rectangle, set the FillColor property to "#7F7F7F" (dark gray).
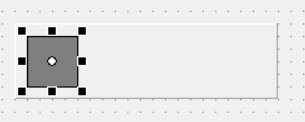
3.Bind the tag to the FillColor property of the rectangle.
Bind the following to the FillColor property of the rectangle.
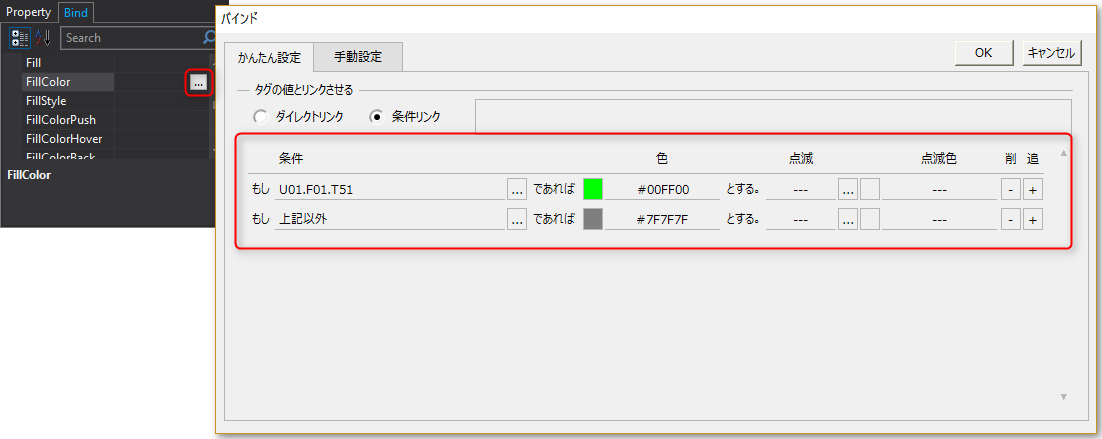
Note that the settings made from this dialog are the same as entering the following content directly into the FillColor property.
B.In("",T,U01.F01.T51,"#00FF00","#7F7F7F") |
*This specification means that if the U01.F01.T51 tag is TRUE, the color will be green, and if not, the color will be gray.
|
For information on the input binding format, see "Input Binding Format". |

4.Create a label to display the signal name.
Create a label to display the signal name. In this example, we display "T51 STATUS". Also, paste another 3D frame as a frame for the signal name.
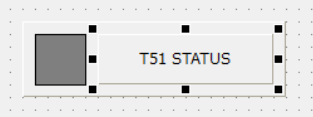
This completes the construction.
5.Operation check
When you bring
Panel Server and Panel Browser online, you will see the following:
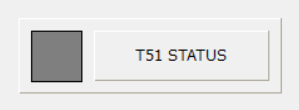
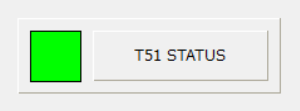
Change the value of the T51 tag from Panel Server to TRUE and verify that the light turns green.
Creating digital displays (color changing and blinking displays)
Here we will introduce an example of how to create a control that blinks the display color according to changes in ON/OFF using the standard control Rectangle control.
■ Creation procedure
The following steps assume that the following tags are registered in Panel Server.
•U01.F01.T52 ... bit tag
1.In the following procedure, we will copy and modify the digital display part created above (the part bound to T51). Copy the whole part and paste it onto the form.
Furthermore, this display will show the status of the U01.F01.T52 tag.
2.Change the label display.
Change the label of the copied indicator to "T52 STATUS".
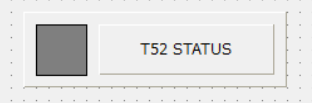
|
If you want to edit the objects that make up a group object, hold down the Ctrl key and double-click the target group object. |
3.Change the FillColor binding of the rectangle.
Bind the following to the FillColor property of the rectangle.
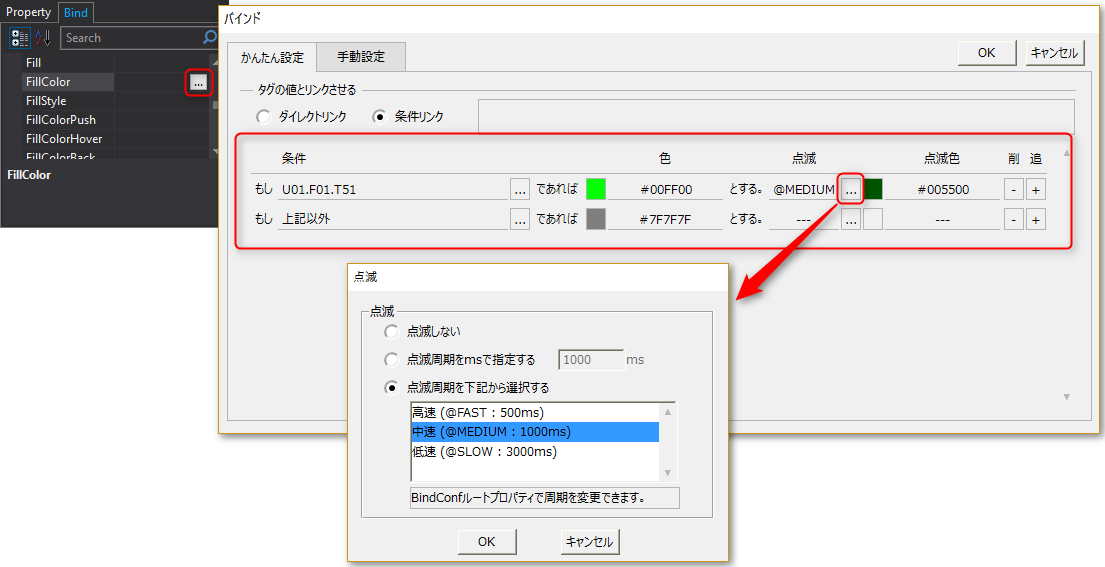
Note that the settings made from this dialog box have the same effect as directly entering the following values into the FillColor property.
B.In("",T,U01.F01.T52,B.BF("@MEDIUM","#00FF00","#005500"),"#7F7F7F") |
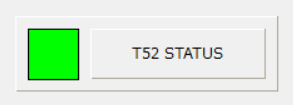
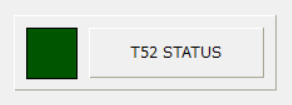
*This specification means that when T52 is TRUE, the display will flash green, and otherwise the display will be dark gray.
This completes the construction.
4.Operation check
When you bring
Panel Server and Panel Browser online, you will see the following:
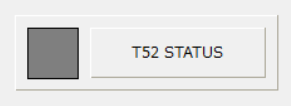
If you change the value of the T52 tag from Panel Server to TRUE, please confirm that the lamp display will flash green.
Creating a digital display (switching text display)
This section introduces an example of how to create a display that switches characters according to changes in ON/OFF using the standard control Label control.
■ Creation procedure
The following steps assume that the following tags are registered in Panel Server.
•U01.F01.T53 ... bit tag
1.Create a display frame using 3D frame control and Label control.
Label control displays "T53 STATUS".
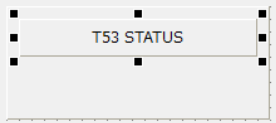
2.Create a label to display the status.
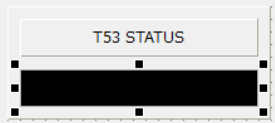
Add a status label and change the properties as follows:
•Delete Text “Label”
•TextColor to #FFFF00 (yellow)
•Increase the point size of TextFont (to about 14 points)
•Change Border to True
•Change Fill to True and FillColor to #000000 (black).
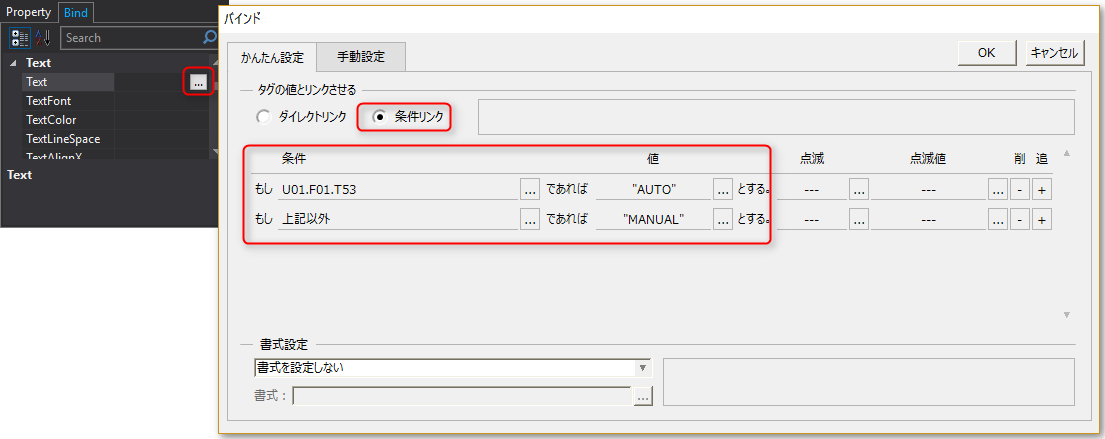
3.Bind to the status label.
Bind the tag to the Text property of the status label.
|
If you specify a string for the bind, you must enclose the value in double quotes. |
Additionally, the settings made from this dialog will be the same as directly entering the following values into the Text property.
B.In("",T,U01.F01.T53,"AUTO","MANUAL") |
*This setting means that when the U01.F01.T53 tag is TRUE, "AUTO" will be displayed, and otherwise (i.e. when it is FALSE), "MANUAL" will be displayed.
This completes the creation.
4.Operation check
When you bring Panel Server and Panel Browser online, you will see the following:
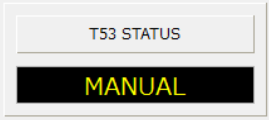
If you change the value of the T53 tag from Panel Server to TRUE, please confirm that the lamp display changes to "AUTO".