Introduction to creating screens using parts libraries
This section provides a simple explanation of the steps to create a screen using the parts library.
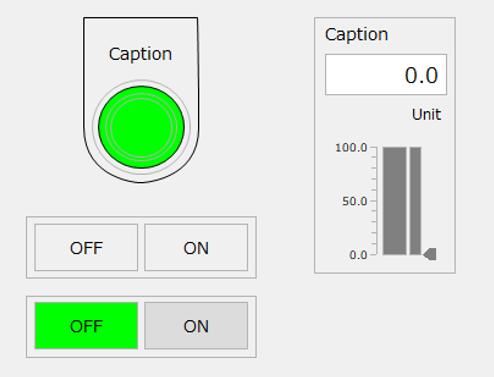
We will introduce the steps to create a simple screen like the one below using labels, edit boxes, rectangles, and Button control.
(Screen image)
|
For details on how to use Panel Editor, see "Editing Operations with Panel Editor". For details on how to use the parts library, see "Using the Parts Library". |

|
Detailed specifications of the part library are described in "Library Reference". |
■ Creation procedure
The following steps assume that the following tags are registered in Panel Server.
•U01.F01.D0000 - Numeric tag
•U01.F01.M0001 ... bit tag
•U01.F01.M0002 ... bit tag
1.Attach the lamp switch parts to the foam
With the form you want to edit selected in Panel Editor, switch the tab at the top of the main area to "Library."

The main area will then change to the Library tab.
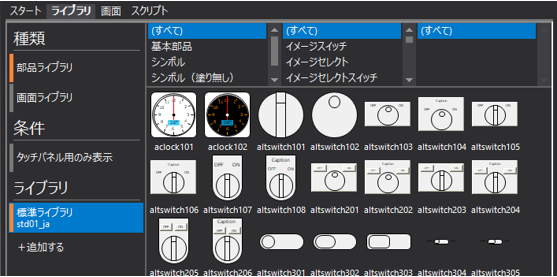
The parts library display can be narrowed down using the filter function at the top of the screen.
Here, select "Basic Parts" and "Lamp Switch".
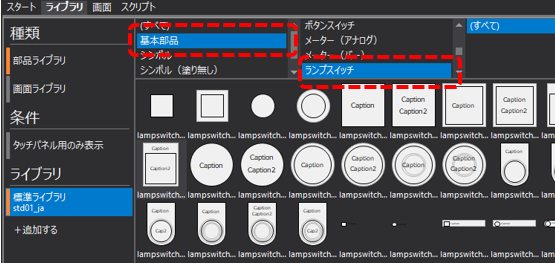
Click on the desired part from the thumbnails to select it, and drag it to the "Screen" tab at the top of the main area (a checkmark appears when a part is selected).
As an example, we will use the part "lampswitch120".Please keep the mouse button pressed when dragging it to the Screen tab..
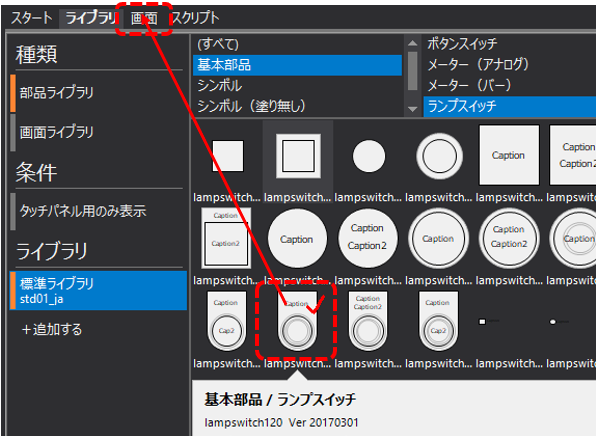
The main area will then switch to displaying the form.On the switched form, release the mouse button where you want to paste the part, and the part will be pasted in the specified location..
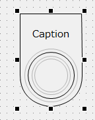
The part has been pasted onto the target form.
|
In addition to the drag-and-drop method described above, you can also paste a part library by right-clicking on the thumbnail in the library tab, selecting "Copy," and then pasting it onto the target form. |
2.Set the lamp switch part
When you double-click the lamp switch part attached to the form, the following dialog box will be displayed.
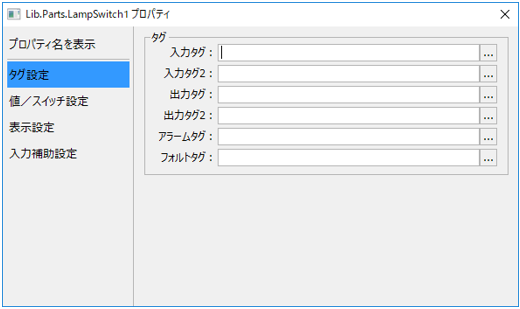
In the "Input tag" field of the dialog, enter the tag path "U01.F01.M0001".
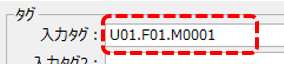
Furthermore, if you set the tag path only to the input tag as shown above, the lamp switch part will function only as a lamp (without switch functionality).
3.Paste a button switch part from the parts library
Next, paste the button switch part onto the form in the same way as the lamp switch part. Use the library filter function to narrow down the search to "Basic Parts" and "Button Switches", select the following parts and paste them onto the form. This time we will use "btnswitch202" as an example.
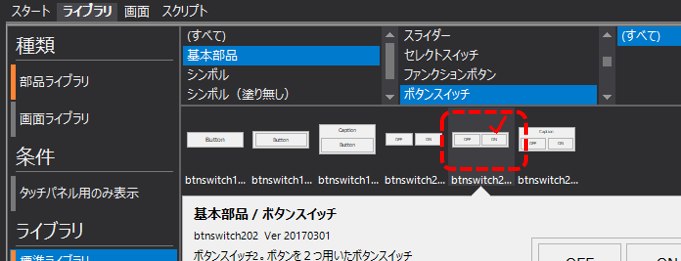
The parts are attached to the form.
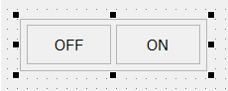
4.Configure the button switch part
When you double-click the button switch part pasted on the form, the following dialog box will be displayed.
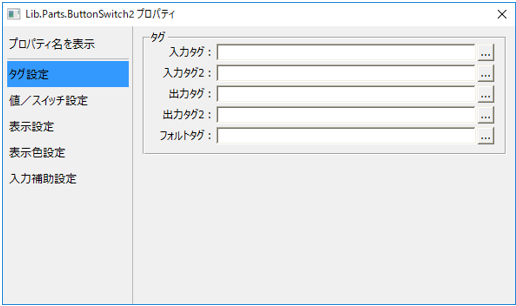
In the "Output tag" field of the dialog, enter the tag path "U01.F01.M0001".
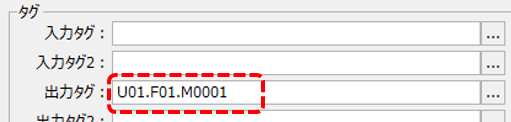
Furthermore, if you set the output tag only as shown above, the button switch will function as a switch only (without a lamp display).
5.Attach another button switch and set it as a lamp switch
Paste another button switch using the same procedure as above (you can also copy the part you pasted earlier).
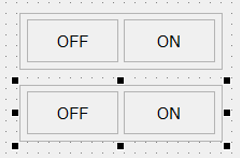
This time, enter the same tag path "U01.F01.M0002" into the "Input Tag" and "Output Tag" fields of the dialog.
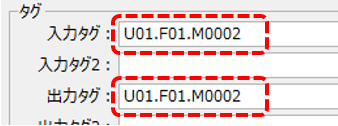
By setting tags to the input and output tags in this way, the button switch will function as a light switch.
6.Paste a slider component from the component library
Next, paste a slider part onto the form. Use the library filter function to narrow down the search to "Basic Parts" and "Slider", then select the parts below and paste them onto the form. This time we will use "slider301" as an example.
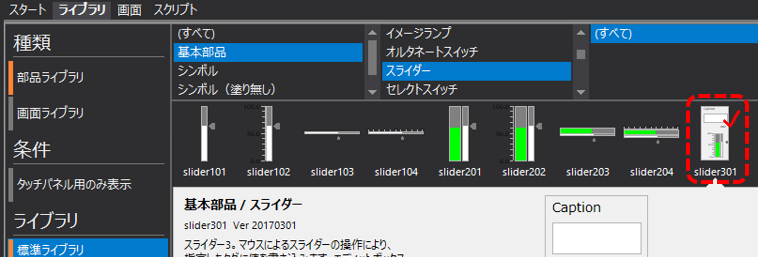
The parts are attached to the form.
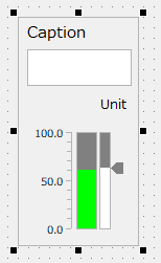
7.Set the slider part
When you double-click the slider component attached to the form, the following dialog box will be displayed.
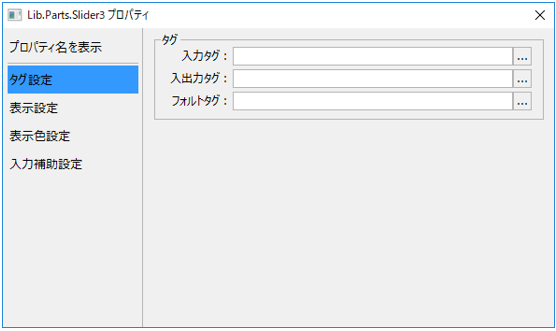
Enter "U01.F01.D0001" in both the "Input tag" and "Input/Output tag" fields of the dialog.
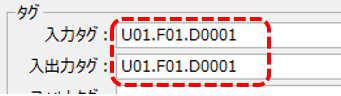
This completes the setup.
8.Operation check
Click Panel Server Online (yellow arrow) to bring it online.
Next, click the Panel Editor browser run icon (green arrow) to bring Panel Browser online.
Once Panel Browser is launched, display the form you created above.
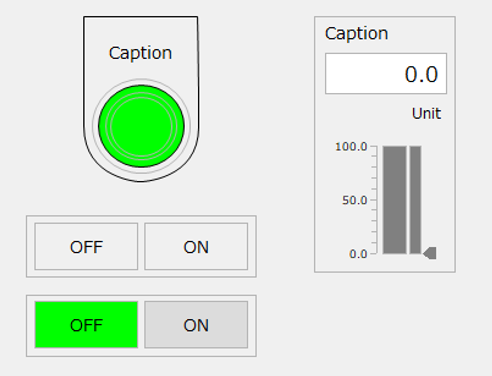
Click the ON button of the button switch to which M0001 is assigned.
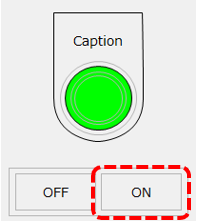
Similarly, the display of the lamp switch component, which is assigned M0001, changed to the ON state (red).
Furthermore, since only an output tag is assigned to this button switch, the button display color does not change.
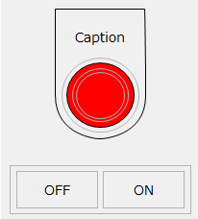
If you check the current value of the target tag "U01.F01.M0001" on the Panel Server side, you can confirm that it has changed to "TRUE".
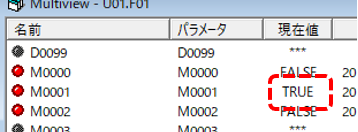
Please confirm that the lamp display on the screen and the tag value (TRUE/FALSE) change each time you click the ON button or the OFF button.
Next, click the ON button of the button switch to which M0002 is assigned.
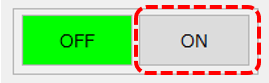
Then, the button's display color changed to ON.
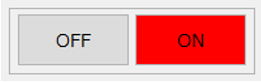
In this way, the button switch also functions as a lamp.
If you check the current value of the target tag "U01.F01.M0002" on the Panel Server side, you can confirm that it has changed to "TRUE".
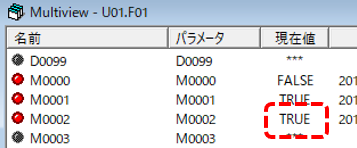
Please confirm that the button display state and tag value (TRUE/FALSE) change each time you click the ON button or OFF button.
Next, check the operation of the slider assigned to D0001.
Currently, the value of U01.F01.D0001 is "0".
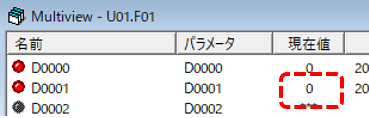
The slider will display as shown below, with the value "0" displayed.
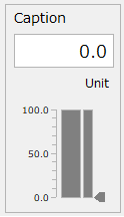
Try moving the slider with the mouse.
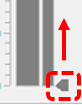
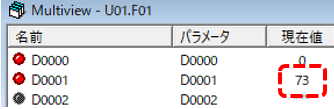
The value changed when the slider was operated.
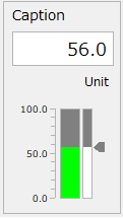
The same value is written to the D0001 tag.
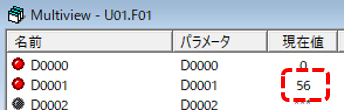
Try entering any value into the edit box displayed on the slider component.
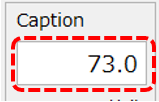
The slider meter level then changed accordingly.
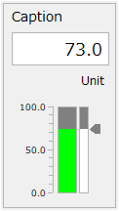
You can see that the same value is written in the D0001 tag.
In this way, by using the parts library, you can easily build general-purpose functions such as lamp displays, button switches, and numeric display and writing.
|
Each part in the parts library is constructed by combining standard controls. By attaching standard controls and customizing the parts, you can achieve the same functionality as the parts used above. |