About the test client
A test OPC client (OPCTestClient.exe) is provided as standard for checking the connection to the OPC server.
When connecting for the first time, we recommend that you use a test OPC client to verify the connection before connecting from each OPC client.
Download the sample
You can download a sample server configuration file from the link below.
How to use the test client
1.Launch "OPC Client (OPCTestClient.exe)".
OPCTestClient.exe is stored in the installation folder of our package software. Open the installation folder using Explorer or similar and run the target file.
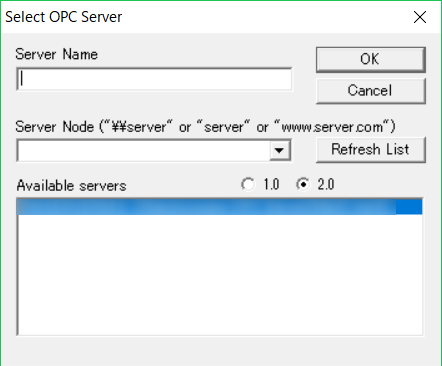
2.Select "OPC" or "Connect" from the menu, select an available OPC server from "Available servers", and click the OK button.
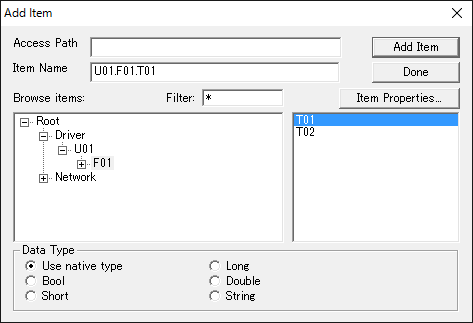
3.Select "OPC" or "AddItem" from the menu to add the tag to the client.
4.Verifies that the connection and the current value of each tag are being passed correctly to the client.
When a connection request from a client is detected, the following count is incremented.
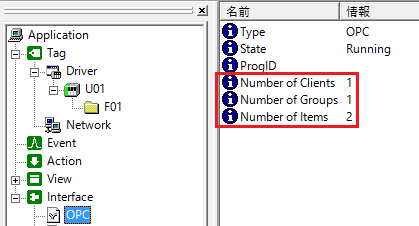
When a connection request is made from a client to an item, the lamp of the target item turns red (active request) or yellow (deactive request), and only the red item starts periodic communication with the PLC.

The test OPC client displays the current values acquired through communication in real time.
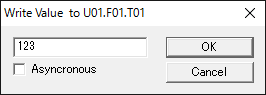
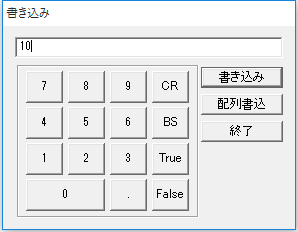
5.Check whether you can write correctly.
From the test OPC client screen, select the item you want to write to with the mouse, and select "OPC" "Write Value to Item" from the menu. The following dialog box will appear, so write in an appropriate value.
|
You can also write tag values directly from the Server application. To do so, right-click the tag (such as "T01") to display the menu, and then select "Tag Operations" and "Write" from the menu to display the write dialog.
(Tag writing dialog)
|