overview
This is a connection example with Modicon's TSX P57 1634. This is a setting example for an Ethernet connection using Modbus/TCP.
Model used
item |
Model etc. |
PLC |
TSX P57 1634 |
Communication Unit |
ETY PORT |
Configuration environment
item |
environment |
OS |
WindowsXPProfessional 32Bit |
tool |
Unity Pro XL Ver2.2 |
Communication Cable |
TSXPCX3030 |
Configuration details
item |
setting |
Setting items |
Configuration Example |
PLC side settings |
Set with tools |
IP address |
192.168.0.100 |
Subnet mask |
255.255.255.0 |
||
Port number |
502 (fixed) |
||
PC settings |
Unit Settings |
IP address |
192.168.0.1 |
Port number |
Automatic |
* Most of the settings on the computer will be adjusted to match the settings on the unit.
PLC side settings
Set up the "TSX P57 1634". The settings are made using Unity Pro XL, etc. Also, here we will set up the PLC using the dedicated cable "TSXPCX3030".
1.Connect the dedicated cable to the terminal (TER) port and set the cable dialogue to "TER Direct".
2.Start Unity Pro XL and select "PLC" - "Standard Mode".
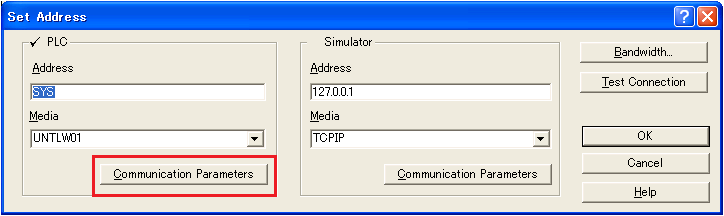
3.Select "PLC" - "Set Address"
4.Select "Communication Parameters" from the settings screen.
5.Select "Driver Settings" from the dialog that appears.

6.From the displayed settings screen, select "UNITELWAY Driver" tab and then "Configuration"

7.Select the first Station List displayed and click the "Edit" button.

8.Assign the COM port to which the dedicated cable is connected from the Edit screen

9.After completing the settings, click the "OK" button on each dialog to finish the settings. After completing the settings, click "Test Connection" with the following content to check the communication.
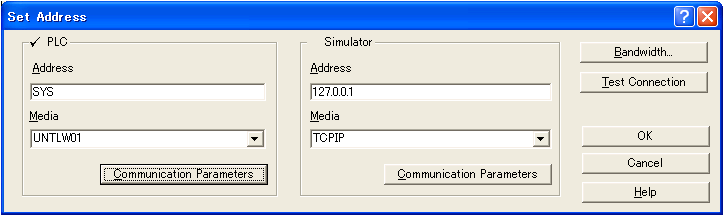
setting |
Setting contents |
Address |
SYS |
Media |
UNTLW01 |
10.Select "PLC" - "Connect" from the menu to connect.
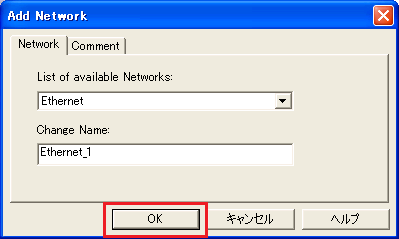
11.Select "Communication" - "Network" from the tree and select "New Network" from the right-click menu.

12.The Add New Network screen will appear, so click "OK" to add the settings.
13.Set the IP address and other settings for the added network settings.
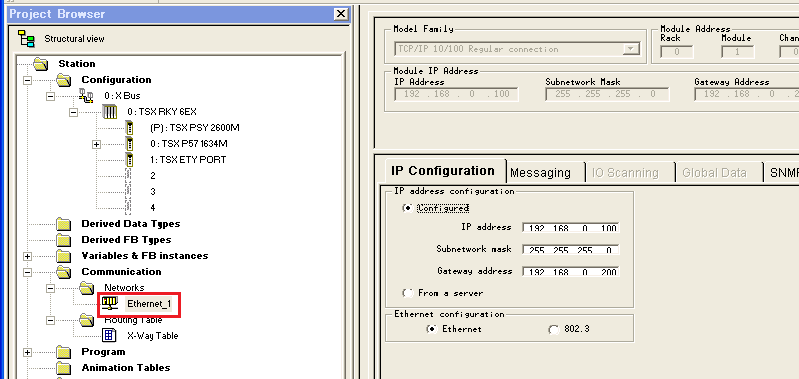
setting |
Setting contents |
IP address |
192.168.0.100 |
Subnetwork mas |
255.255.255.0 |
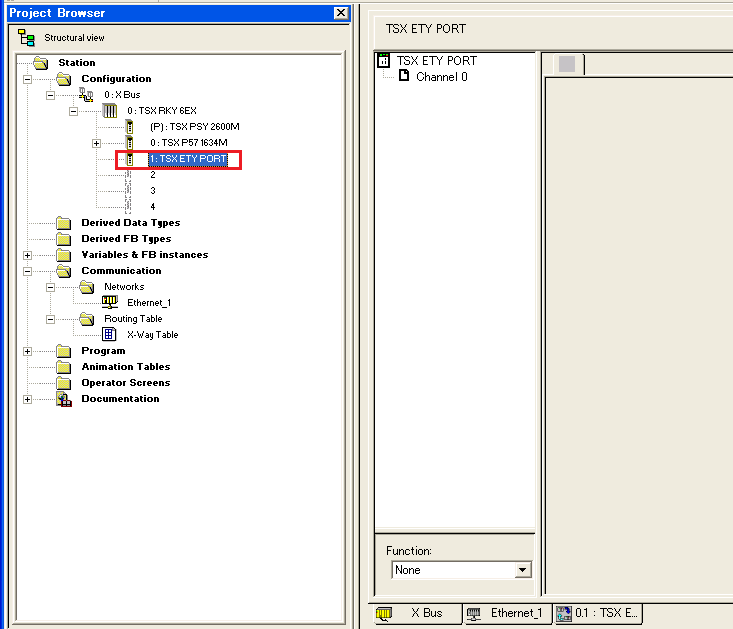
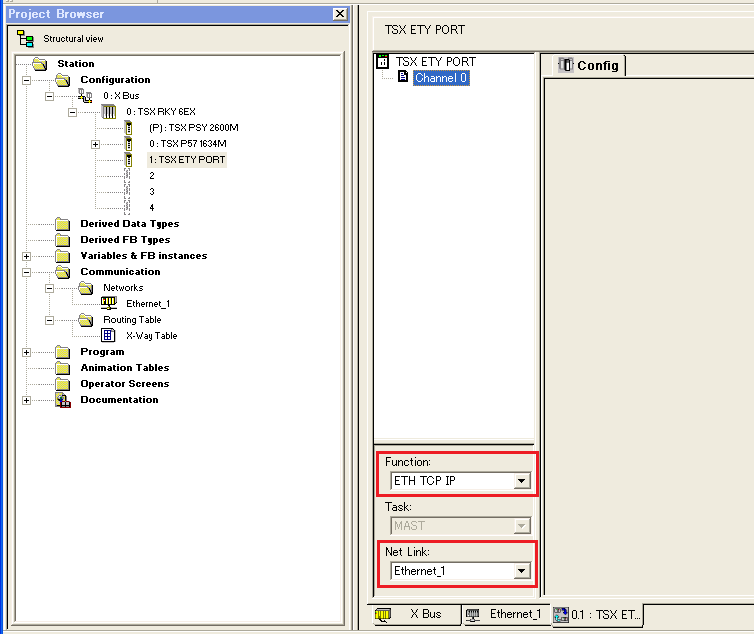
14.Select TSX ETYPORT from the tree and display the network setting assignment screen.
15.Select "ETH TCP IP" in Function and link the network settings you just added in Net Link
16.Write the settings to PLC from the menu "PLC" - "Transfer Project to PLC"
PC settings
Use the Server application to connect to the PLC for which you have set up communications.
1.Right-click "Application" - "Driver" in the tree and select Add Driver.
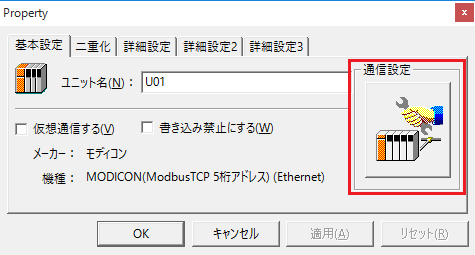
2.Select the following units from the displayed driver list and add them:

3.Open the properties of the added unit (U01) and click Communication Settings.
4.Configure the following in "PC Settings"

setting |
Setting contents |
Computer IP address |
192.168.0.1 |
Computer port number |
Automatic |
5.Set the following in "Unit side settings"

setting |
Setting contents |
Unit IP Address |
192.168.0.100 |
Unit Port Number |
502 |
6.Select "Ping Test" to check if the ping goes through normally.
If you see a message like "Ping test is success~", the test was successful.
7.Perform a connection test to check the connection
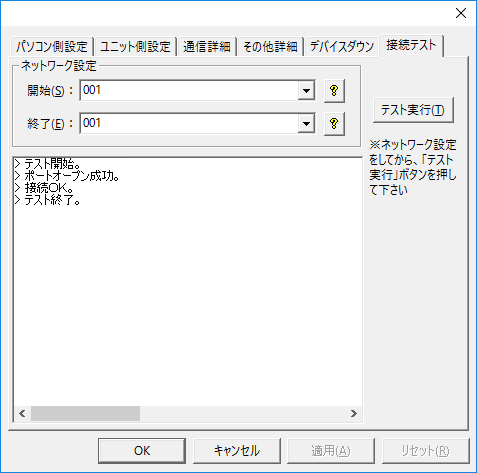
If a message such as "Connection OK" is displayed, the connection is confirmed to be OK.