Label control (Basic)
Label control allows you to display text on a form. In addition to statically displaying fixed text such as the name of equipment or the title of a signal, it is also possible to dynamically display, for example, the numerical value of an analog value collected from PLC on a label.
This section only introduces the editing operations for the controls.
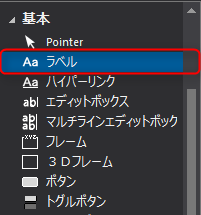
1.Select Basic Label control from the Control View.
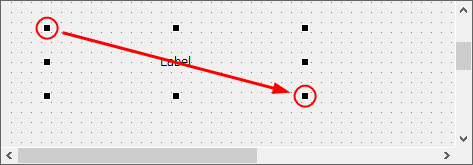
Click the mouse where you want to paste the label on the form (top left), and while still holding down the mouse, drag it to the bottom right.
Label has been attached.
2.Edit the label string.
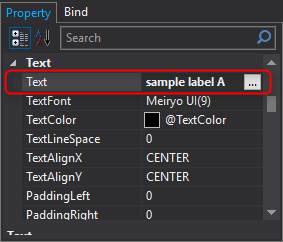
Specify the string to be displayed in the label in the Property View. Select the label object and enter the string in the “Text” property (here, enter “sample label A”).
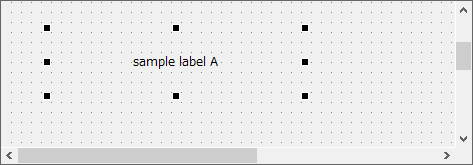
The label display has changed.
3.Edit the label size.
To change the size of a label, use the mouse to drag the handle that appears when the label is selected.
Move the right center handle to the left.
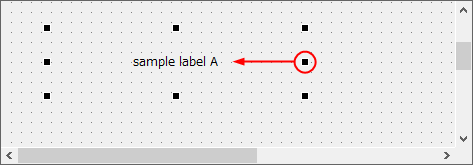
Then the label width becomes narrower.
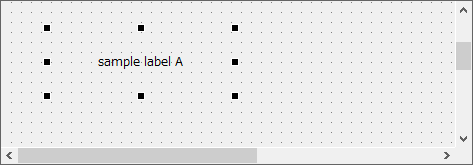
|
Like other controls, the coordinate values of Label control can also be edited directly in the Properties view. |

4.Edit the label format.
One of the commonly used label formatting settings is the “justification” setting. Select the label object and edit the “TextAlignX” property.
Here, change it to LEFT.
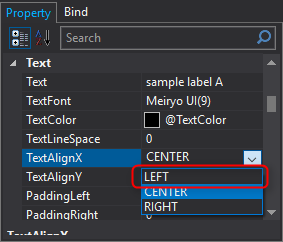
The
characters are now left justified.
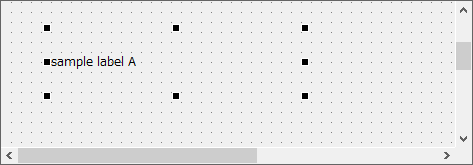
For example, you can use left-justification (LEFT) when displaying static text, right-justification (RIGHT) when displaying numerical values, and center-justification (CENTER) when displaying status using characters such as ON/OFF.
5.Edit the label font.
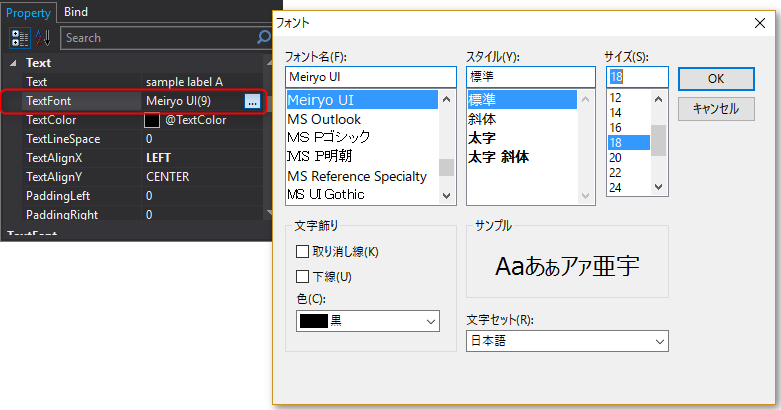
You can specify the font and size of the text displayed in the label. The font can be changed from the property view (or the toolbar). Select the label object and edit the "TextFont" property (click the Select button to display the font setting screen).
Specify the desired font, style, and size from the selection screen and click the OK button (here, we will use 18 point “Meiryo UI” font).
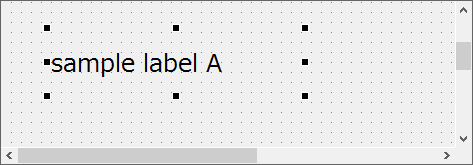
The label font has changed.
6.Edit the label text color.
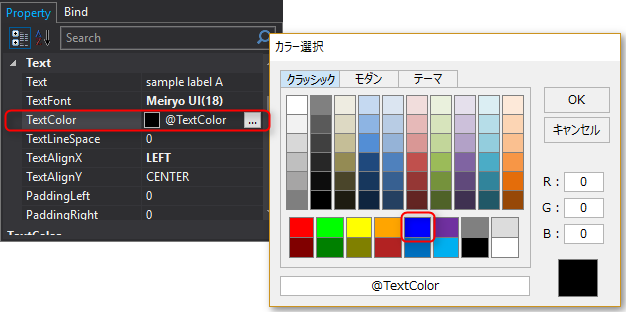
You can freely change the text color of the label. You can change the text color from the property view. Change the “TextColor” property from the property view. Click the Select button to display the color palette, and select the desired color.
For example, select blue.
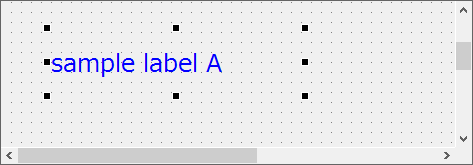
The text color has changed.
7.Edit the label's border and fill.
Label control has a border and fill like Rectangle control. These are disabled by default, but if you want to display a frame around the label, enable these properties.
From the Properties view, change the “Border” and “Fill” properties from False to True.
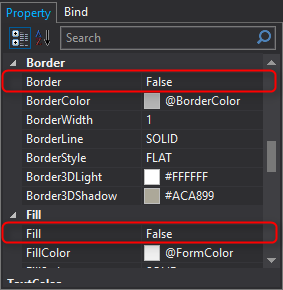
Then, the border and fill, which were previously hidden, became visible.
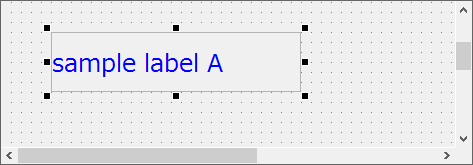
Settings such as border and fill color can be changed in the same way as Rectangle control.
|
When you want to create a display that displays a label inside a rectangle, you may be able to achieve this using only Label control with color enabled. You can achieve the same look by combining Rectangle control with a transparent background Label control, but you should aim for a simple configuration without using too many unnecessary controls. |