Add a new server configuration file to the project
You can create a new server configuration file and add it to your project by following the steps below.
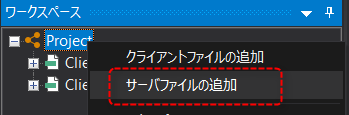
1.Right-click the project in the workspace to display the menu, and select "Add Server Files".
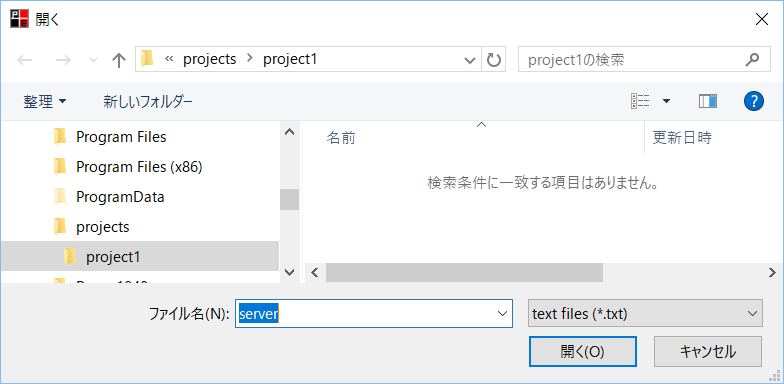
2.A file selection dialog will appear, so enter the file name of the server settings file and click "Open".
|
Here, as an example, we have entered "server".
The file extension (.txt) will be added automatically.
|
3."server.txt" has been added to the project.
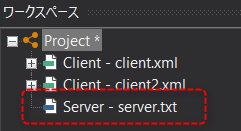
Currently, only the file name "server.txt" has been registered in the project, and server.txt does not exist yet. The server configuration file must be created from Panel Server.
Next, follow the steps below to call and start Panel Server from Panel Editor and create the server configuration file.
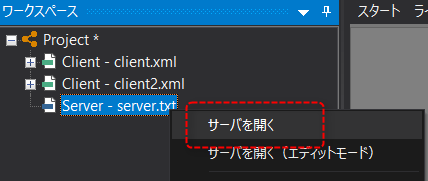
4.Right-click the server configuration file "server.txt" from the workspace and select "Open Server".
Panel Server has started. Since the actual server configuration file does not yet exist, it will start in a blank state.
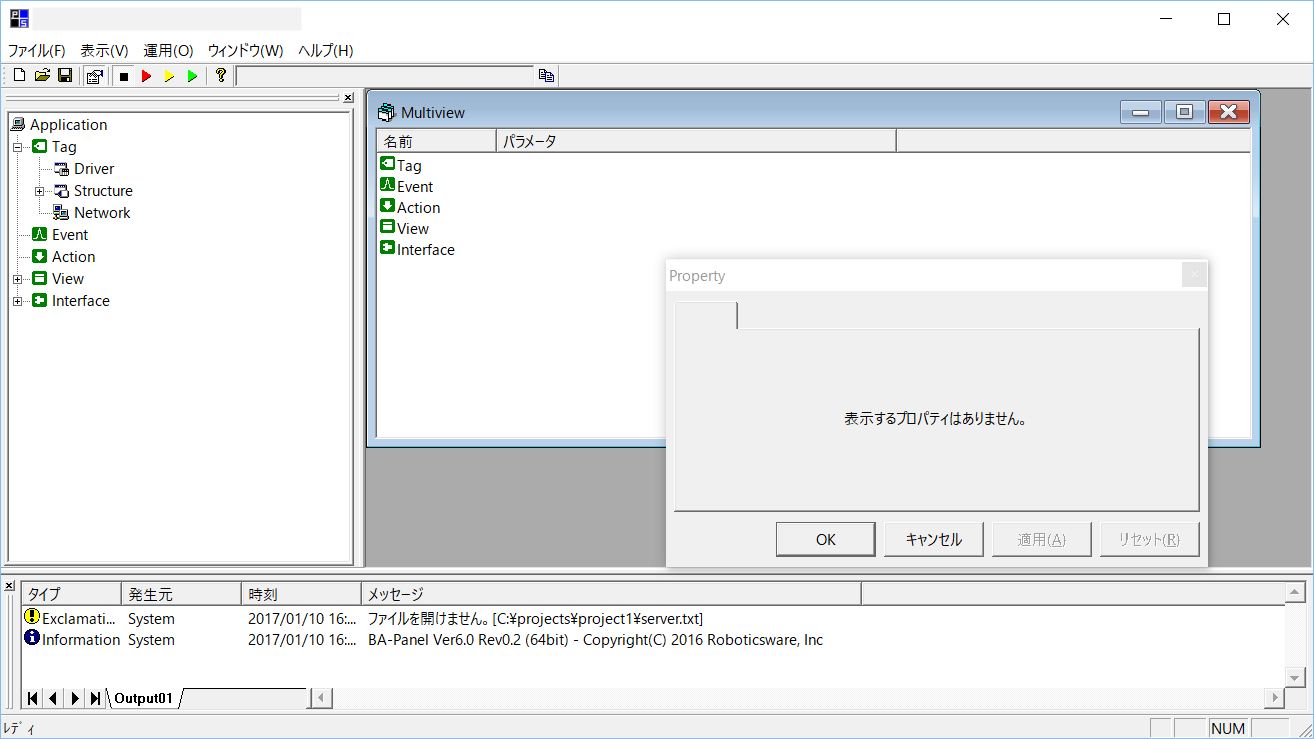
5.Save the server configuration file from Panel Server.
Save the server configuration file by saving the Panel Server file.
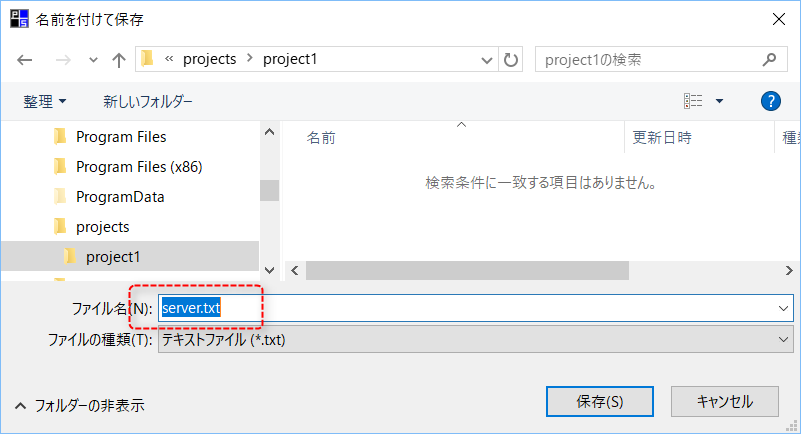
Please make sure to save the file with the same name as the file name given in step 2. Also, please make sure that the file is saved in the intended location (folder) before saving.