overview
This section explains the steps to create your own "Alarm Summary Screen", assuming that the following settings are made on the Panel Server side.
Tag settings
Unit name: U01 ... Virtual device
Folder name: F01
tag: Five consecutive tags from M0000 to M0004 (internal relay)
Defining Actions
Alarm server (CSV) Action: Alarm
Alarm master definition
[ALARMID],[RECOVER],[ACK],[ONCONDITION],[CM0],[CM1]
CM0: Alarm message
CM1: Character string representing the group (minor failure, medium failure, major failure, etc.)
(Example definition)
Alarm ID, Occurrence recovery, Confirmation, Occurrence condition, Comment 0, Comment 1 [ALARMID],[RECOVER],[ACK],[ONCONDITION],[CM0],[CM1] 0,y,y,U01.F01.M0000,M0 Alarm, Minor fault 1, y,y,U01.F01.M0001, M1 alarm, medium failure 2, y,y,U01.F01.M0002, M2 alarm, medium failure 3, y,y,U01.F01.M0003, M3 alarm, serious failure 4, y,y,U01.F01.M0004, M4 alarm, serious failure |
Download the sample
The creation examples shown on this page are provided with samples.
The sample can be downloaded from below.
Procedure
1.Create a form for the alarm summary from Panel Editor.
Add one form and change the name to "AlarmSummary".
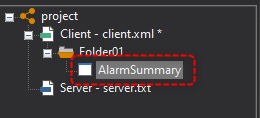
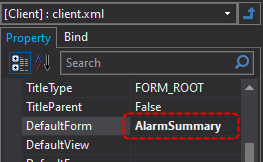
Change the DefaultForm root property of the root property to "AlarmSummary" and specify it as the form that will be used when the form is launched.
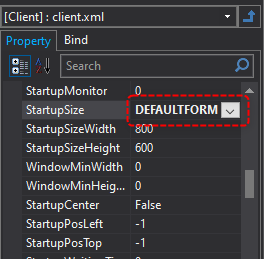
As an example, change the StartupSize root property to "DEFAULTFORM".
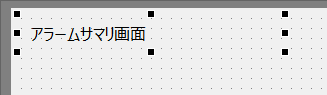
2.Add a title label
Paste Label control in the upper left corner of the form as the screen title. For example, set Text to "Alarm Summary Screen" and set the font size, color, etc. as desired.
3.Paste Remote alarm grid client control
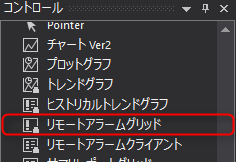
Paste Remote alarm grid client control into the form. Select Remote alarm grid client control from the control view.
The following shows the remote alarm grid attached.
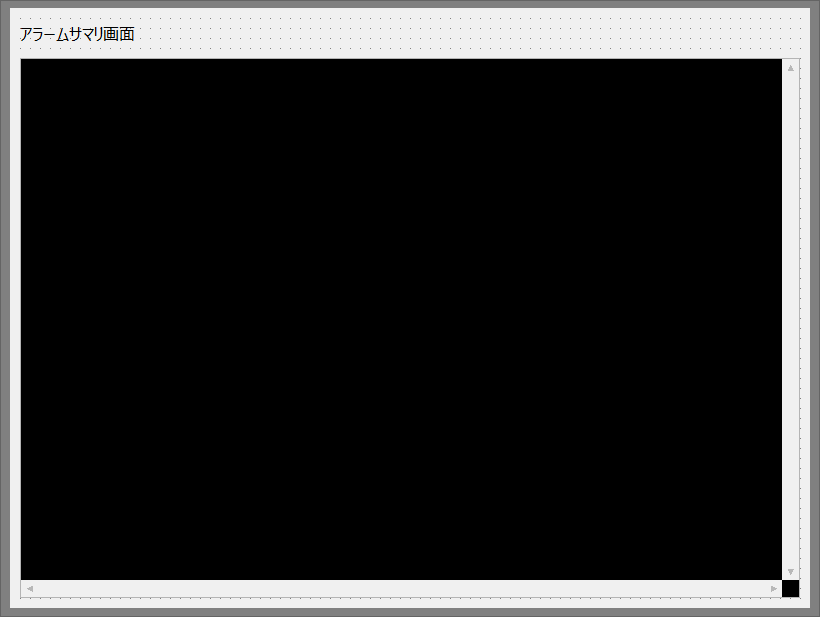
4.Remote Alarm Grid Property Settings
From the Remote Alarms Grid property page, change the settings for the following properties:
Properties |
Setting contents |
|
Name |
"Alarm" |
|
AlarmServer |
"Alarm" (*The Alarm server action name defined on the Panel Server side) |
|
AlarmClientType |
"SUMMARY" |
|
AlarmLayout |
Describe the layout of the alarm summary. For example, write it as follows:
|
|
AlarmBlink |
Specify the alarm blinking conditions. By setting the following, you can make unacknowledged alarms blink.
|
|
AlarmTextColor |
Specify the alarm display color. By setting the following, you can display recovered alarms in green, unrecovered alarms (acknowledged) in yellow, and alarms in other states in red.
|
5.Remote Alarm Grid Initialization Script
In the OnInitialize event of the remote alarm grid, write the process for connecting to Alarm server and obtaining alarm information.
event OnInitialize() { this.Connect(); this.SubscribeSummary(""); } |
6.Add a confirmation button
Create buttons to confirm alarms from the screen. Paste two Button control buttons onto the form, and make them "Confirm" and "Confirm all."
As an example, we'll place it in the top right corner of the screen.
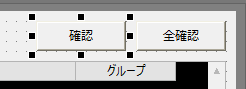
In the script for the acknowledgement button, write a process to acknowledge only the selected alarms.
event OnMouseUp(button) { parent.Alarm.AckSelected(); } |
In the script for the Acknowledge All button, write the process to acknowledge all alarms.
event OnMouseUp(button) { parent.Alarm.AckAll(); } |
This completes the creation of the alarm summary screen.
Operation check
Now let's check how it works.
Click Online (yellow arrow) at the top of the Panel Server screen.
Next, click the browser run icon (green arrow) at the top of the Panel Editor screen to call up Panel Browser.
Panel Browser has started.
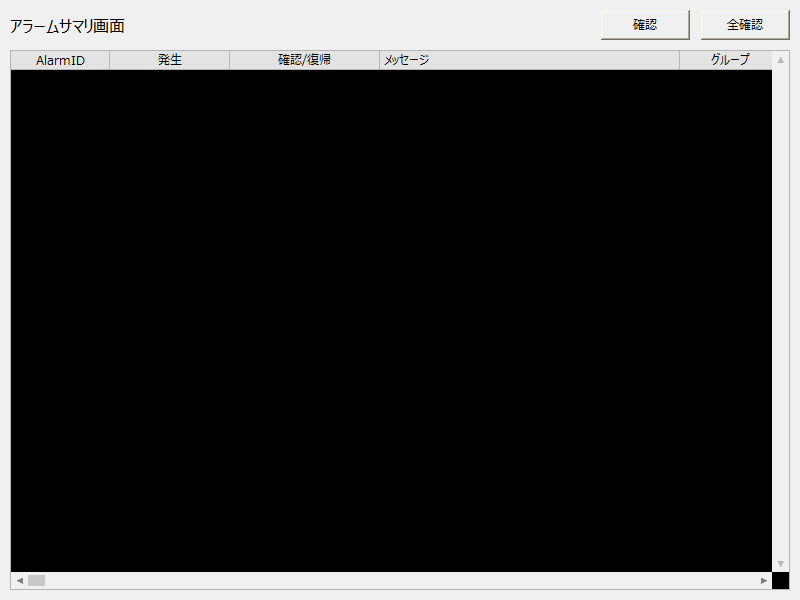
Currently, no alarm has occurred and nothing is displayed on the screen.
So, let's edit the tag value from Panel Server to trigger an alarm.
Set "U01.F01.M0000" to TRUE.
Then, the alarm you set in M0000 will be displayed on the alarm summary screen.

Similarly, try setting M0004 to TRUE.
Then, a new alarm was added and displayed.

Next, change M0004 back to FALSE.
The date and time of confirmation/recovery are entered, and the display color changes from red to green. Since the alarm has not yet been "confirmed," it will not disappear from the summary.

Now, click the "Confirm all" button.
Then, alarm M0004 disappeared from the summary, and the date and time were entered in the confirmation/recovery of alarm M0000. The display color is yellow (confirmed/not recovered).

Next, change M0000 back to FALSE.
The summary display was automatically cleared when the acknowledged alarm returned.
