Parts library image display
The parts library provides several parts for displaying images, such as image switches, image lamps, and image selects.
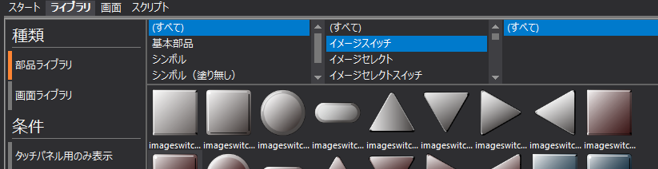
These components have image files preset, but you can customize them to display different images by changing the image file path set for the component to a file of your choice.
As an example, we will show you how to change the image of an image lamp part from the parts library that has been pasted onto a form to another image.
1.Paste the image lamp part from the parts library
Open the Library tab in Panel Editor, narrow down the filter to "Basic Parts" and "Image Lamp", select "imagelamp102" from the thumbnails displayed, and paste the part anywhere on the form.
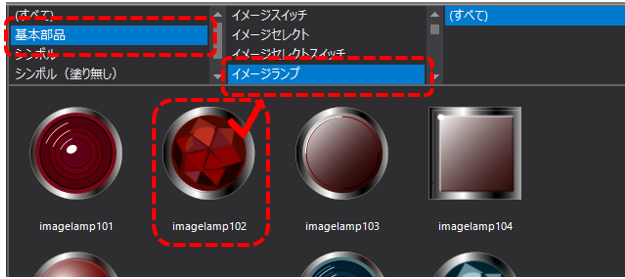
The parts have been attached.

Note that the parts used above are just examples. The steps introduced below can be used with other image lamp parts to achieve the same result.
2.Change the image you want to display
Double-click the component on the form to display the settings dialog.
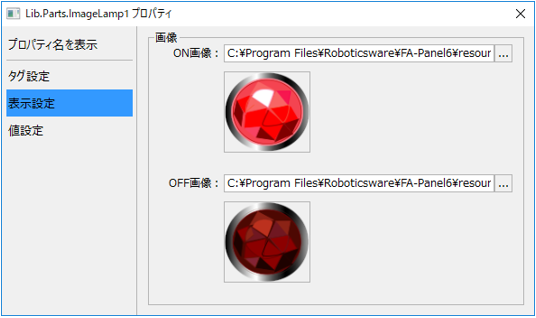
The dialog shows the currently assigned lamp image, but you can change it to another image.
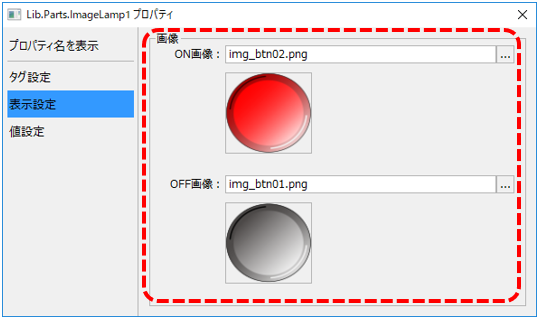
For example, in the above case, change it as follows:
•Change the ON image to "img_btn02.png".
•Change the OFF image to "img_btn01.png".
The specified image was then displayed on the part in the parts library.

In this way, you can freely change the image file displayed by image parts in the parts library. The various functions of the part can be used as is even if the image is changed, and you can customize parts in the parts library based on your own images.