overview
Here we will explain a simple setup procedure for performing periodic logging using a logger action.
The procedure introduced here can be broadly divided into the following four steps.
Tag configuration |
Configure the tags. |
|
Action Settings |
Set the logger action |
|
Event Settings |
Set the trigger Periodic event. |
|
Operation check |
Check whether the specified CSV file has been output correctly. |
In this example, we will use Virtual device special registers to save the tag values from SD0000 to SD0009 every second to a CSV file as log data.
*The data is an output example.
time |
SD0000 |
SD0001 |
... |
SD0008 |
SD0009 |
2003/1/1 10:12:00 |
0 |
0 |
... |
0 |
0 |
2003/1/1 10:12:01 |
0 |
0 |
... |
0 |
0 |
2003/1/1 10:12:02 |
0 |
0 |
... |
0 |
0 |
... |
... |
... |
... |
... |
... |
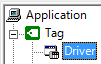
1.Adding a unit
Right-click "Driver" in the tree on the left side of the screen to display the menu and select "Add Unit".
A selection dialog will appear, so select "Memory", "Virtual Communication", and "Virtual Device", and then click "OK".

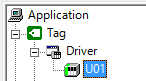
2.Add Folder
Right-click "U01" to display the menu and select "Add Folder".
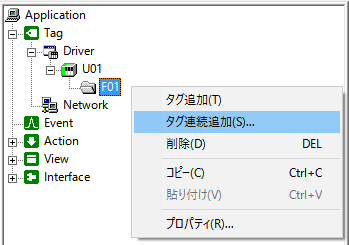
3.Add Tag
Right-click "F01" and select "Add Tags Continuously".
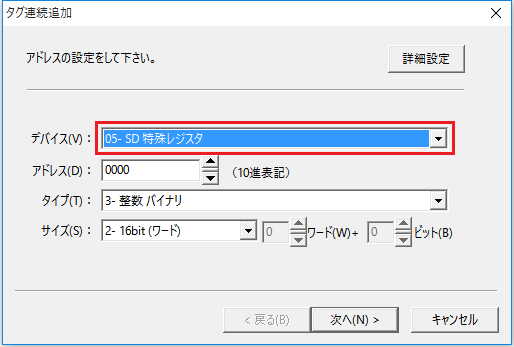
4.The Add Tags Continuously dialog will appear, so select "SD Special Register" and click "Next".
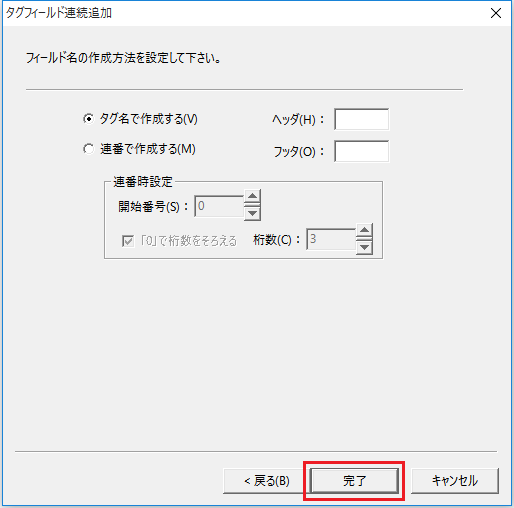
5.You will be shown how to create a tag name, so do not set anything this time and just click "Next".

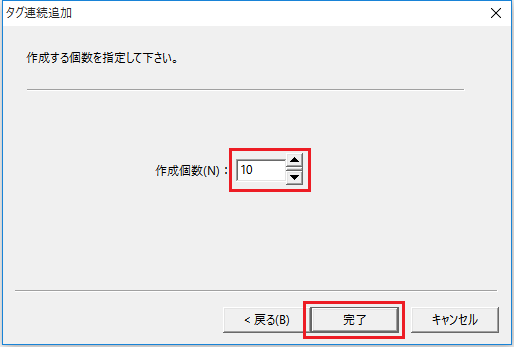
6.Set "Number to create" to 10 and press "Done".
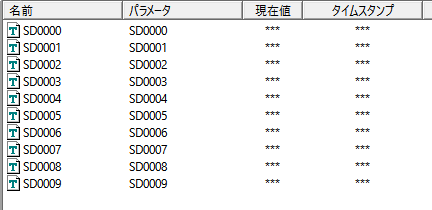
7.Please confirm that this operation has created 10 numeric tags, SD0000-SD0009.
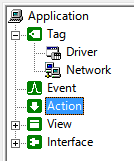
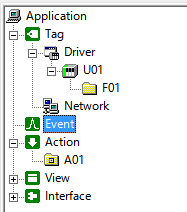
1.Adding a Logger Action
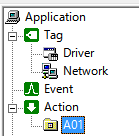
Right-click "Action" in the tree on the left side of the screen and select "Add" and "Action" from the menu.
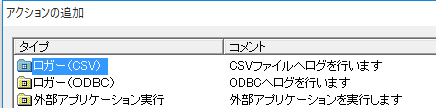
2.From the Add Action dialog that appears, select "Logger (CSV)" and press "OK".
3.Log file settings
Right-click the added "A01" and select "Properties".
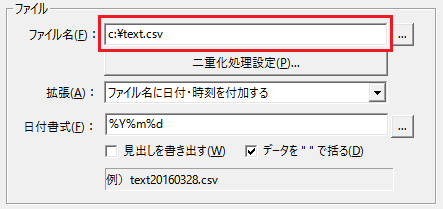
4.In the dialog that appears, set the file name to "c:\text.csv" and click "OK."
5.Adding a time field
Right-click "A01" to display the menu, select "Add" and "Time Field" to add "F01".

6.Adding a Tag Field
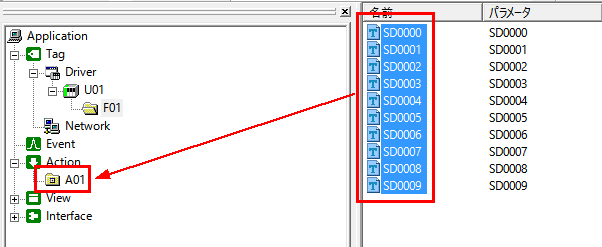
Define the tag fields to be included in the log data. From the multiview, select the tags you want to include in the log, "SD0000" to "SD0009", and drag and drop them onto "A01".
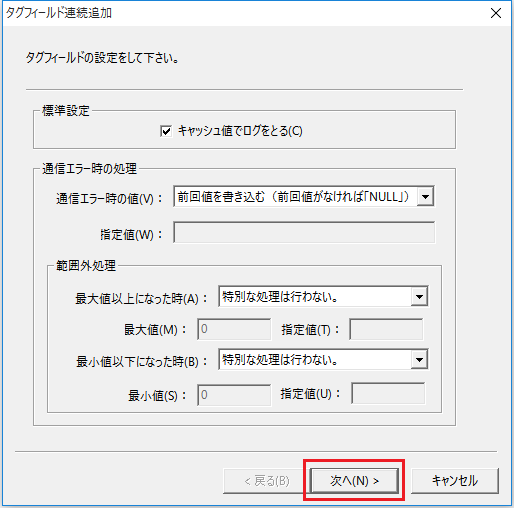
7.When you drop the tag, the following setting screen will be displayed.
Here, leave the default settings and click the "Next" button to move on to the next step, then select "Finish" to complete the settings.
8.Please confirm that fields "U01_F01_SD0000" to "U01_F01_SD0009" have been created.
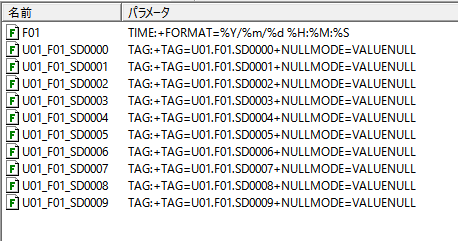
The above is the format of the log CSV file. The time field is at the beginning, followed by the values SD0000 to SD0009, separated by commas.
If you want to change the order of fields, right-click the field to display the menu and move it "Up" or "Down".
1.Add Periodic event
Right-click on "Event" in the tree on the left side of the screen to display the menu, then select "Add" and "Periodic event" from the menu.
This will add an event called "E01".
2.Event Settings
Right-click "E01" in the multiview and display "Properties".

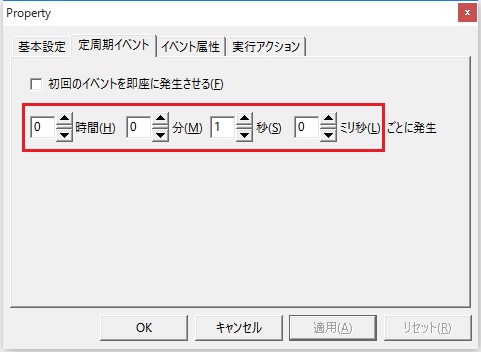
3.On the "Periodic event" tab, make sure 1 second is set.
The default setting is 1 second.
4.In the Execution Actions tab, register the actions to be executed from this event.
Here, please register the "A01" you created earlier.
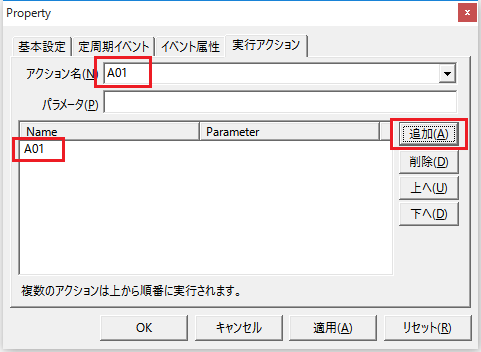
This will cause the logger action "A01" to be executed every second when an event occurs.
|
The Periodic event "E01" configured here will occur periodically, once every second. By adding "A01" to the execution action settings, "A01" will be executed once every second. As a result, each time "A01" is called, it will retrieve the data required for logging from the tag and log one record's worth of data according to the configured format. |
Once steps 1 to 3 have been completed, perform logging to check operation.
Logging is performed by going "online"
Go online
Click "Online (Monitor)" (yellow arrow button) at the top of the FA-Server screen to go online.
![]()
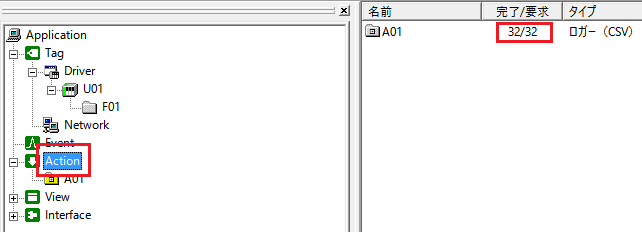
When you click "Action" in the tree on the left side of the screen while online, the number of times the action has been performed will be displayed in the list on the right. Check that this number is incremented every second.
* If you run it by clicking the "Online (Debug)" button (red button), the values of the special registers of the virtual device will not change, so please run it by clicking the "Online (Monitor)" button (yellow button).
|
If you execute the command in "Online (Debug)" (red arrow button), the special register values of the virtual device will not change. When executing the above command, please execute the command in "Online (Monitor)" (yellow arrow button). |
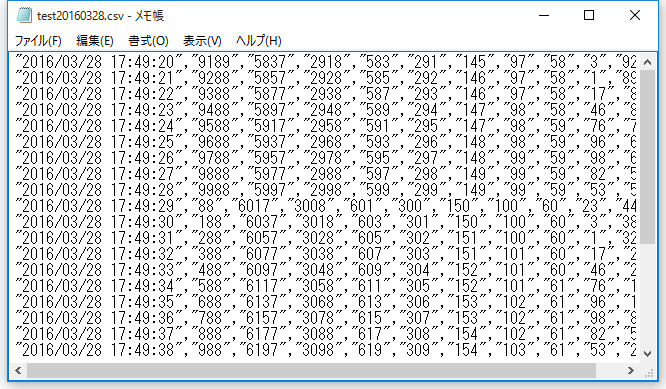
Checking the log file
Once the number of executions after going online reaches an appropriate value, press the "Offline" button (black button) to go offline.
![]()
When you return to the offline state, the logging process will stop. Check that the log file "textyyyymmdd.csv" specified in the logger action settings has been created in the specified location, and open the file in a text editor to check that the log data is correct.