Customize the Simple Common Dialog
The simple common dialog can be freely customized in terms of its layout, etc. To customize the simple common dialog, use the client configuration file "rc.xml" provided as a sample.
This client configuration file contains the form that is the basis for the simple common dialog. By copying the desired simple common dialog form from this configuration file to the client configuration file you are developing and editing it, the customized simple common dialog form will be adopted and displayed.
Download the sample
A sample of the simple common dialog can be downloaded from the link below.
The above contains the following files:
sample_dialog_customize.xml
|
This is an example of customizing the simple common dialog. This is a client configuration file that was actually created using the procedure described in "Example of customizing the simple common dialog" below.
|
The original form of the Common Dialogue can also be downloaded from the link below.
The above contains the following files:
rc.xml
|
This is the original form of the Common Dialogue. |
Simple common dialog customization example
The general steps for customizing a simple common dialog are as follows:
1)Open the client configuration file to be developed in Panel Editor.
2)In addition to the above, start another Panel Editor, open "rc.xml", and copy the form of the simple common dialog you want to customize.
3)Paste the simple common dialog form copied in step 2 above into the client setting file to be developed that is open in Panel Editor in step 1 above.
4)Customize the simple common dialog that you copied and imported.
|
In the above procedure, do not change the name of the common dialog form you copied. |

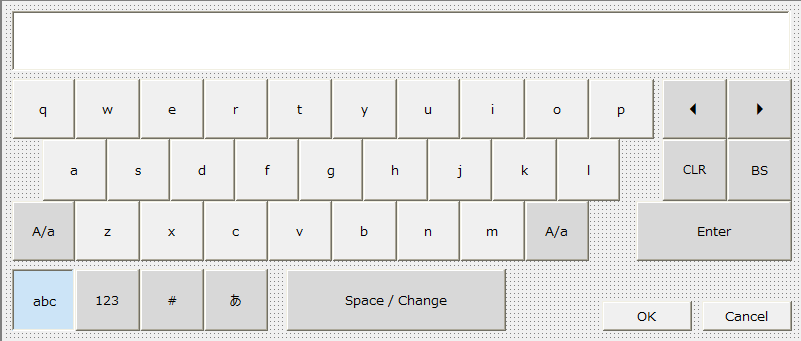
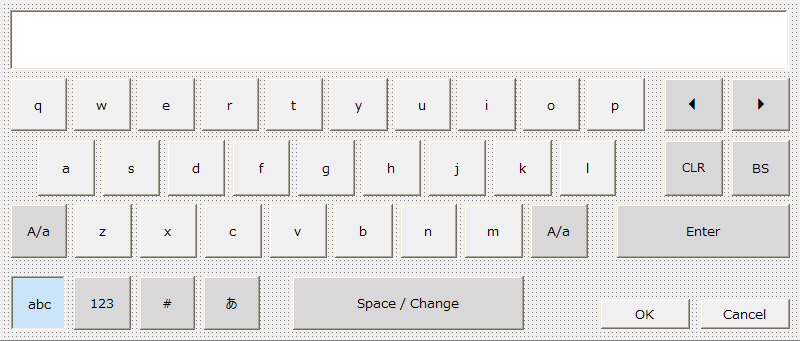
Here, we will change the text keyboard as follows (note that the size of each button has been made slightly smaller and the buttons have been spaced farther apart).
■ Customization example
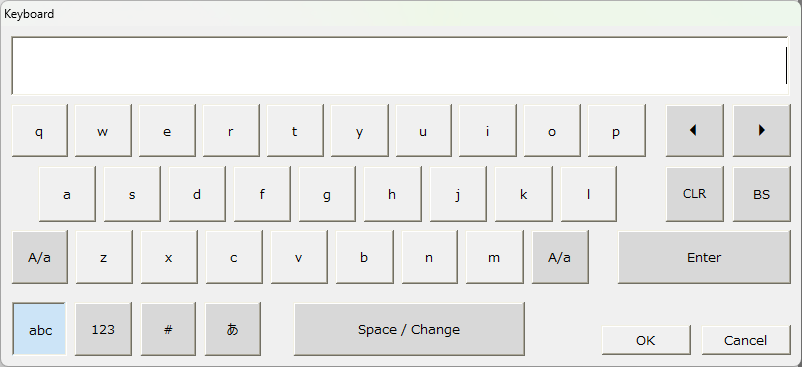
Below is an example of the customization procedure:
1.Start Panel Editor and open the client configuration file to be developed.
Currently, this client configuration file only has "Form01".
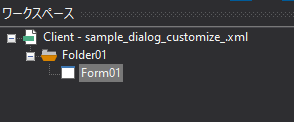
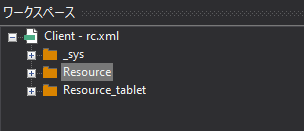
2.Start another Panel Editor and open "rc.xml"
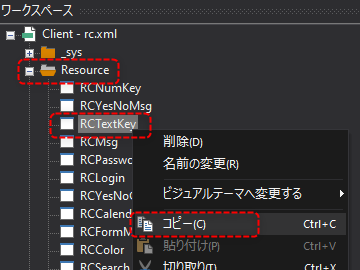
3.Open the Resource folder, right-click on the "RCTextKey" form and copy it
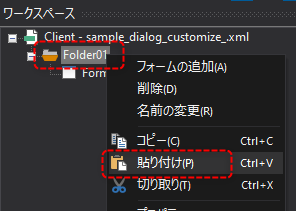
4.Display the Panel Browser of the browser that has the client configuration file you want to develop open, right-click on the folder where you want to paste the form, and paste it.
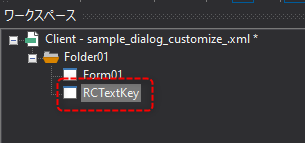
The target form has been copied (please do not change the form name after pasting).
5.Customize the layout of the imported RCTextKey form
In this example, the layout has been changed as follows (note that the size of each button has been made slightly smaller and the buttons have been spaced farther apart).
Before the layout change:
After layout change:
6.Operation check
The dialog call process is implemented in the sample Form01 form. Run it in Panel Browser and press the button.
Verify that your customized dialog appears.
|
The common dialog customized in this way and the original common dialog cannot be used at the same time. If you want to revert to the original common dialog, delete the customized common dialog form or change the common dialog form name to another name. |