How to display the mini property box
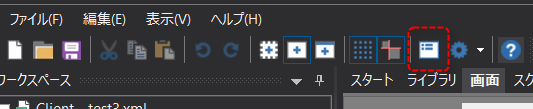
You can display the mini properties box by clicking the following icon at the top of Panel Editor.
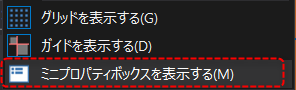
Alternatively, you can display it by selecting "Edit" and "Show Mini Property Box" from the menu.
|
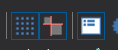
When the mini property box display is enabled, the icon appears with an outline around it.
|
|
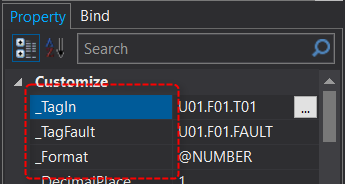
With the mini property box enabled, select the target control, then click the name of the property you want to display on the property page. In the example on the left, "_TagIn" is selected.
|
|
A mini properties box will then appear in the top left corner of the selected control, as shown below.
|
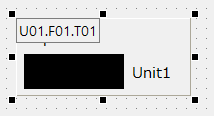
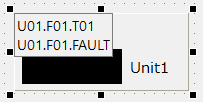
The mini property box can also display multiple properties at the same time.
|
The image on the left shows the _TagIn and _TagFalut properties of a numeric display part from the parts library displayed at the same time.
When multiple properties are displayed at the same time, you can edit the properties in the same way.
|
When you select multiple controls at the same time, a mini properties box appears for each one.

The index display "1:" and "2:" in the image above are assigned according to the order in which the controls are selected. If you select by clicking with the mouse while holding down the Ctrl key, the numbers will be incremented from the first selection to the next in the order of selection. Also, if you select a range with the mouse, the numbers will be incremented from the bottom layer to the top layer according to the order in which the objects are stacked.