Trend graph setting screen
Pen settings screen
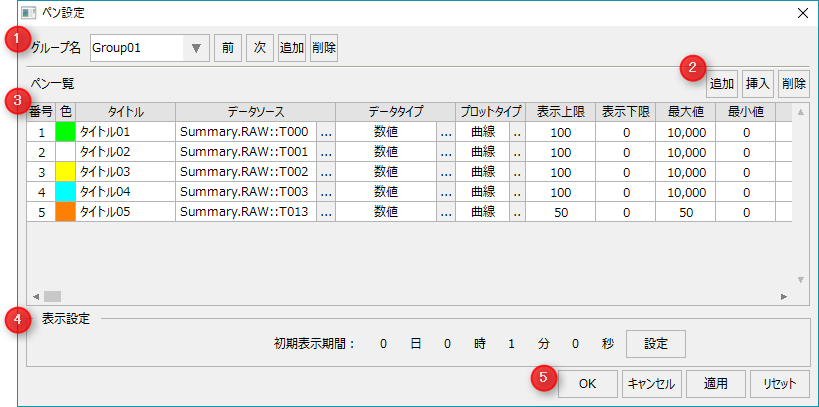
This is the pen registration setting screen.
#
|
name
|
explanation
|
1
|
Group Operations
|
Group Name
Combo Box
|
Select the group name you want to edit. You can edit the group name directly.
|
Previous / Next
|
Toggles the selection of group names.
|
Addition/Deletion
|
Add/remove groups. There is no limit to the number of groups.
|
|
2
|
Pen operation
|
Add Pen
|
Add a pen. There is no limit to the number of pens you can have in one group.
|
Pen Insertion
|
Insert the pen.
|
Delete pen
|
Remove the pen.
|
|
3
|
Pen List
|
color
|
Specifies the pen color. Double-click to open the color selector.
|
title
|
Specifies the name of the pen.
|
Data Source
|
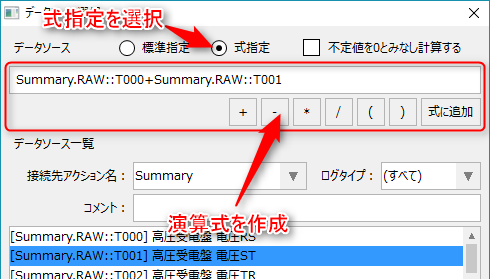
Specify the data source of the pen. Press the button to open the data source settings. Calculations between data sources are also possible.
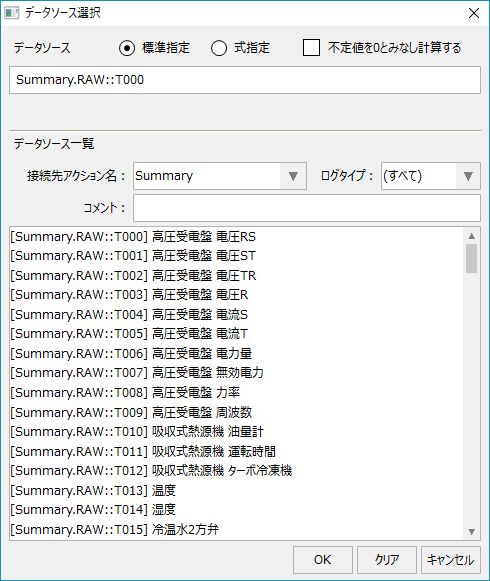
■ Data source
Enter the data source. "Standard specification" means that the data source selected from the data source list will be the data source.
"Expression specification" is used when you want to perform calculations between data sources.
If you check "Calculate assuming undefined values as 0", if the data source in the calculation formula is an undefined value (NULL value), it will be calculated as 0.
■ List of data sources
Filter data sources by action, log type, and comments.
|
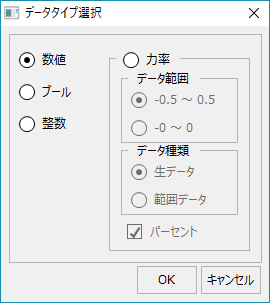
Data Type
|
Specifies the data type of the pen data source.
Number
|
Specify this when displaying numeric data (such as analog values).
|
Boolean
|
Specify if the value is 0 or 1 (ON or OFF) for the data source.
|
integer
|
Specify this to display numbers as integers (rounded off to the nearest integer).
|
Power factor
|
Specify this if you want to display the power factor.
・Data range
Select from -0.5 to 0.5 (-0.5 to 1 to 0.5) or -0 to 0 (-0 to 1 to 0).
- Data type
Select either raw data (receives the power factor as a numerical value from the lower row) or range data (receives the power factor as a linear value such as 0 to 4000 from the lower row and converts it when displaying).
·percent
Check this box to display the percentage.
|
|
Plot Type
|
Specifies how pens are displayed on the graph.
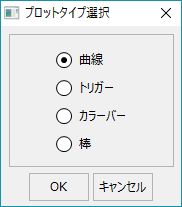
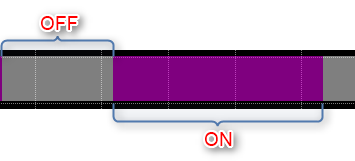
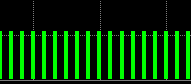
"Curve" connects data points with a curve, "Trigger" connects them in a staircase pattern, and "Color Bar" shows the ON/OFF state with a colored bar.
•curve
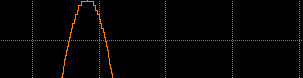
•trigger
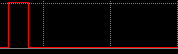
•Color Bar
•rod
|
Display limit/
Lower limit
|
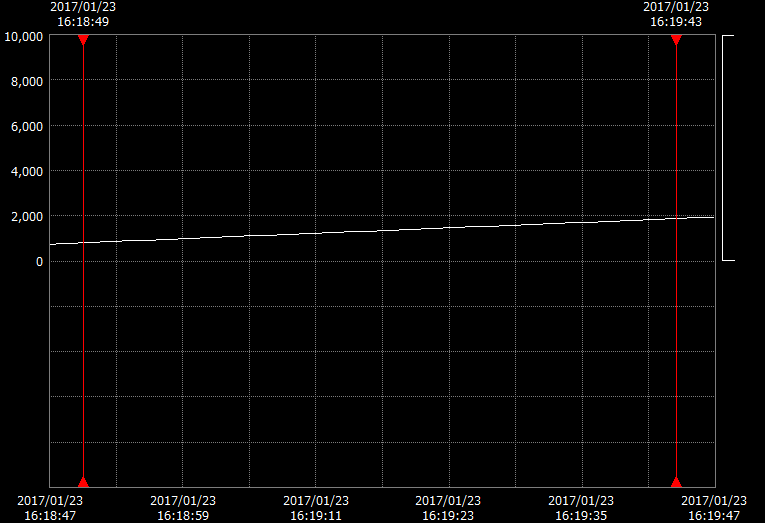
Specify the upper and lower limit positions (0-100%) of the graph display.
For example, if you set the upper limit to 100 and the lower limit to 50, only the upper half of the graph will be displayed above the center of the vertical axis.
(Example of graph showing only the upper half of the vertical axis)
|
Maximum value
Minimum
|
Specify the maximum and minimum values to be displayed on the graph for each pen.
If the data type is power factor, specify it as follows:
•When the power factor data range is -0 to 0 (-0 to 1 to 0)
-Specify 0.01 as the "minimum value" and 0.01 as the "maximum value" (because negative 0 cannot be specified).
•When the power factor data type is range data
Specify the range width of the linear value (0, 4000 for 0 to 4000) in "Minimum Value" and "Maximum Value".
|
unit
|
Specifies the pen units.
|
Decimal digits
|
Specifies the number of decimal points the pen displays.
|
size
|
Specifies the display size of the pen. The larger the number, the thicker the line will be.
|
|
4
|
Display settings
|
■ Initial display period
Specifies the display period of the X-axis when the graph is initially displayed. This setting can be made for each group. If you switch the display to a group for which this setting has not been made (if it is set to "0 days, 0 hours, 0 minutes, 0 seconds"), the display period that was displayed previously will be used. If the initial display period setting for all groups is "0 days, 0 hours, 0 minutes, 0 seconds", 10 minutes will be used by default.
|
5
|
OK/
Cancel/
Apply/
Reset
|
OK
|
Saves the current edits and closes the settings screen.
|
cancel
|
Cancels and closes the current edits.
|
Apply
|
Saves the current edits.
|
Reset
|
Resets the current edits.
|
|