overview
Here we will introduce a customization example of adding a comment column to the standard alarm function.
Customization details
•Add [CM3] as "Additional comment" to the alarm master.
•A new "Additional Comments" column will be added to the alarm summary screen.
•On the alarm history screen, the contents of the "Additional comments" are linked and displayed in the "Message" column.
(Example of alarm summary display)

(Example of alarm history display)

Download the sample
The creation examples shown on this page are provided with samples.
The sample can be downloaded from below.
Procedure
■Editing the alarm master
First, add a comment to the alarm master.
1.Open Alarm Master
Open "master.csv" in the following folder of the target project.
(Project folder)\server\alarm\master.csv
Below is an example of the standard alarm master layout with three alarms set (※The following is an example opened in Excel).

2.Editing an Alarm Master
Add a new [CM3] to the end of the column above. For example, edit as follows:

When editing the alarm master in Excel, save it in CSV format.
Below is an example edited in Notepad.

■Edit the layout of the alarm summary
Next, edit the layout of the alarm summary screen.
1.Select the alarm summary screen in Panel Editor
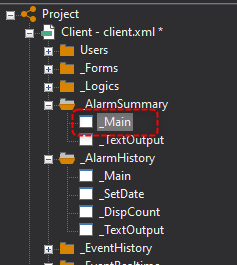
In the left tree of Panel Editor where the project you want to edit is open, open the _AlarmSummary folder under Client and select the "_Main" form.
2.Editing Remote Alarm Grid Properties
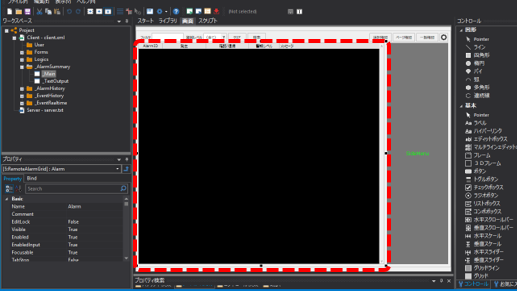
Double-click on the remote alarm grid located in the center of the alarm summary screen.
A settings dialog will then appear, so click the edit button for "Layout" (AlarmLayout property).
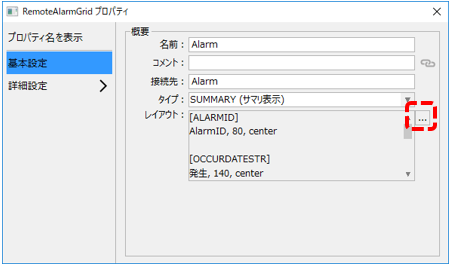
This will open a properties editor where you can edit the alarm layout.
|
The alarm layout definition format consists of two rows of parameters for each column of the grid.
In the first line, specify the format of the fields to be displayed in the column, and in the second line, specify the column title, width (in pixels), and text alignment (center/left/right).
Here, edit as follows and save with the OK button.
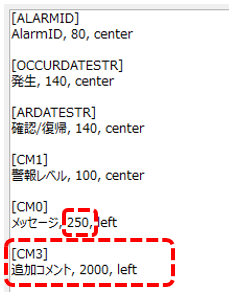
•Change the message width of [CM0] from 2000 to 250 •Add two new lines to define [CM3] (set the width to 2000).
|
■ Edit the layout of alarm history
Next, edit the layout of the alarm history screen.
1.Select the Alarm History screen in Panel Editor
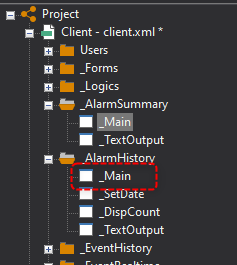
In the left tree of Panel Editor where the project to be edited is open, open the _AlarmHistory folder under Client and select the "_Main" form.
2.Editing Remote Alarm Grid Properties
Double-click on the remote alarm grid located in the center of the alarm history screen.
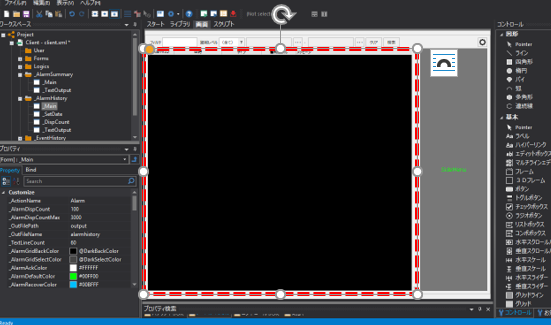
A settings dialog will appear, so click the edit button for "Layout" (AlarmLayout property).
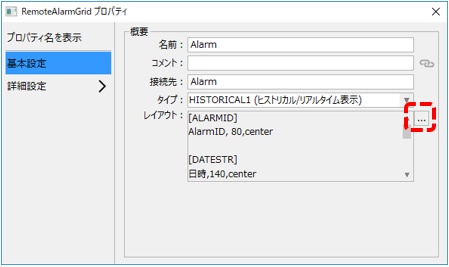
Then the editor will appear.
|
You can edit the alarm layout from this editor just like you can from the alarm summary screen.
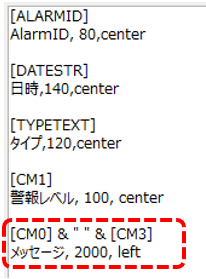
For the alarm history, we will try a different method than we did for the alarm summary. In this example, instead of adding a column, we will concatenate multiple comments in one column using an expression and display them as a message.
Edit it as follows and save it by clicking OK.
Before editing) [CM0] Message, 2000, left
After editing) [CM0] & " " & [CM3] Message, 2000, left
*Write the above formula in the line that previously said [CM0].
|
Operation check
Now let's check how it works.
Click Online (yellow arrow) at the top of the Panel Server screen.
Next, click the browser run icon (green arrow) at the top of the Panel Editor screen to call up Panel Browser.
Once Panel Browser is running, display the alarm summary screen.
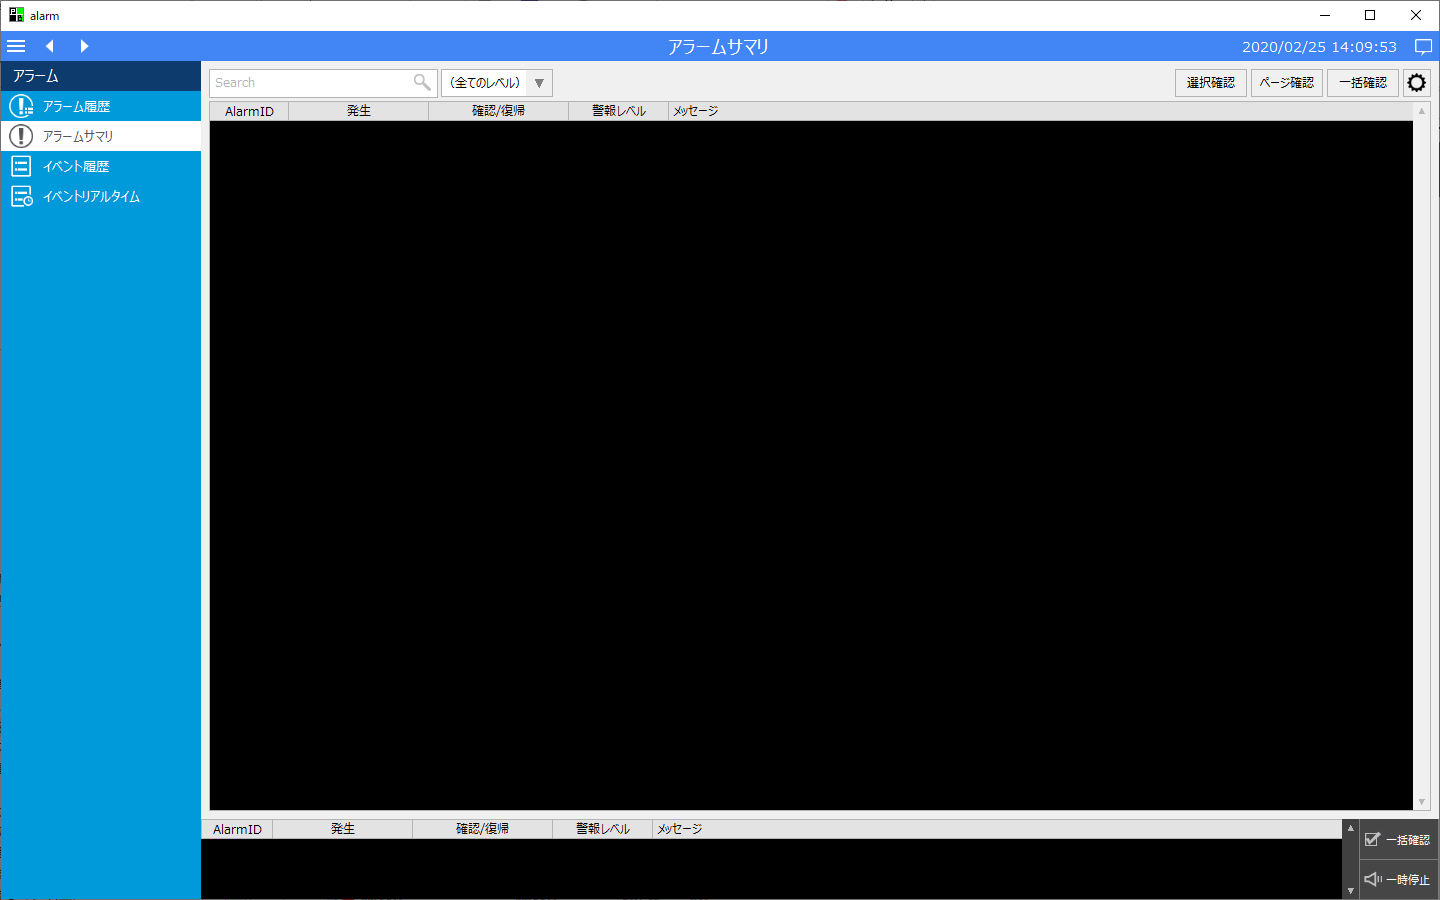
First, make sure that the grid on the alarm summary screen has the new column called "Additional Comments" that you just added.

Next, try writing TRUE to U01.F01.M0000, one of the tags registered in the alarm, from Panel Server.
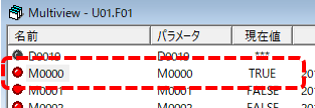
The newly added CM3 comment was then displayed on the alarm summary screen.
*Please check all at once from the alarm summary screen.
If you look at the message column on the alarm history screen, you can see that the additional comment defined in CM3 is added and displayed after the alarm comment before the change, "Alarm 001."
In this way, in addition to adding new columns to the content displayed in the alarm grid, you can also concatenate the contents of multiple comments in a single column.
supplementary explanation
■About alarm fields
In the alarm function (and event function), "field names" are used to define display columns for the alarm grid on the screen.
For example, the "AlarmLayout" property of the remote alarm grid on the standard alarm summary screen is written as follows:
(AlarmLayout property)
[ALARMID] AlarmID, 80, center
[OCCURDATESTR] Occurrence, 140, center
[ARDATESTR] Check/Return, 140, center
[CM1] Alert level, 100, center
[CM0] Message, 2000, left |
The above "[ALARMID]" and "[OCCURDATESTR]" are alarm fields. In this example, the first column of the alarm grid is the alarm ID, the second column is the occurrence date and time, the third column is the confirmation and recovery date and time, the fourth column is CM1 (the alarm level in the standard alarm function), and the fifth column is CM0 (also the alarm message).
|
For more information about alarm field names, see "About Field Names". |

■Alarm layout formula syntax
When defining an alarm layout, you can write expressions that include field names.
For example, if you write it as follows, the contents of CM0 and CM3 will be concatenated and displayed.
[CM0] & [CM3] ... The "&" operator can perform bitwise AND operations as well as string concatenation.
[CM0] & " " & [CM3] ... Concatenates strings enclosed in double quotation marks (in this example, a half-width space).
[CM0] & "(" & [CM3] & ")" ... The contents of CM3 will be displayed enclosed in half-width brackets.
In addition, you can also branch the display content using conditional expressions (for an example of using conditional expressions, see "Including tag values in alarm messages").
|
Details regarding the expression syntax are described in "Expression syntax". |
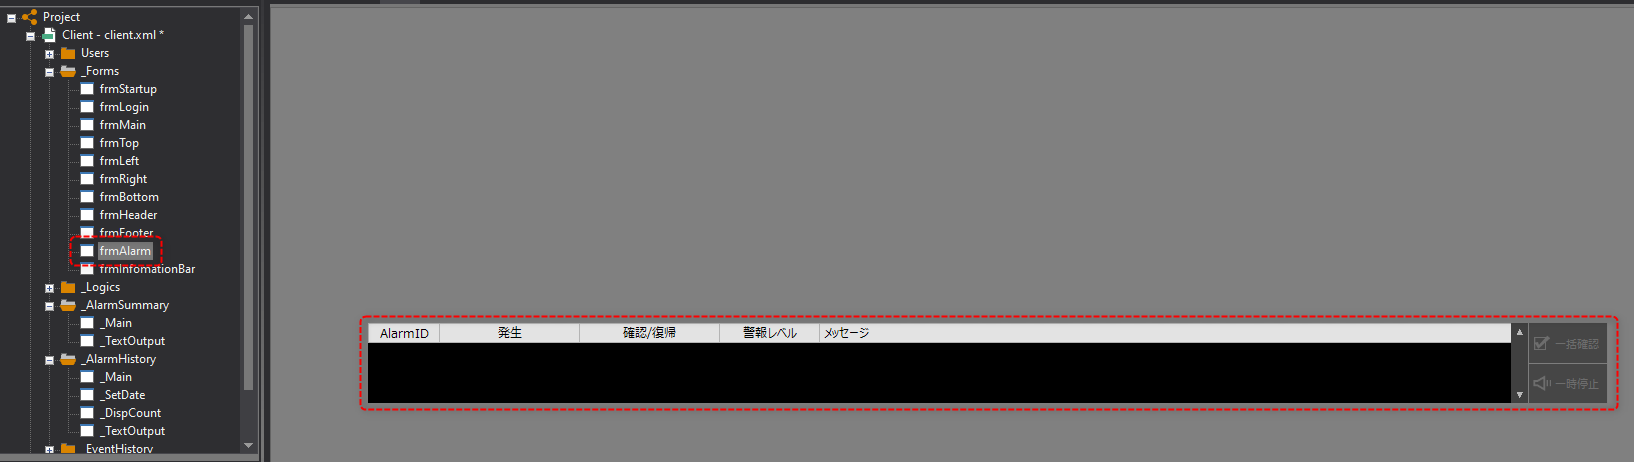
■To edit the layout of the alarm summary at the bottom of the screen
The alarm summary is always displayed at the bottom of the standard framework screen. If you want to change the layout of this alarm summary display as well, you can do so in the same way as you edit the layout of the alarm summary screen.
In this case, the form to be edited is the "frmAlarm" form stored in the Forms folder.
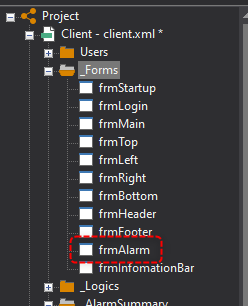
(Remote Alarm Grid in frmAlarm form)