overview
Here, we will explain the steps to create your own "Real-time Alarm Screen", assuming that the following settings are made on the Panel Server side.
Tag settings
Unit name: U01 ... Virtual device
Folder name: F01
tag: Five consecutive tags from M0000 to M0004 (internal relay)
Defining Actions
Alarm server (CSV) Action: Alarm
Alarm master definition
[ALARMID],[RECOVER],[ACK],[ONCONDITION],[CM0],[CM1]
CM0: Alarm message
CM1: Character string representing the group (minor failure, medium failure, major failure, etc.)
(Example definition)
Alarm ID, Occurrence recovery, Confirmation, Occurrence condition, Comment 0, Comment 1 [ALARMID],[RECOVER],[ACK],[ONCONDITION],[CM0],[CM1] 0,y,y,U01.F01.M0000,M0 Alarm, Minor fault 1, y,y,U01.F01.M0001, M1 alarm, medium failure 2, y,y,U01.F01.M0002, M2 alarm, medium failure 3, y,y,U01.F01.M0003, M3 alarm, serious failure 4, y,y,U01.F01.M0004, M4 alarm, serious failure |
Download the sample
The creation examples shown on this page are provided with samples.
The sample can be downloaded from below.
Procedure
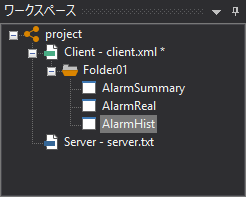
1.Create a form for alarm history from Panel Editor.
Add one form and change the name to "AlarmHist".
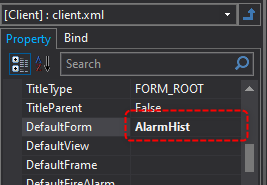
Change the DefaultForm root property of the root properties to "AlarmHist" and specify it as the form that will be used when the application is launched.
2.Add a title label
Paste Label control in the upper left corner of the form as the screen title. For example, set Text to "Alarm History Screen" and set the font size, color, etc. as desired.

3.Paste Remote alarm grid client control
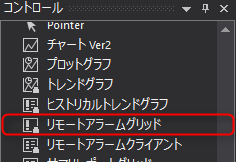
Paste Remote alarm grid client control into the form. Select Remote alarm grid client control from the control view.
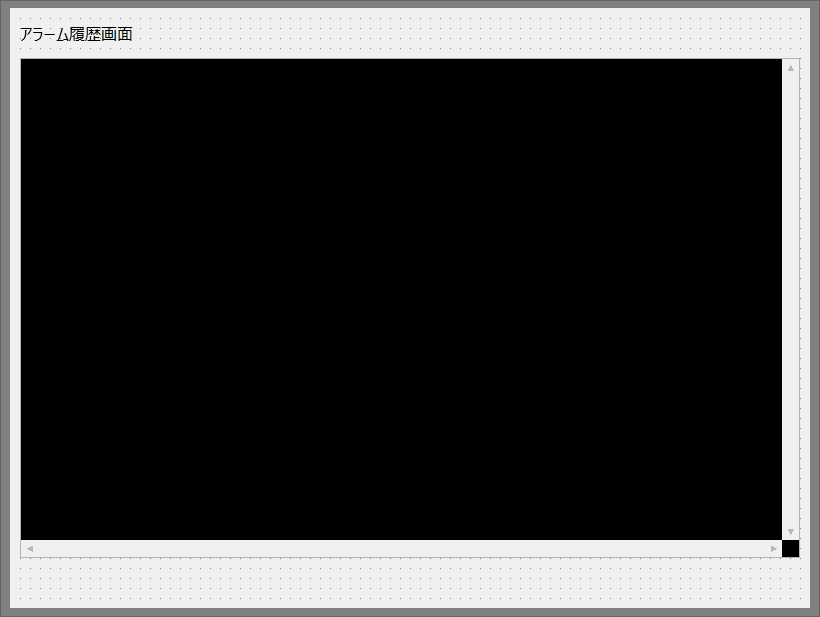
The following shows the remote alarm grid attached.
4.Remote Alarm Grid Property Settings
From the Remote Alarms Grid property page, change the settings for the following properties:
Properties |
Setting contents |
|
Name |
"Alarm" |
|
AlarmServer |
"Alarm" (*The Alarm server action name defined on the Panel Server side) |
|
AlarmClientType |
"HISTORICAL1" |
|
AlarmLayout |
Describe the layout of the alarm history. Please write it as follows.
|
|
AlarmTextColor |
Specify the alarm display color. Here, white is displayed.
|
5.Remote Alarm Grid Initialization Script
In the OnInitialize event of the remote alarm grid, write the process to connect to Alarm server and obtain alarm history information.
event OnInitialize() { this.Connect(); this.SubscribeHistorical("", 500, "future", "past"); } |
|
The second argument of the SubscribeHistorical method specifies the maximum number of alarms to display. Here, 500 is specified, so the most recent 500 are displayed. The third and fourth arguments specify the start and end dates of the range, but if you specify "future" or "past" for these arguments, a full search will be performed. Therefore, with this setting, up to 500 of the latest information will be retrieved when the initial display is displayed. |

6.An edit box for specifying the search range and a search button are attached.
Using the image below as a reference, place the edit box and button for history search near the top of the screen.
Here, set the Name property of the edit box for entering the start date to "FromDate" and the Name property of the edit box for entering the end date to "ToDate".

The Search button is used to specify a range, and the Refresh button displays the latest history information.
7.Implement the search process.
Implement the search button processing. Write the following processing in the button script.
event OnMouseUp(button) { parent.Alarm.CancelSubscribe(); parent.Alarm.SubscribeHistorical("", 500, parent.FromDate.Text, parent.ToDate.Text ); } |
|
In this example, 500 is specified as the maximum number of items to be passed to the SubscribeHistorical method. If 500 is not enough for your requirements, increase this setting. Alternatively, you can place an edit box on the screen and pass the number entered there as the maximum number to the argument. |
8.Implement the refresh button handling.
In the button script, write the following:
event OnMouseUp(button) { parent.FromDate.Text = ""; parent.ToDate.Text = ""; parent.Alarm.CancelSubscribe(); parent.Alarm.SubscribeHistorical("", 500, "future", "past"); } |
This process redisplays the latest 500 alarm logs. It also initializes the FromDate and ToDate Text.
9.Screen switching button
Now, near the bottom of the screen, implement buttons to switch the display to each screen created in "Creating your own alarm summary screen" and "Creating your own real-time alarm screen". As an example, we will use the screen display call button from the parts library.

This completes the creation of the alarm history screen.
Operation check
Now let's check how it works.
Click Online (yellow arrow) at the top of the Panel Server screen.
Next, click the browser run icon (green arrow) at the top of the Panel Editor screen to call up Panel Browser.
Panel Browser has started.
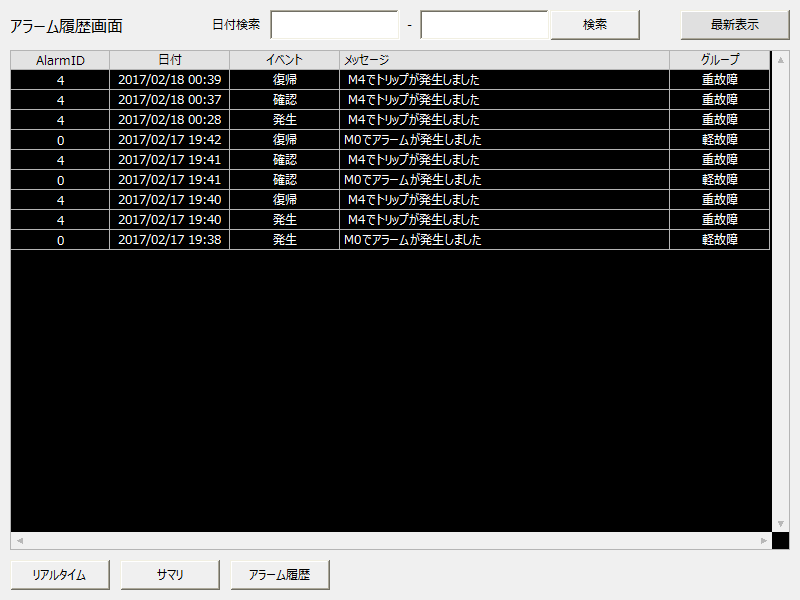
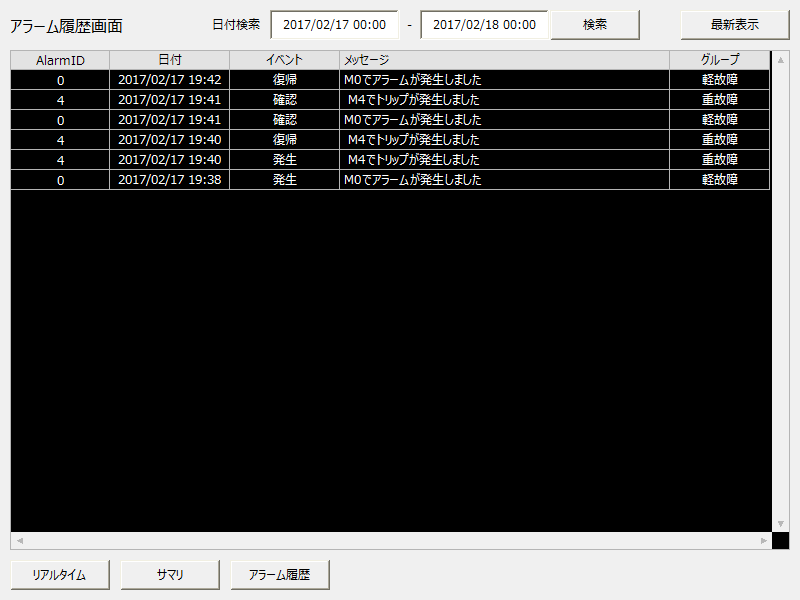
Enter the start and end dates and times for the search range in the From and To edit boxes, and click the Search button.
The alarm history display will then be updated with data for the range you specified.
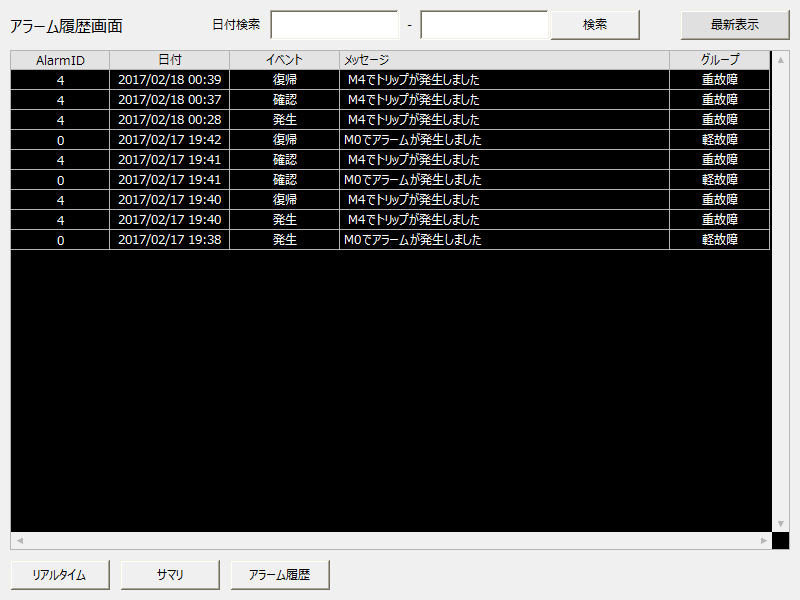
Then, click the Refresh button to clear the date search conditions and update the list with the latest alarm history.
|
The format that can be specified for the date is year, month, day, hour, minute, and second. If you enter only the date, such as "2017/1/1", it will be treated internally as "2017/1/1 00:00:00". Therefore, if you want to display only the history for 2017/1/1, enter "2017/1/1" in From and "2017/1/2" in To. |
supplementary explanation
■Remote alarm grid history display format
The display style of the remote alarm grid is specified by the AlarmClientType property. When displaying history, one of the three styles can be specified: "HISTORICAL1", "HISTORICAL2", or "HISTORICAL3".
Property Value |
specification |
HISTORICAL1 |
This is the format used on this page. This format displays the occurrence, recovery, and acknowledgement of an alarm as separate records.
|
HISTORICAL2 |
The difference with HISTORICAL1 is that the occurrence, recovery, and confirmation of one alarm are displayed as one record. In other words, the occurrence date, recovery date, and confirmation date can be displayed side by side on one line. In this format, when one alarm occurs repeatedly, the following operation sequence will be performed. 1A new alarm has occurred 2It came back without confirmation 3The alarm occurred again without confirmation. 4Confirmation has been made
*The confirmation date for both alarms will be set to the date and time in ④.
|
HISTORICAL3 |
As with HISTORICAL2, the occurrence, recovery, and confirmation of one alarm are displayed as one record. The difference with HISTORICAL2 is that the confirmation is displayed slightly differently. 1A new alarm has occurred 2It came back without confirmation 3The alarm occurred again without confirmation. 4Confirmation has been made
*The confirmation date of the older alarm will be set to “---”.
|
■Alarm filter function
You can specify filters (search conditions) for the alarm information displayed in the remote alarm grid for all alarm summaries, real-time, and history. Filter conditions are specified as a string in the first argument of the SubscribeSummary(), SubscribeRealtime(), and SubscribeHistorical() methods. If nothing is specified for this argument (that is, if "" is specified), it will be treated as no filter condition. Filter conditions are expressed as a comparison expression for the alarm fields.
For example, if you want to display only alarms with comment 1 "minor fault", specify as follows.
(Example of specifying a filter)
var filler;
filter = "[CM1]==" + ::Chr(34) + "Minor fault" + ::Chr(34); this.Connect(); this.SubscribeSummary(filter);
|
Here, the root method "Chr(34)" returns double quotation marks. To express the string "minor malfunction", it is necessary to enclose it in quotation marks "". However, be careful as the following code, for example, will cause a script error.
(Example of an error)
filter= "[CM1]=="Minor fault""; //Double quotes cannot be written as is. |