Simple protection with a password dialog
Here, we will explain how to simply lock areas that require partial protection by setting a password, separate from the login and user management functions of FA-Panel.
This method is a simple one that uses the "password dialog" that is pre-installed in FA-Panel.
(Password dialog)
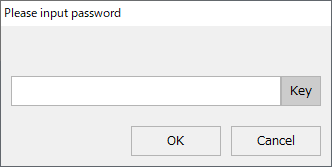
For example, this method is the easiest when you want to simply lock the display button of an important operation parameter editing screen with a password, regardless of the security protection provided by the login function. The password dialog is one of the common dialogs, and can be called from a script. For example, if you want to protect the display of a specific screen, the point to be locked is the event caused by clicking the screen call button (such as the OnMouseUp event). You can create a process that calls the password dialog from this event, has the operator enter a predetermined password, and determines whether or not to display the target screen depending on whether the password is correct.
|
The method introduced on this page is a simple method. By using the user management function, you can meet more advanced security requirements using user levels and authority information. |

Example of implementing password dialog protection
As an example, we will introduce a process for enabling a button that is normally disabled when the correct password is entered in the password dialog.
1.Add a button to the form
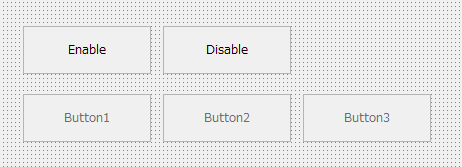
Paste a button onto Form01 with the image below.
|
•Change the Text of the top two buttons to “Enable” and “Disable” •Change the Text of the bottom three buttons to “Button1”, “Button2”, and “Button3”. •Name the bottom three buttons "Btn1", "Btn2", and "Btn3" •Set Enabled to False for the bottom three buttons. |
2.EnableButton OnMouseUp Description
When a button is clicked, a password dialog will be displayed and the buttons will only be enabled if the password is correct.
Write the following script in the OnMouseUp event of the Enable button.
event OnMouseUp(button)
{
	if (parent.Btn1.Enabled == F ) {
		::OpenPassword(this, "pass", "inputagain");
	}
}
The string specified in the second argument (in this example, "pass") will be the actual password. If you specify "inputagain" in the third argument, the dialog will be displayed again when an incorrect password is entered, prompting the user to re-enter the password.
3.Description of OnCommonEvent for Enable button
Write the following script in the OnCommonEvent event of the Enable button.
event OnCommonEvent(name,value)
{
	if (value && name == "RCPassword") {
		parent.Btn1.Enabled = T;
		parent.Btn2.Enabled = T;
		parent.Btn3.Enabled = T;
	}
}
4.Description of OnMouseUp for Disable button
Write the following script in the OnMouseUp event of the Disable button.
event OnMouseUp(button)
{
	parent.Btn1.Enabled = F;
	parent.Btn2.Enabled = F;
	parent.Btn3.Enabled = F;
}
5.Operation check
Run in Panel Browser.
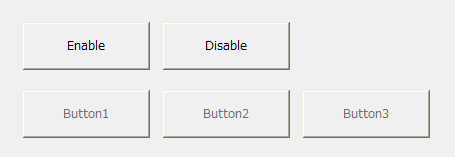
In the initial state, buttons 1, 2, and 3 are all disabled. Click the Enable button.
6.A password dialog will appear. Try entering an incorrect password.
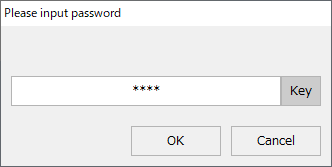
If an incorrect password is entered, the following error message will be displayed:
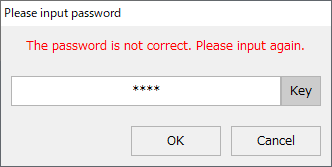
Since “inputagain” is specified, the password dialog remains displayed.
Then, enter the correct password.
All buttons are now enabled.
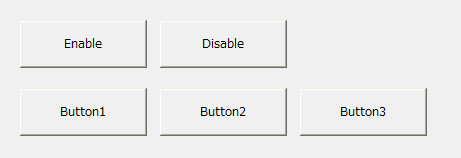
Clicking the Disable button will disable each button again.
The above example is an effective method in situations where you want to require the entry of a password when operating a button that you want to protect, such as when editing equipment operating parameters, and then disable the button once all operations are completed.