Create a standard project
This section describes the procedure for creating a standard project.
The Start Page provides the functionality to create a project using the Frame Library wizard.
|
When you select Create a New Project from the Start Page, thumbnails from the Frame Library are displayed.
|
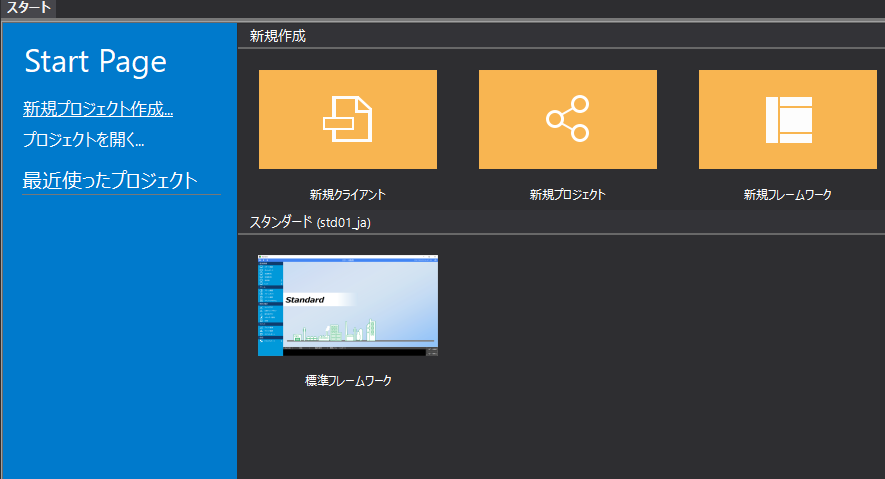
When you select a frame library, a wizard-style setting screen will appear. You can set up your project by following the instructions on the wizard screen.
Procedures for using standard framework libraries
The procedure for using the standard framework library is explained below.
1.Selecting a standard framework library
|
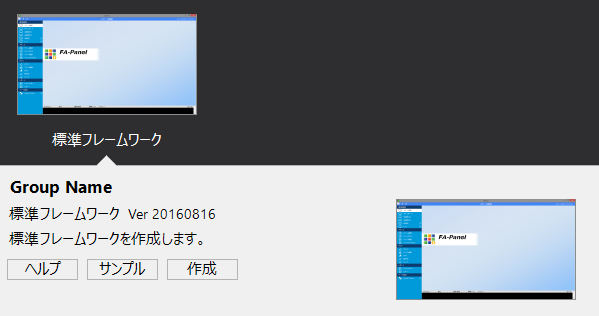
When you select Create a New Project on the Start page, you'll see thumbnails of your Frame Library in the list.
Select "Standard Framework" and click the Create button.
|
2.Specify the project name and folder
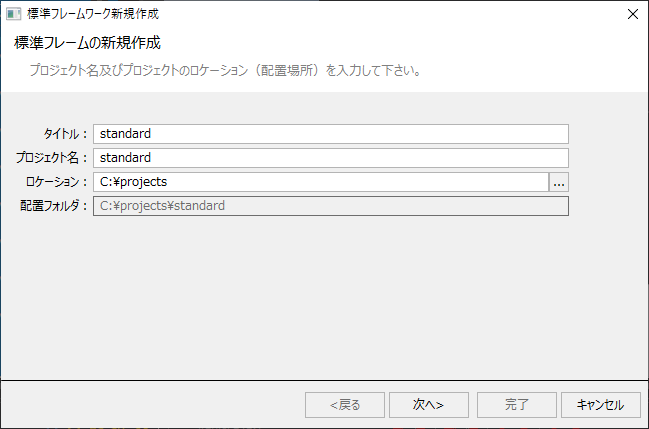
When you click the Create button, the following wizard screen will appear.
|
Enter the title and name of the project you want to create.
For Location, select the folder where you want to create the project folder. A folder with the project name will be automatically created under the folder specified here.
In the example shown on the left, "standard" is entered for the title and project name.
After entering the required information, click the "Next" button.
|
3.Select the standard features and click the Finish button.
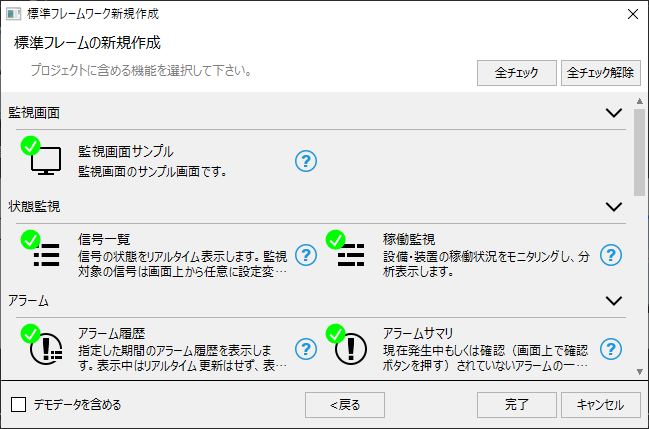
The following dialog will appear, so select the features you want to include in the project you are creating.
|
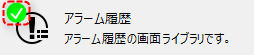
You can add or remove features by clicking the check mark for each feature.
If you uncheck a feature from the list, it will be removed. You can also add features manually later.
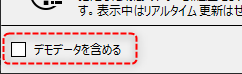
You can include demo data in your project by checking the box at the bottom left of the screen. If you do not need demo data, leave the box unchecked.
|
Once you have completed your feature selection, click the "Done" button.
When you click the Finish button, the project will be automatically generated according to the settings in the wizard.
Once processing is complete, the file will be opened in Panel Editor.
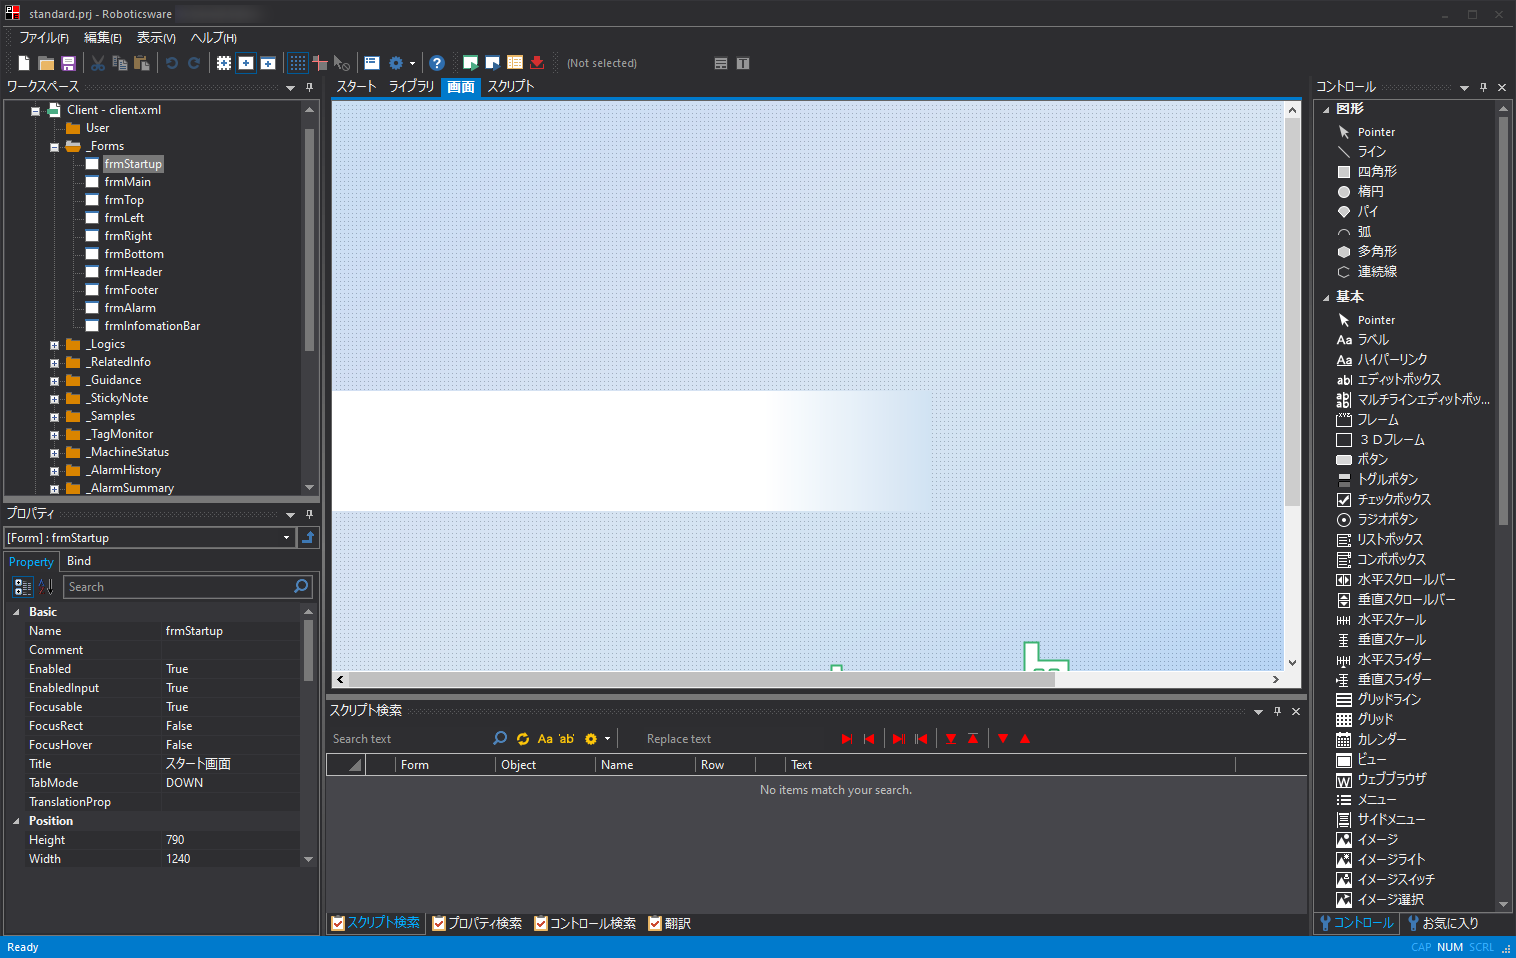
When the wizard generates a project, the server settings for the standard screens, actions, tags, etc. are saved in a configuration file.
Below is a breakdown of the configuration file for a standard project.
file |
example |
explanation |
Project files |
project.prj |
This is a file that stores project information. You can open a project by opening this file from Panel Editor. Client configuration files and server configuration files can be registered together in a project. The file extension is ".prj". |
Client Configuration Files |
client.xml |
This is a configuration file that stores the forms and scripts for the monitoring screen created in Panel Editor. You can also open this file directly from Panel Editor. The file extension is ".xml". |
Server configuration file |
server.txt |
This is a configuration file for various server processes such as communication driver settings, tag information, actions, and events set in Panel Server. The file extension is ".txt". |
4.Refine the generated standard project
Please refer to the following content for information on building a standard project.
content |
overview |
|
|
This section explains the types of menu styles available in standard projects and the setup procedure. |
Add a form to a standard project
|
This section describes how to add and configure a user form to a standard project. |
|
|
This section explains the procedure for adding a user form added to a standard project to the menu of the standard framework. |
|
|
This section explains how to call a user form that has been added to a standard project by placing a button on the form. |
Standard project system settings
|
In a standard project using the standard framework, you can freely change the layout and menu while the client is in operation. This section describes the system settings for the standard project. |
User management for standard projects (login)
|
User management (login function) is built into standard projects that use the standard framework. You can log in with a pre-registered user name and password, and manage operations by group. This section describes user management for standard projects. |
How to use the basic functions of the standard project
|
Standard projects using the standard framework come with useful built-in features such as the information bar, related information function, and sticky note function. This section describes how to use the basic functions of the standard project. |
|
|
This section explains how to configure various main functions such as alarms, logging, and trend graphs. |
|
Various standard functions such as "Alarm Summary" and "Trend Graph" that can be selected from the wizard function of the standard framework are provided as "Screen Libraries". In addition to adding screen library functions from the wizard, you can also manually incorporate them into your project later. For details on how to incorporate screen libraries, see "Using Screen Libraries" in the Screen Creation Guide. |

|
You can enable the information bar later even in a standard project that was built with the "Information Bar" disabled using the wizard function of the standard framework. The method is described in "Enabling the Information Bar Later". |
|
The standard frame includes sample monitoring screens. These sample screens are useful for learning how to build monitoring screens. If this is your first time creating a project using the frame library (standard framework), we recommend that you check the monitoring screen samples and try building one.
|