Split screen explanation
# |
name |
explanation |
|---|---|---|
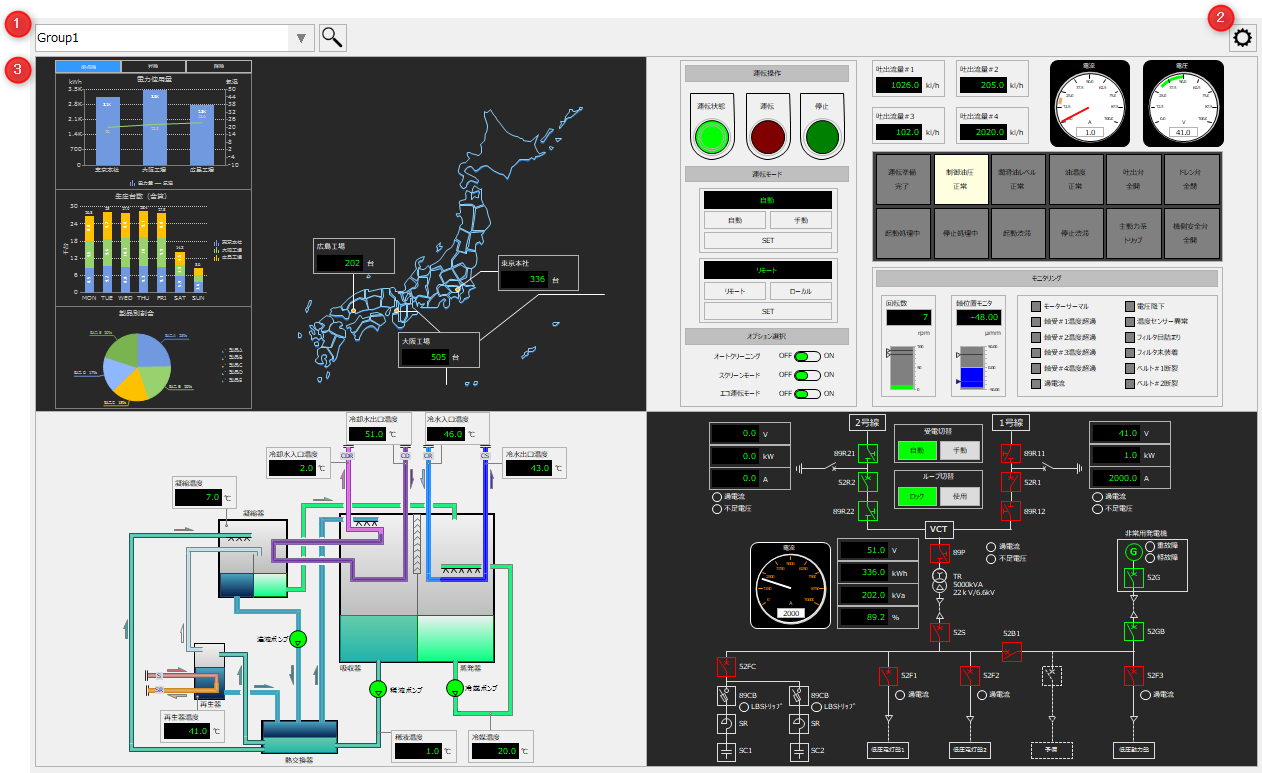
1 |
Group Name |
Select a group for the split view.
|
2 |
Settings Menu
|
Opens the settings menu. Each time you click the icon, the settings menu will be displayed/hidden. For information on the settings menu, please refer to "Settings Menu".
|
3 |
Display Area
|
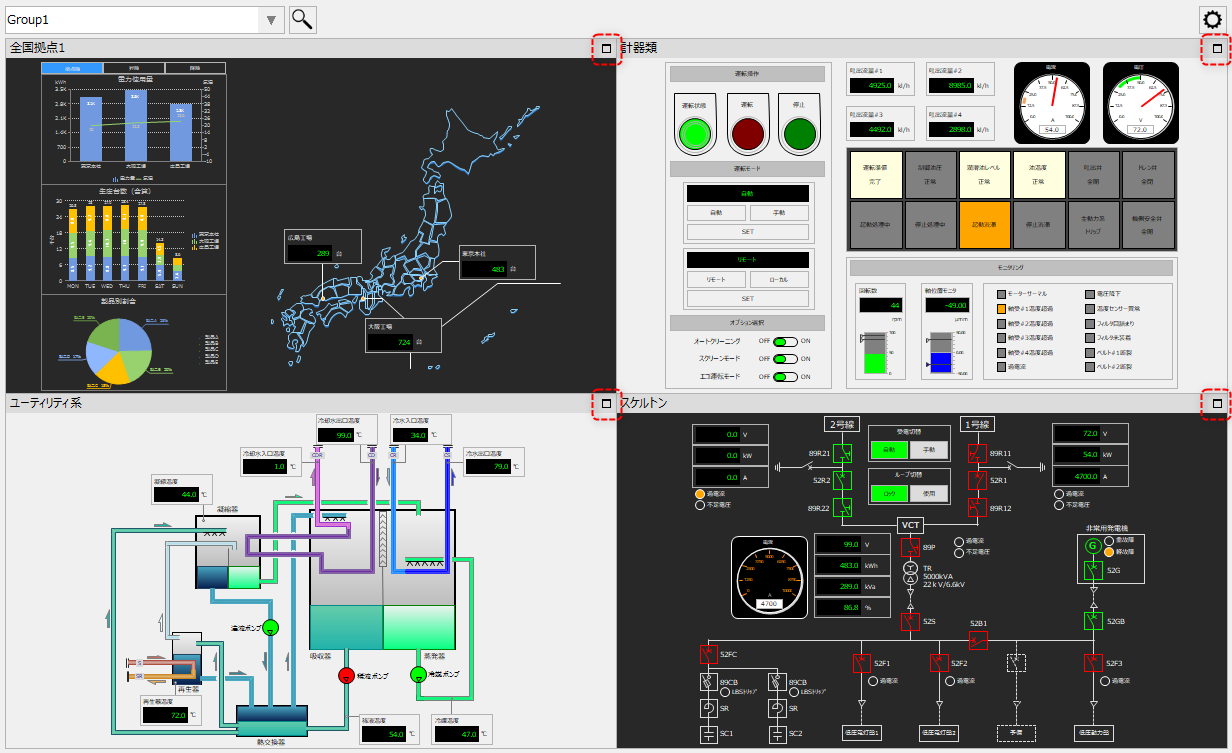
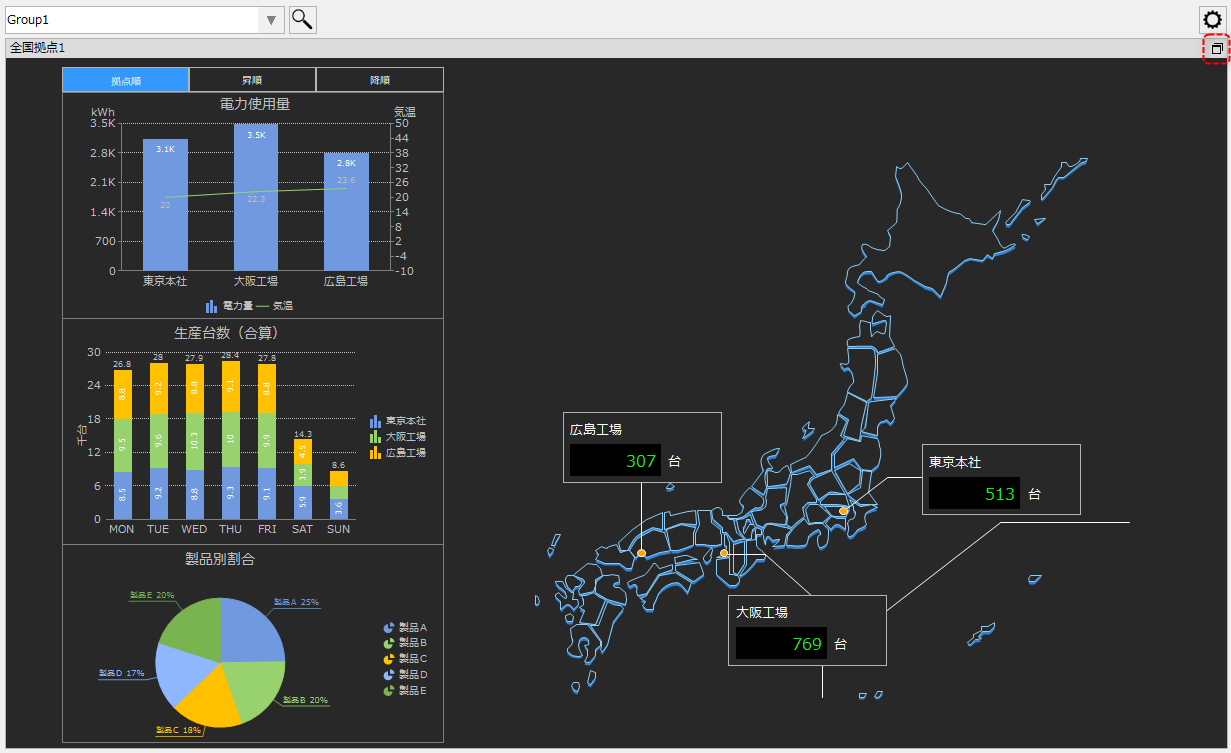
Screens and cameras are displayed in each display frame. A title bar can be displayed in the display frame. When the bar is displayed, clicking the icon below on the right will maximize the screen (or camera) in that display frame. Clicking the icon in the upper right again will return to the original state.
(Example of maximum display)
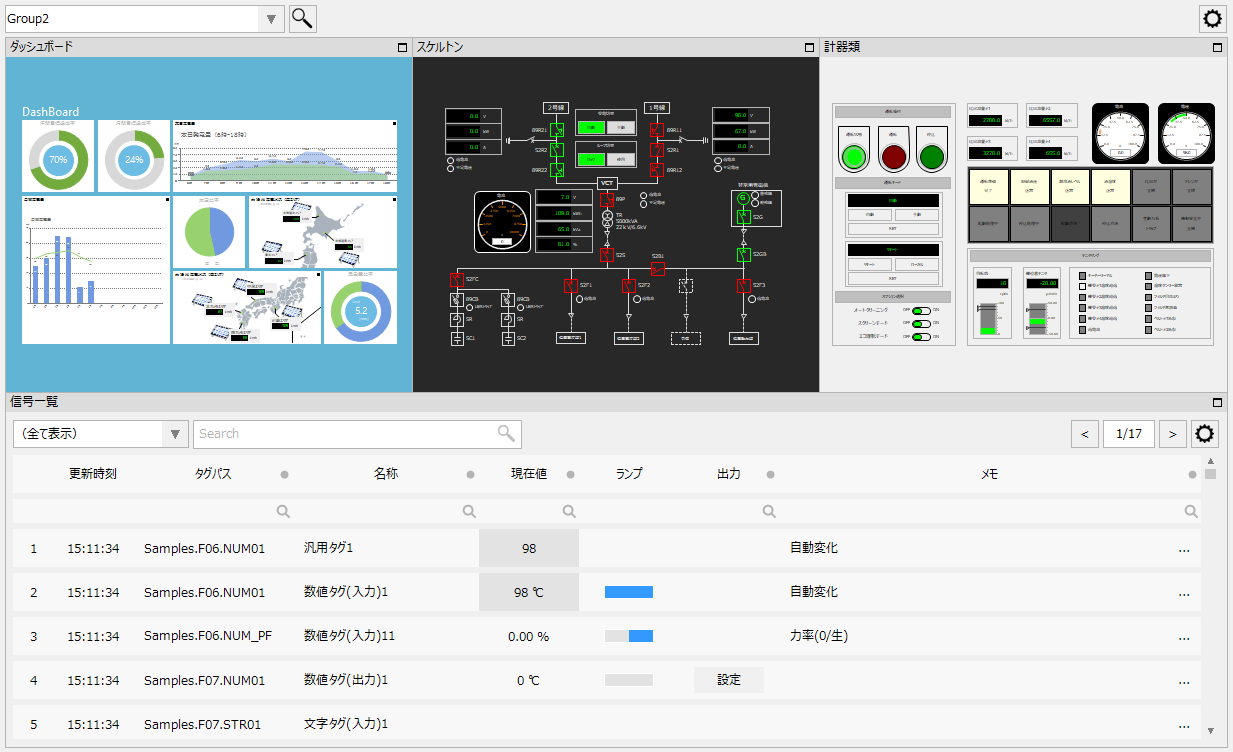
The number of divisions in the display frame and the allocation of the screens (or cameras) to be displayed can be registered for each group. By merging the display frames, it is also possible to display the following screens.
(Example of merging: 2 rows x 3 columns, merging the bottom 3 boxes)
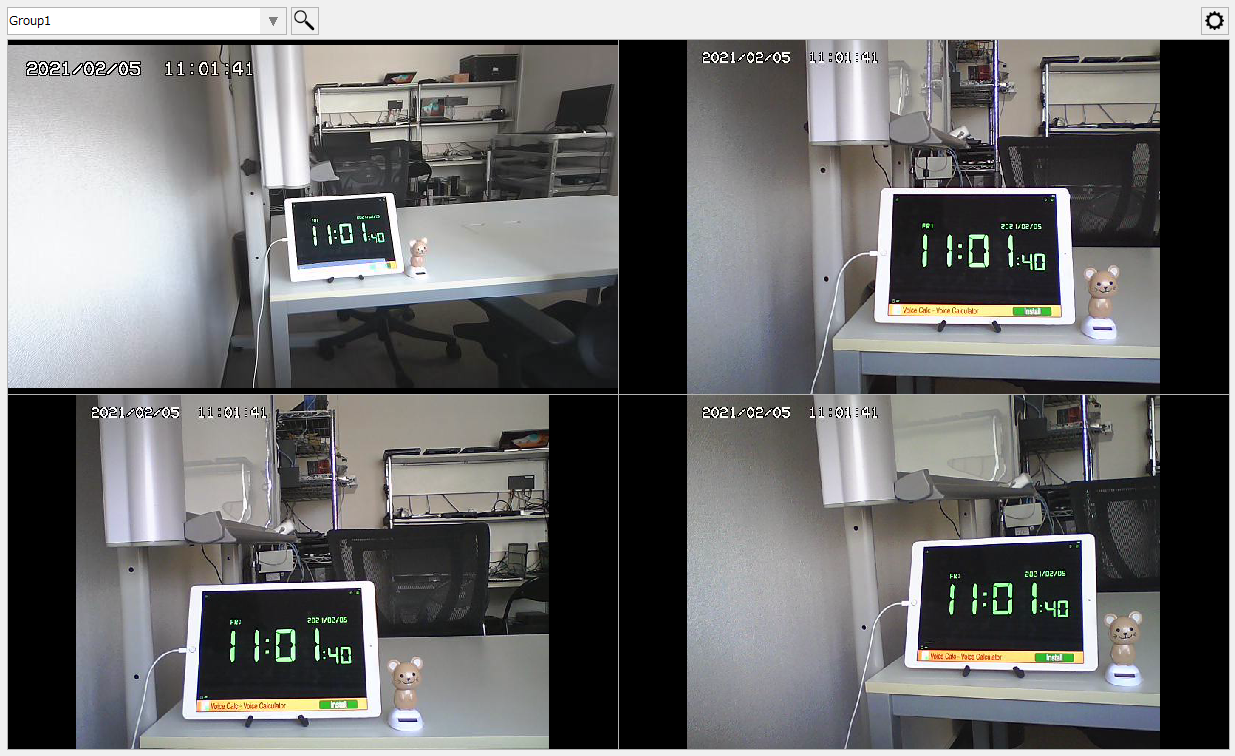
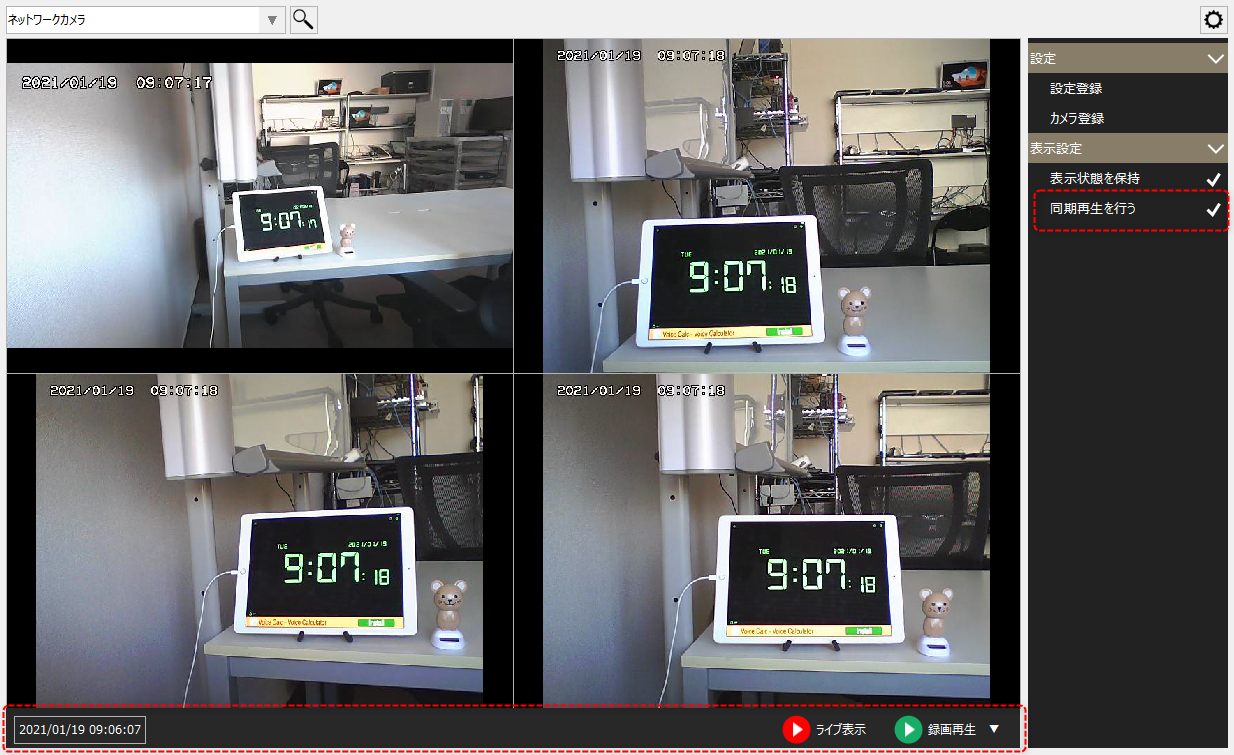
You can also register a network camera in the display frame and use it as a camera monitor.
(Camera display example)
|
Display area/Synchronized playback mode |
When you select "Perform synchronous playback" from the settings menu, operation icons for synchronous playback will be displayed at the bottom of the screen.
■ Time selection
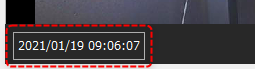
You can select the date and time to start synchronous playback from the time section at the bottom left.
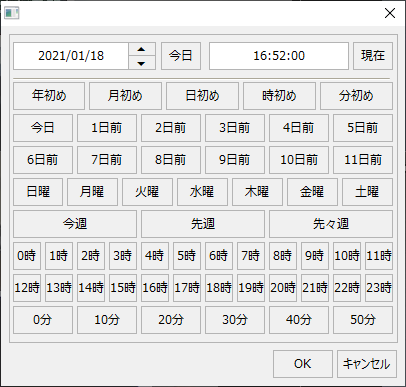
Clicking on the date and time above will display the following dialog: Select the desired date and time from the dialog.
(Date and time selection dialog)
■ Recording and playback
Clicking Play Recording will play the recording synchronously from the current date and time.
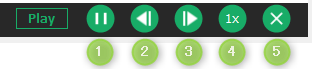
While recording or playing back, "Play" will be displayed in a green frame and the operation icons will change to the following:
Recording playback operations: 1.Pauses/plays the recording. 2.Go back one frame. 3.Advance one frame. 4.Select the playback speed (0.5, 1, 1.5, 2, 4). 5.The recording playback will end. The operation icons will return to their original state.
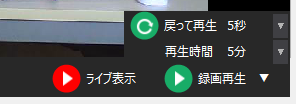
In addition, if you click the down arrow to the right of recording playback, you can set the following items.
•Go back and play...Specify how many seconds back from the cursor position you want to play back. •Playback Time: Specify the time to play the recorded video.
■ Live display
Clicking Live View will display live video from each camera currently being displayed.
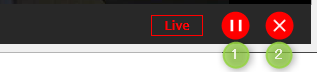
During live viewing, "Live" will be displayed in a red frame and the operation icons will change to the following:
Live display operations: 1.Pauses/plays the live video. 2.Ends live display. The operation icons will return to their original state.
|