overview
If you want to use the alarm function in a project that you have built yourself without using the standard framework, the easiest way is to incorporate the alarm function from the screen library. By manually incorporating the various alarm functions from the screen library into the target project, you can easily use standard functions such as alarm summary and alarm history.
However, for example, the function to sound an alarm is provided as part of the standard framework, so if you want to implement an alarm function in your own project, you will need to create it yourself.
Here, we will explain how to build a mechanism for sounding an alarm in an original project that does not use a standard framework.
Customization details
•Adding background forms to your own projects
•Paste the necessary components into the background form and implement the logic to sound the alarm.
•Implement operation buttons for stopping the alarm sound, switching it on/off, etc.
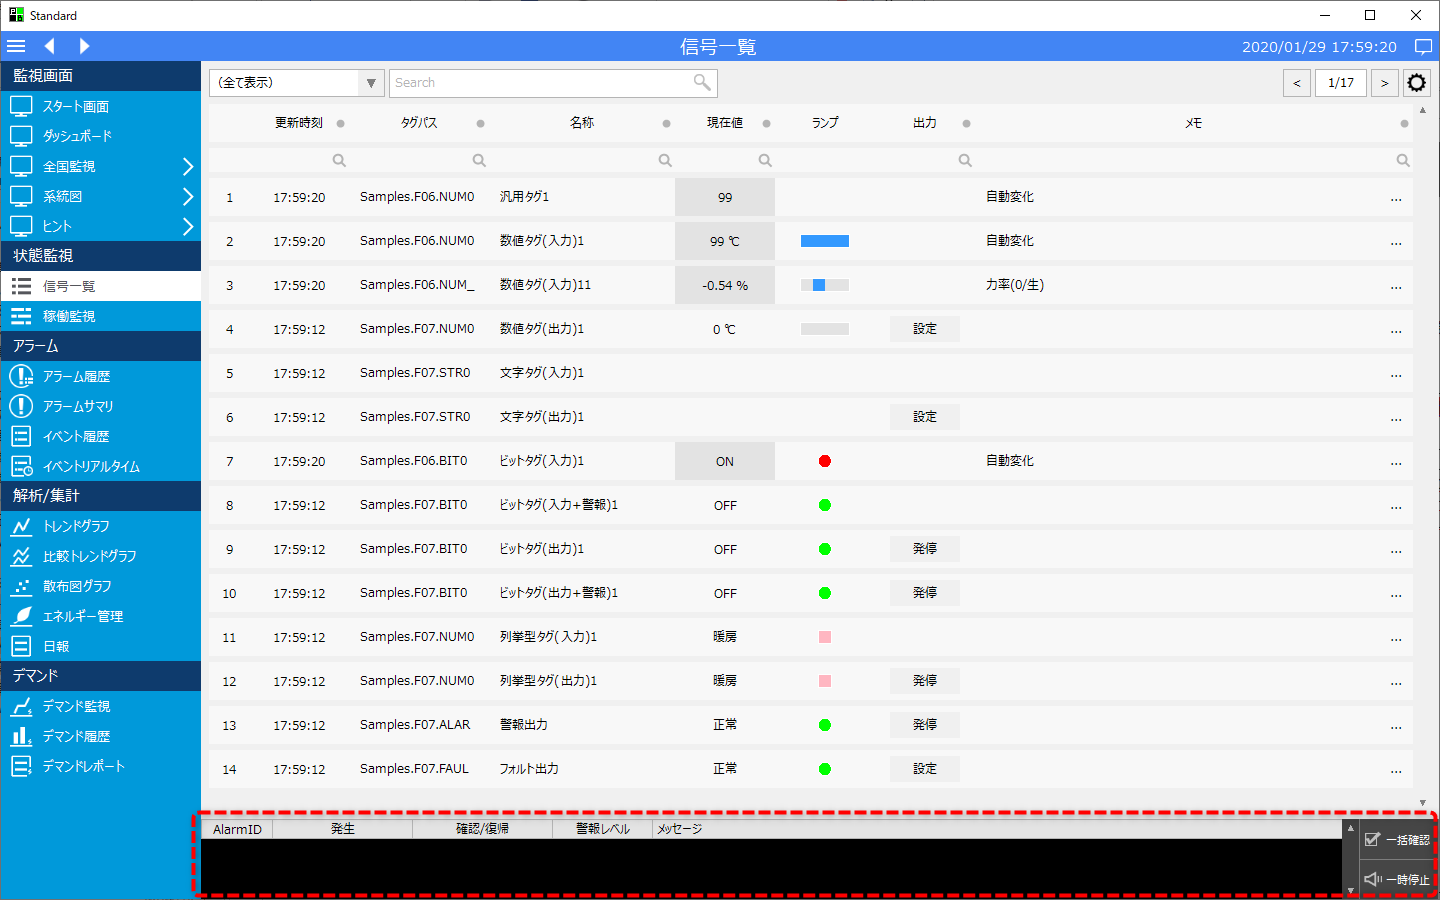
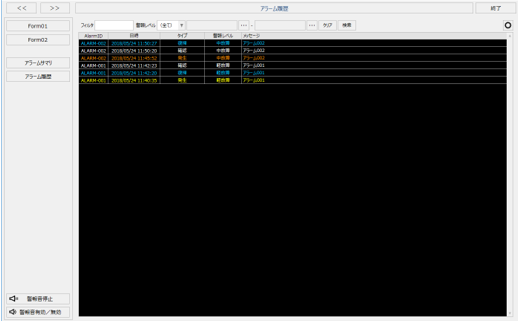
(Screen image of your own project)
|
For more information about background forms, see "Background Forms". |

Download the sample
The creation examples shown on this page are provided with samples.
The sample can be downloaded from below.
Procedure
■Add a background form
The best way to play an alarm is to use a background form, in your own projects not using a standard framework you will need to add a background form manually.
1.Add a form
From the Panel Editor workspace tree, right-click the User folder and click Add Form.
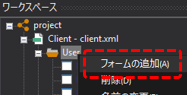
Change the name of the newly added form to "hidden".
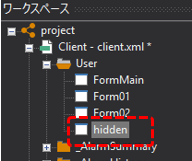
When setting a form as a background form, the name of the form does not matter. There are also no particular restrictions on where the form is stored. You can name the form anything you like, but it is best to use a name that makes it clear that this form is a background form.
2.Set the form as the background form
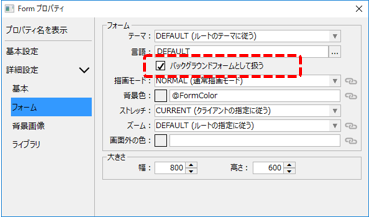
Open the properties of the "hidden" form above and check "Treat as background form" (HiddenForm property) under Advanced Settings/Form.
|
If you enable this property, the form will be a background form. A form that is set as a background form will always be open in the background while the client is running.
|
■ Implementing the logic to sound the alarm
Next, we will implement the logic by pasting the components required to generate an alarm sound into the background form we just added.
1.Paste the remote alarm client into the hidden form
From the Panel Editor control, select "Remote Alarm Client" and paste it into the hidden form.
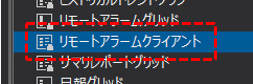
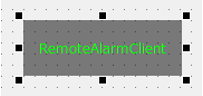
was attached to the form.
2.Paste the sound select component onto the hidden form
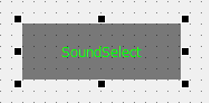
Select the Parts Library from the Library tab, narrow down your search to Basic Parts/Sounds, and paste the Sound Select part into the hidden form.
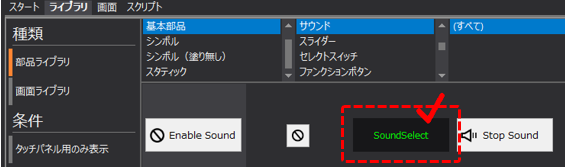
was attached to the form.
3.Remote Alarm Client Property Settings
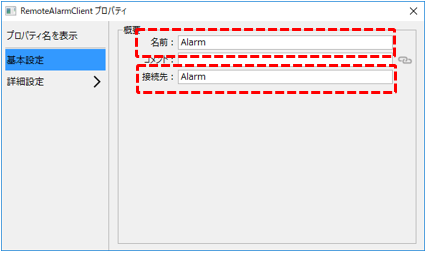
Select the remote alarm client you pasted into the hidden form and set the following properties.
|
Name (Name property): Alarm
Destination (AlarmServer property): Alarm
*Specify the Alarm server name registered in Panel Server as the connection destination.
|
4.Write the script in Remote alarm client control
With the Remote Alarm Client selected, open the Script page.
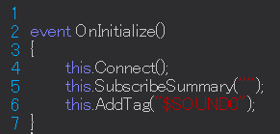
Add the OnInitialize event and write the following code.
event OnInitialize() { this.Connect(); this.SubscribeSummary(""); this.AddTag("$SOUND0"); } |
❖The code goes between "{" and "}" in the event.
❖All characters should be written in half-width characters.
❖Please distinguish between uppercase and lowercase letters. Also, the first "O" in $SOUND0 is a capital letter and the last character is a zero.
(Example)
Next, add the OnAlarmNotification event.
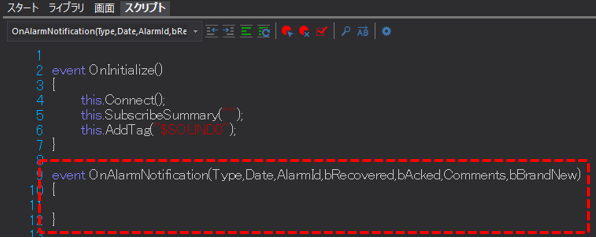
Please write the following code between "{" and "}" in the OnAlarmNotification event.
This event is called whenever an alarm occurs, is cleared, or the alarm status changes.
event OnAlarmNotification(Type,Date,AlarmId,bRecovered,bAcked,Comments,bBrandNew) { var vAlarmLevel = Comments[2];
if(Type == "new") { if(vAlarmLevel >= 1) { var vSoundVal = this.GetVal("$SOUND0"); if(vSoundVal < vAlarmLevel){ this.WriteVal("$SOUND0", vAlarmLevel); } } } } |
(Example)
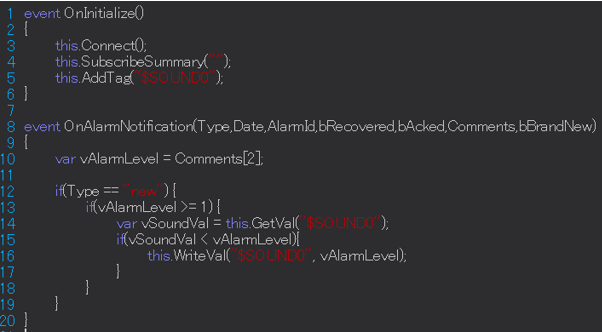
The above two event processing statements will cause an alarm sound to be sounded when an alarm occurs.
■ Implementation of alarm sound operation button
The process implemented in the steps above only sounds an alarm when an alarm occurs, and does not have a mechanism to stop the alarm. Therefore, we will add an operation button to stop the alarm and to enable/disable the alarm.
The parts library provides button parts for operating the sound select part.
The alarm sound operation process that we are adding this time will also use parts from the parts library.
1.Paste the sound control part from the parts library
With the form to which you want to paste the button selected, select the two parts, SoundEnable101 and SoundStop101, from the Parts Library in the Library tab and paste them onto the form.
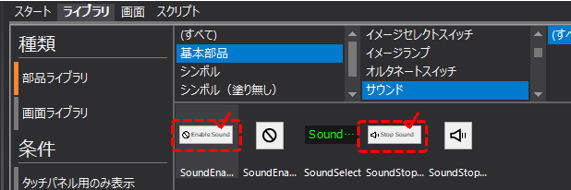
As an example, we will place it near the bottom left corner of the main screen, which is always displayed, as shown below.
|
In addition, the button size, text display content, and icon display position have been adjusted as shown on the left. After pasting the parts from the parts library, feel free to adjust them as you like.
(Reference) Edited properties: _Text Width Height TextCenterX ImageLeft ImageRight ImageTop ImageBottom
|
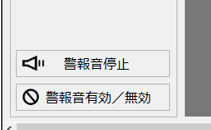
This completes the setup process.
Operation check
Now let's check how it works.
Click Online (yellow arrow) at the top of the Panel Server screen.
Next, click the browser run icon (green arrow) at the top of the Panel Editor screen to call up Panel Browser.
Panel Browser has started.
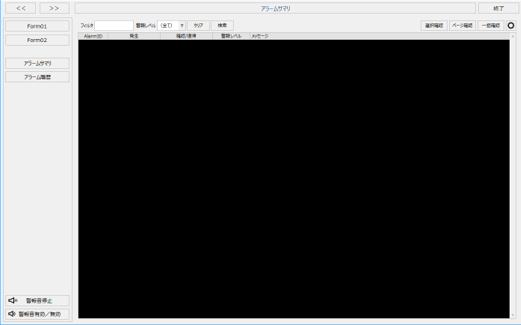
The following alarms are already set up in the sample alarm master, and tags U01.F01.M0000 to M0002 are registered as alarms.
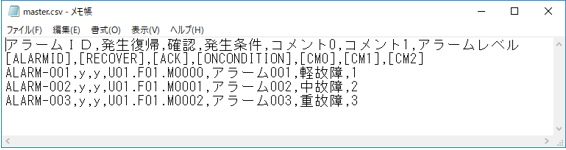
Please write True to any of the tags U01.F01.M0000, M0001, or M0002 from Panel Server.
You should then see an alarm appear in the alarm summary and an audible alarm sound for the specified level.

Click the alarm stop button located at the bottom left of the screen and verify that the alarm stops.
Next, try enabling/disabling the alarm sound. Click the switch button at the bottom of the screen to set it to the following state (the icon with a line through it is disabled).
Write True to any tag among those registered in the alarm master.
An alarm will then be generated and displayed in the alarm summary, but please confirm that no alarm sound will be heard.

supplementary explanation
■About Remote alarm client control
Remote alarm client control is a component that removes the tabular display function from the remote alarm grid.
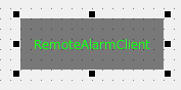
Use this control if you want to monitor alarms in the background.
The remote alarm client should call the Connect method in the OnInitialize event.
event OnInitialize() { this.Connect(); this.SubscribeSummary(""); this.AddTag("$SOUND0"); } |
By calling this.Connect() above, a connection will be made to the destination action specified in the AlarmServer property (in this example, "Alarm").
After calling the Connect method, you can call the SubscribeSummary method to receive the status of alarms detected on the Alarm server side via the OnAlarmNotification event.
And, I wrote the following code for the OnAlarmNotification event.
event OnAlarmNotification(Type,Date,AlarmId,bRecovered,bAcked,Comments,bBrandNew) { var vAlarmLevel = Comments[2];
if(Type == "new") { if(vAlarmLevel >= 1) { var vSoundVal = this.GetVal("$SOUND0"); if(vSoundVal < vAlarmLevel){ this.WriteVal("$SOUND0", vAlarmLevel); } } } } |
The OnAlarmNotification event can receive several parameters when it is called.
The ones used in this process were "Type" and "Comments".
The status of the detected alarm is passed to Type as a string. When an alarm occurs, the string "new" is passed, so in the above code we compare whether the Type is new or not.
Additionally, Comments will receive the contents of the comments defined in the alarm master as an array.
Comments[0]・・CM0
Comments[1]・・CM1
Comments[2]・・CM2
: : :
In this process, the alarm levels defined in CM2 are referenced in order to change the sound select tone for each alarm level.
Furthermore, the AddTag written in the OnInitialize event and the GetVal and WriteVal methods of this event are methods for accessing tags from scripts. When an alarm occurs, the alarm level is received and a sound is played by writing the desired value to Browser tag ($SOUND0), which controls the sound select component.
|
Details on accessing tags from scripts are described in "Reading and writing tags from scripts". |
■About Sound Select Parts
The Sound Select part is a library part for playing sound files.
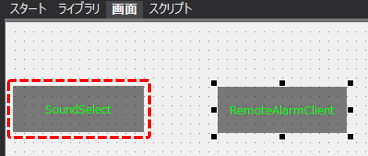
This component works in conjunction with Browser tag "$SOUND0".
$SOUND0 is used to stop sound and select sound. Writing 0 to $SOUND0 will stop sound. Writing an integer between 1 and 10 to $SOUND0 will play the sound file with the specified sound number. In this example, 1 is a minor fault, 2 is a medium fault, and 3 is a major fault.
|
If you want to change the alarm sound to a different tone, you can do so by changing the sound file set in the Sound Select part. For details about the Sound Select part, see "Sound Select". |
|
Standard projects using the standard framework come equipped with a function that sounds an alarm when an alarm occurs. In the standard framework, the logic for sounding the alarm is implemented in the common alarm summary script (*Remote alarm client control is not used). The common alarm summary display area can be hidden by editing the layout on the system settings screen of the standard framework, but if the common alarm summary is hidden, the mechanism for sounding the alarm will not work. Therefore, if you use the alarm function with the standard framework, make sure to display the common alarm summary at the bottom or top of the screen.
(Standard framework common alarm summary display)
|