Creating a new standard project
The following describes how to create a new project that includes an alarm function using the wizard function of the standard framework.
For detailed instructions on creating a standard project using the wizard, please refer to "Creating a Standard Project".
|
The standard project comes with samples, which you can open in Panel Editor. For more information on how to open the samples, see "Frame Library Help/About the Samples". |

■ Work procedure
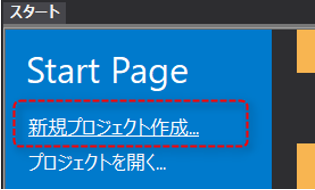
1.From the start page, select "Create a new project"
From the Panel Editor start page, click "Create New Project."
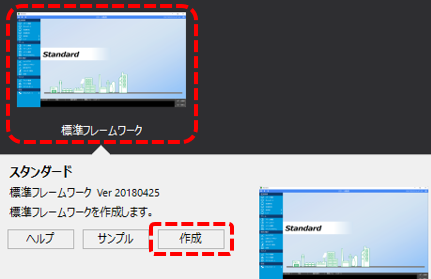
2.Select the standard framework and open "Create"
Click "Standard Framework" from the list displayed on the start page, and then click the "Create" button displayed at the bottom of the screen.
3.Setting the display style of the project's basic information and display frame
Follow the on-screen instructions to set basic project information (project name, project folder, etc.).
4.In the Select standard features to include in your project section, select the features you want.
From the screen below, you can select the features you want to include in your project.
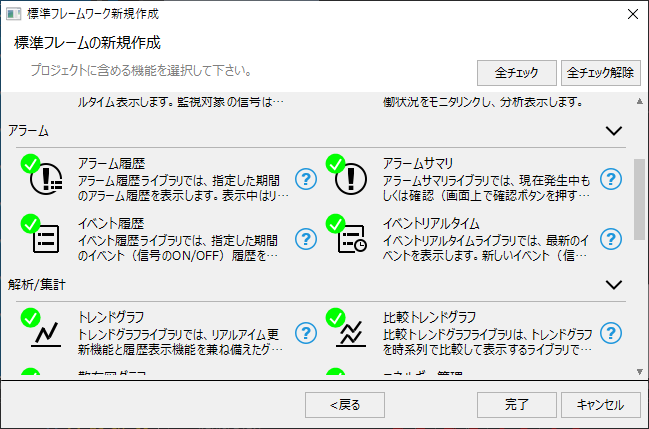
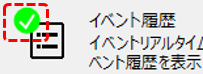
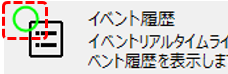
You can include the features you want to include in your project by checking the boxes next to them.
(enabled state)
|
(Disabled state)
|
Check the desired alarm function and click the Finish button.
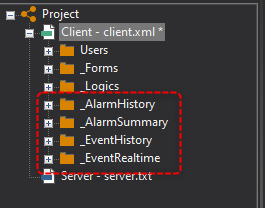
If you view the automatically generated project in the Panel Editor workspace tree, you will see that it contains alarm-related folders like the one below.