New Guidance Registration
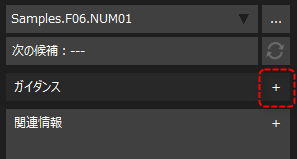
By clicking the "+" button below on the information bar, you can register new guidance information for the currently selected information (in the example below, the tag path is "Samples.F06.NUM01").
|
If you want to know how to select candidates in the information bar, please refer to the description in "Displaying candidates and selecting them" in the information bar. |

When you click the button above, the following dialog will be displayed. If you want to add new guidance, select "Add new guidance."
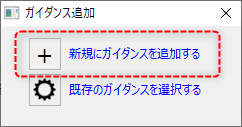
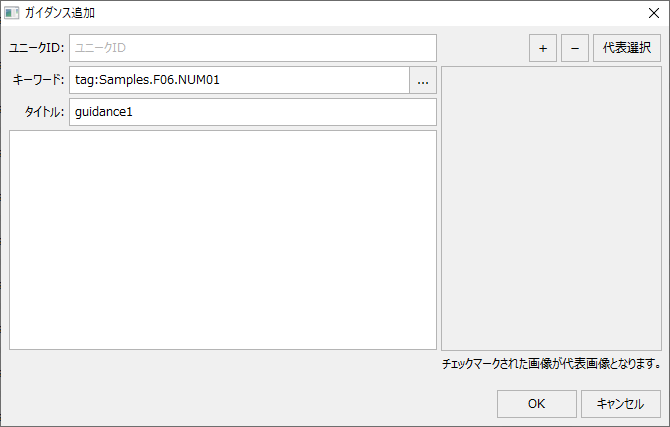
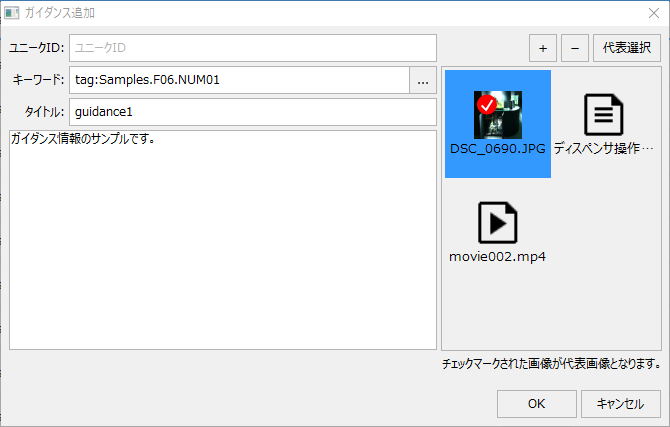
This will display the Add Guidance dialog box, where you can register new guidance information.
(Add Guidance Dialogue)
|
The "Unique ID" is used as an identifier to call up guidance information by specifying the ID from other functions. If you do not use a unique ID, you can leave it blank. If you do specify one, specify a unique string that will not be duplicated across all guidances.
In "Keywords", specify keywords to associate with the guidance information, such as a tag path or alarm ID. If a candidate tag is selected in the information bar, the keyword field will open with information already set. If you do not want to associate the guidance information you are editing, leave the keywords field blank.
In "Title", give the name of the guidance information you are registering. You can freely edit the title. Please give it an easy-to-understand name.
In the editing area in the center of the screen (below the title), you can freely enter the text you want to display as guidance information. The content you enter here will be displayed in the information bar and guidance viewer.
|
■ Editing keywords
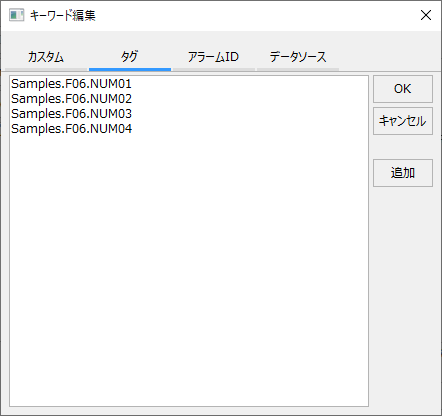
Clicking the selection button "..." to the right of a keyword will display the keyword editing dialog.

(Keyword Editing Dialog)
|
On this screen, you can edit keywords to associate guidance information.
There are three categories that can be set for keywords: "Custom," "Tag," "Alarm ID," and "Data Source." These can be switched using the tabs at the top of the screen.
|
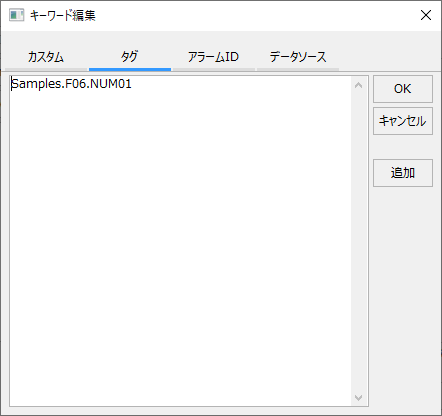
To set a keyword, click the "Add" button on the right side of the screen.
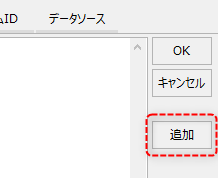
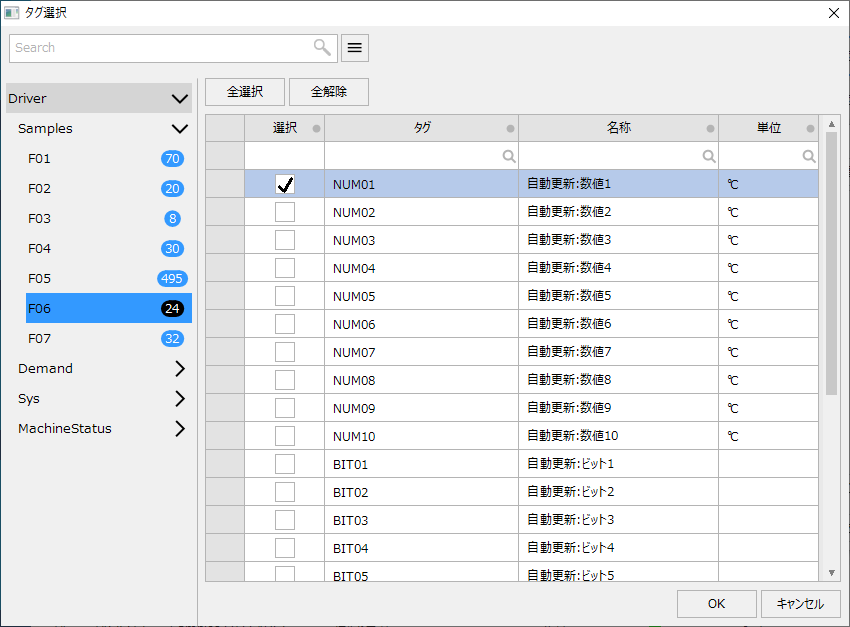
This will display a selection dialog for the currently displayed tab, allowing you to select the target information from the dialog. For example, in the case of tag keywords, a tag selection dialog will be displayed, allowing you to select the tag to associate from the screen.
(Example of the keyword editing/tag selection dialog)
■File registration
Any file can be registered as guidance information.
To add a file, click the "+" button below.
This will display a file selection dialog.
(File selection dialog)
|
|
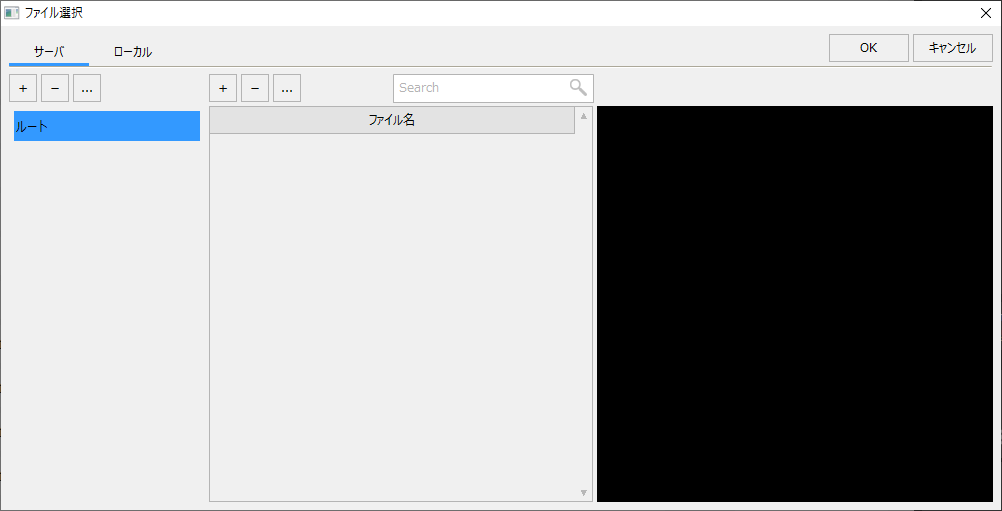
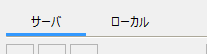
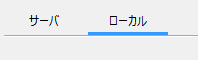
The references in the file selection dialog are broadly divided into "Server" and "Local", and can be switched using the tabs at the top of the screen.
|
If you select "Server", you can save it as a common file for the entire system. The file specified here will be copied to the "resource" folder in the public folder on the server side, and will be available for common use from other functions. It is convenient to manage files that you want to use commonly across the entire system (such as system operation manuals) on the server side.
|
|
If you select "Local", the file will be registered as a local file on the client PC you are currently using. The files registered here will be managed separately for each client PC. If you want to manage files separately for each client PC, save them locally.
|
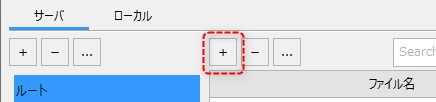
Here we will briefly explain how to save files on the "server".
To add a file to the server, click the "+" button above the file name.
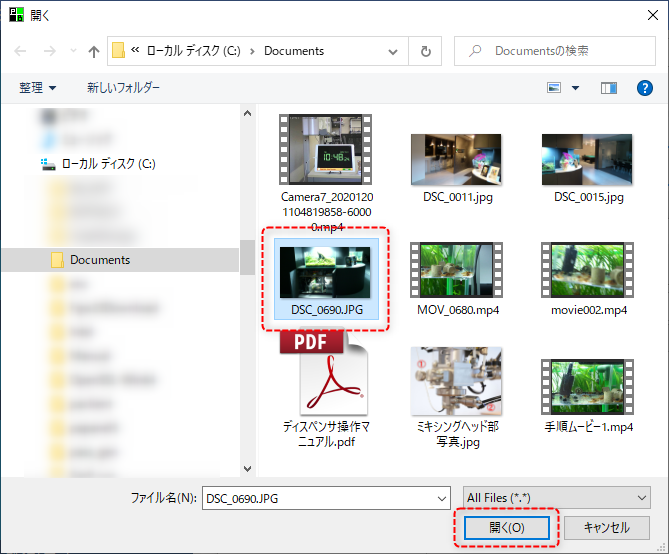
A file selection dialog will then be displayed; select the desired file and click the "Open" button.
The following dialog box will then be displayed, allowing you to specify the name of the file to be saved on the server. If you are happy with the name, click OK.
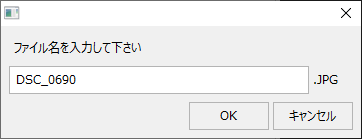
The specified file will then be downloaded to the server and its name will appear in the list.
|
Select the file you want to register in the guidance information from the list and click the "OK" button.
|
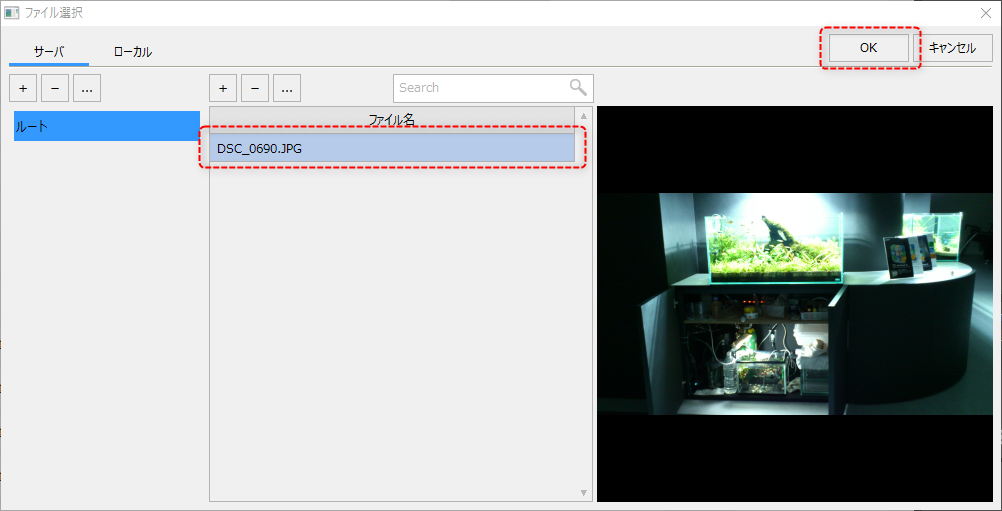
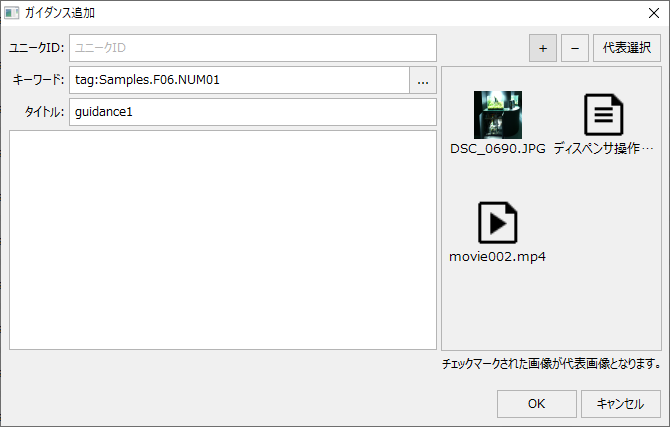
Once a file is selected, a thumbnail will appear on the right side of the Add Guidance dialog.
|
You can also register multiple files. The example on the left shows multiple files registered.
|
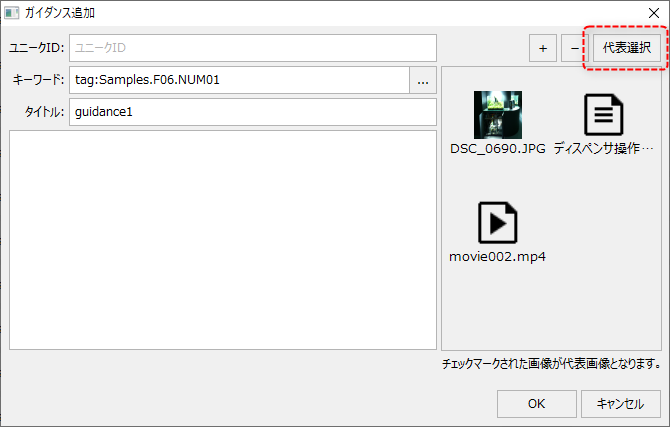
Once you have added your images, select the file you want as the representative. The selected file will be displayed as the default in the Guidance Viewer and Information Bar.
|
First, click the "Representative Selection" button. The button will then change to "Representative Selection" and you will be in selection mode. In this mode, a round check box will appear above the image, as shown below. Check the image you want to use as the representative image, and click the "Representative Selection" button again to confirm the selection and return to normal mode.
|
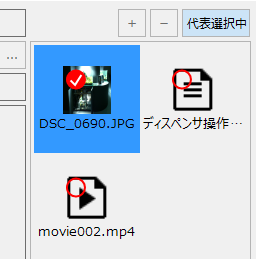
Below is an example configuration.
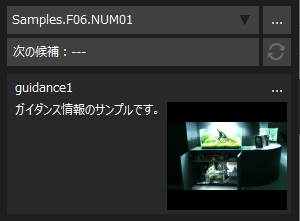
Clicking the OK button will save the guidance information and display it in the information bar.
Select and assign existing guidance information
You can assign previously registered guidance information to the information currently selected in the information bar.
If you want to assign existing guidance information, click the "+" button below.
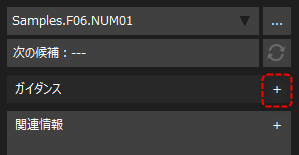
The following dialog will appear, so select "Select existing guidance."
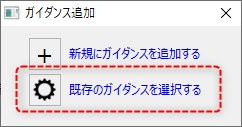
This will display the Guidance Selection dialog.
(Guidance selection dialog)
|
The registered guidance messages are displayed in a list format at the top of the screen. You can select the desired guidance message from the list.
The currently selected guidance information is displayed at the bottom of the screen.
|
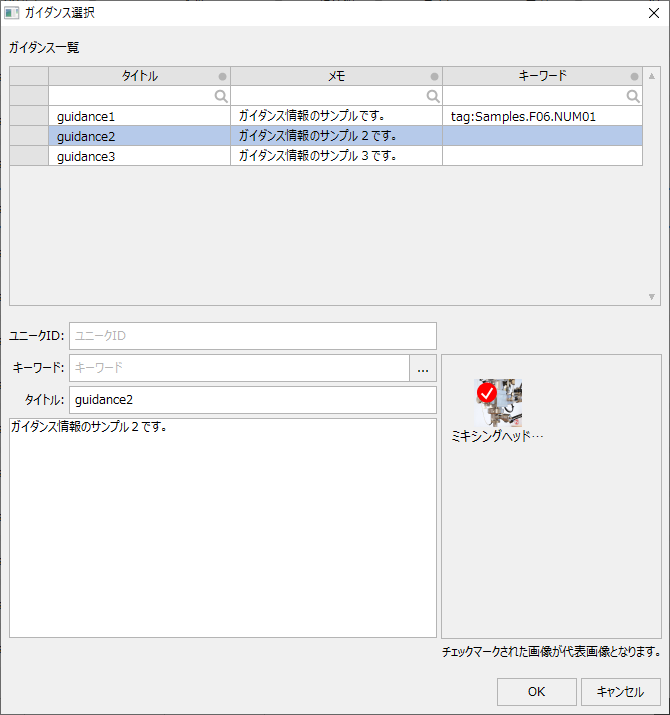
When you select the desired guidance information from the list and click the OK button, the currently selected information will be registered as a guidance keyword and associated with it.
|
Guidance information can be commonly referenced from multiple tags, etc. For example, if you want to display the same guidance information from multiple tags, you can define the tags you want to target by listing them in the tag keywords of the guidance information (or you can achieve the same result by registering new guidance information for the first tag, and then selecting and assigning the registered guidance information from the other tags one by one).
(Example of multiple tag keywords)
|
Editing Guidance Information
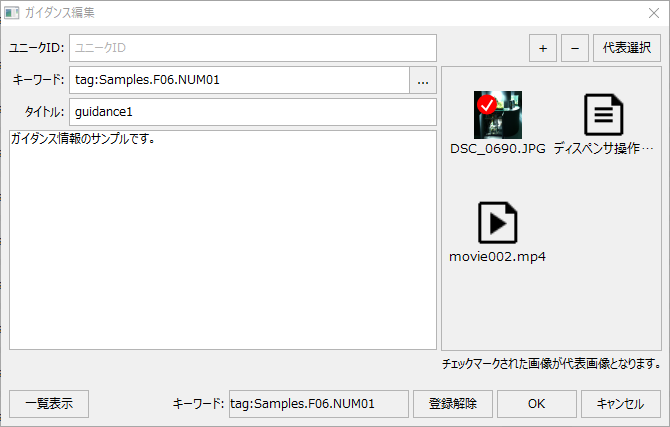
When guidance information is displayed in the information bar, clicking the settings button "..." will pop up the guidance editing dialog.
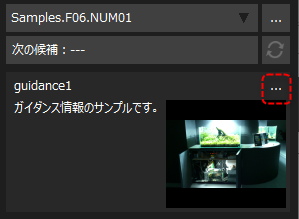
(Edit Guidance Dialog)
|
In the Edit Guidance dialog, you can edit the guidance information currently being displayed.
|
Registration/Editing from the Guidance List Screen
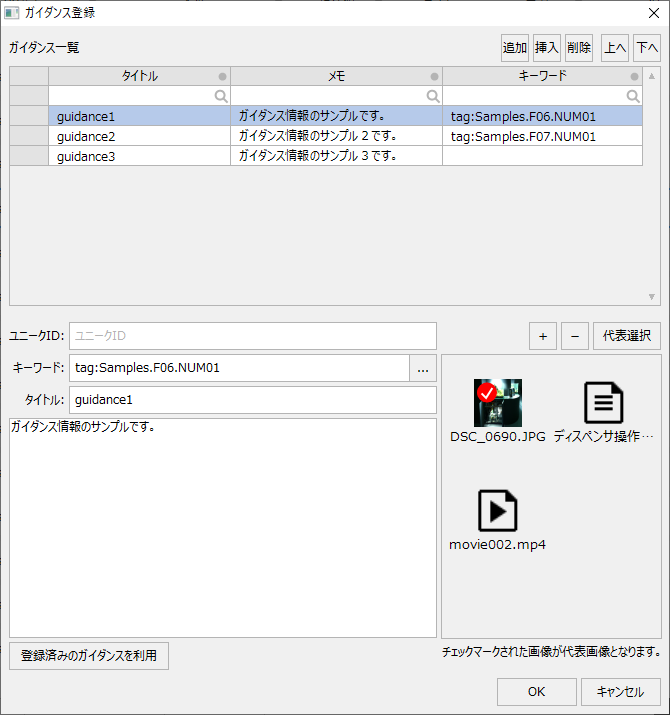
You can register/edit guidance information from the Guidance List screen.
(Guidance list screen)
|
A list of guidance messages is displayed at the top of the screen. You can select the desired guidance message from the list.
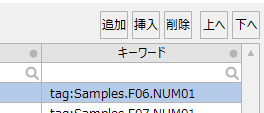
Click the buttons in the upper right corner of the list to add, insert, or delete guidance.
The bottom of the screen displays the guidance information currently selected in the list. You can edit the guidance information from this screen.
Clicking the "Use registered guidance" button will display the guidance selection dialog, allowing you to select and copy existing guidance information to use for the guidance information you are currently editing.
|
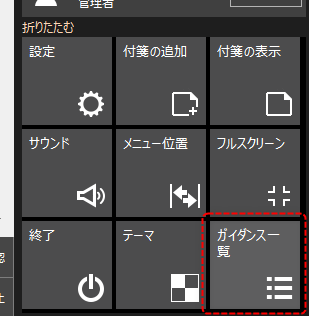
The Guidance List screen can be set to be called from the menu or information bar. Calling the Guidance List is available as a special function of the menu or information bar, and can be displayed by adding it to a menu item.
(Example of the guidance list button displayed on the information bar)
|
|
|
How to add special functions to the menu, such as calling up the guidance list screen, is described in "Editing Menus" in the system settings of the standard project. |