This section explains how to edit the menu.
Click on the links below to jump to the relevant section of this page.
•Special functions in the menu
To edit the menu, select the Style Settings tab from the System Settings screen and select "Edit Menu" from the menu on the left side of the screen.
|
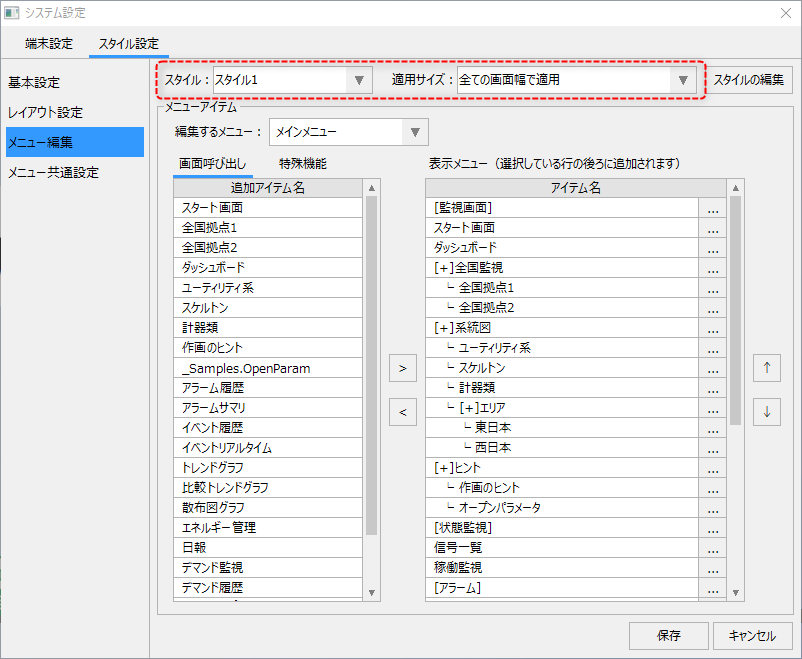
The menu settings can be made for each style and size. Please make sure that the style you want to edit is selected in the combo box on the left.
|
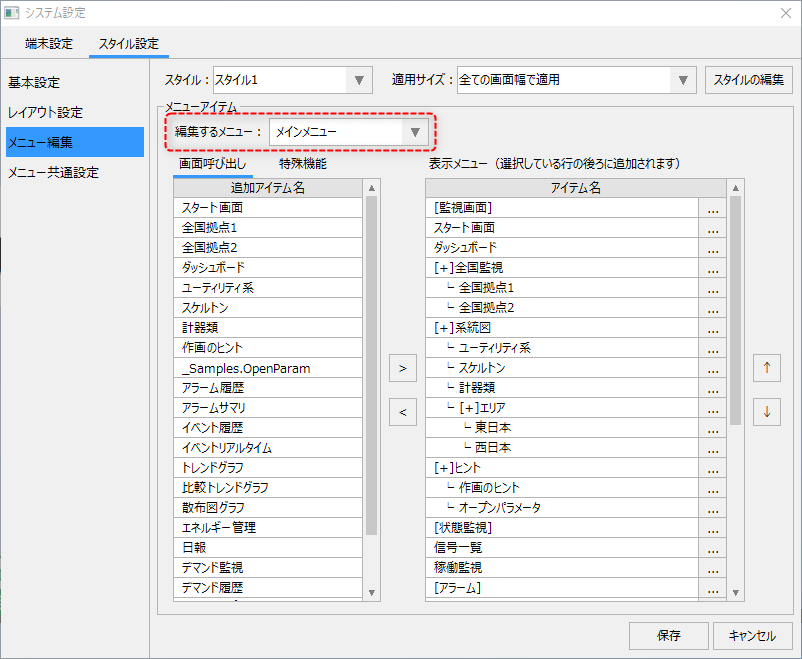
When editing a menu, first select the menu to be edited from the combo box below.
|
|
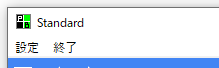
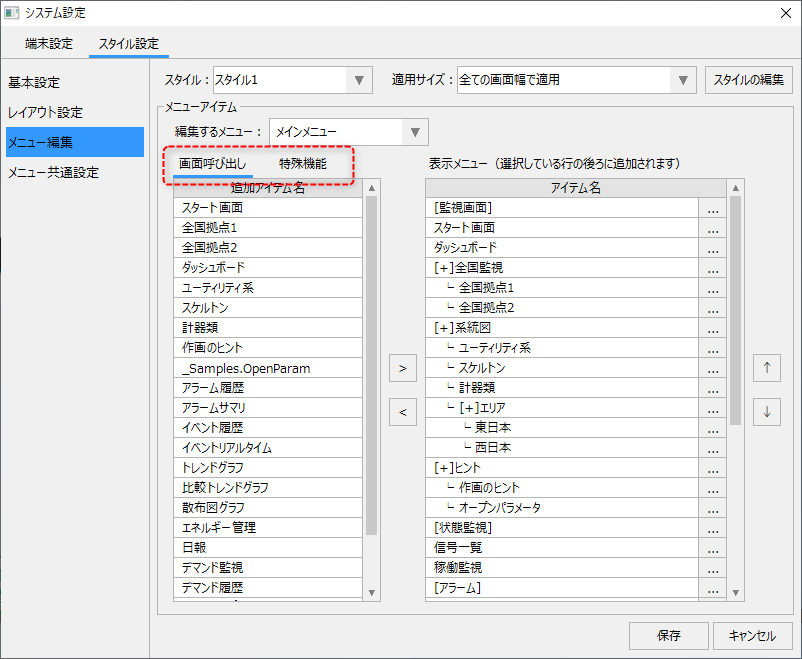
The list of items to add to the menu is divided into two tabs: "Screen Calls" and "Special Functions".
|
The screen recall list displays a list of screens that can be added to the menu.
The Special Features list displays the special features that you can add to the menu. For details about special functions, please refer to "Special Functions in the Menu" on this page. |

You can edit the menu as follows:
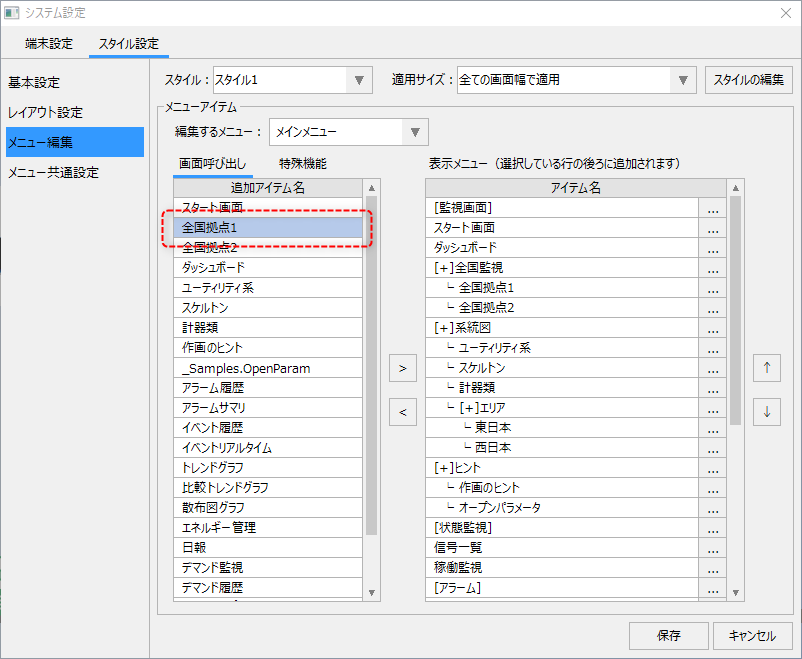
1.Use the mouse to select the screen or special function you want to add from the list on the left.
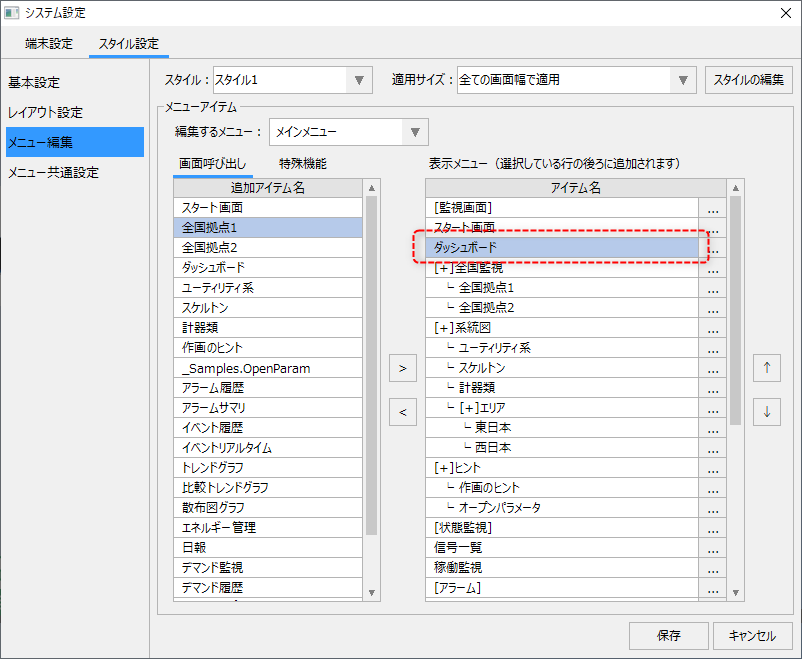
2.Use the mouse to select the location to add from the list on the right.
3.Clicking the right button in the center of the screen will add an item (a new item will be added to the line next to the one selected in the list on the right).
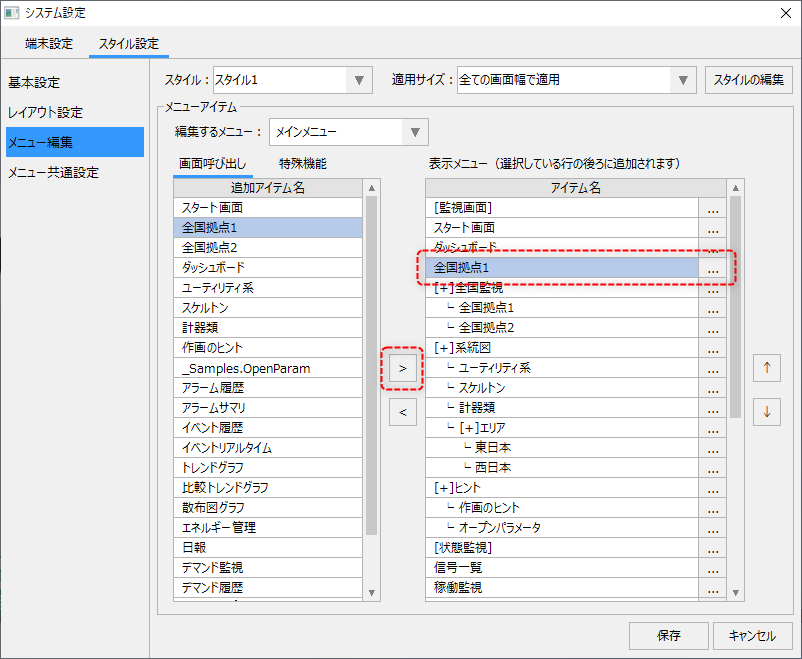
To edit the display order of the menu, use the up and down arrow buttons on the right side of the screen. To delete a display item from the menu, select the item you want to delete from the list on the right and click the left arrow button "<" in the center of the screen.
The following special functions can be added to the menu as items. By adding these functions to the menu, it is possible to call up a variety of functions.
function |
explanation |
remarks |
[Group name] |
Adding this item allows you to define menu groupings. |
|
[+]Pop-up menu |
Adding this item allows you to define a popup menu. |
|
Separator |
Adds a separator to the menu. |
|
setting |
Calls up the system settings screen. |
|
Add a sticky note |
Adds sticky notes. For details, see "Sticky Notes Function". |
|
View Sticky Notes |
This function allows you to switch between full display and non-display of sticky notes. |
|
Sticky Note List |
Call up the Sticky Notes list. |
|
Guidance List |
Calls up the guidance list screen. |
|
Camera Registration |
Calls up the camera registration screen. |
|
Full Screen |
Full-screen display switching function. |
|
theme |
The theme selection screen will be displayed. |
|
sound |
This is the sound enable/disable switch function. |
|
Menu Position |
This function switches the display position of the side menu from left to right. |
|
end |
Close the browser. |
|
Log in |
Log in/log out. |
|
Username (icon + user name) |
Displays the user icon and user name. |
Header and footer only. |
Username (username) |
Displays the user name. |
Header and footer only. |
Username (icon) |
Displays the user icon. |
Header and footer only. |
Page forward |
Switches to the next screen in the screen display history. |
|
Back to page |
Switches to the previous screen in the screen display history. |
|
title |
Displays the title of the screen. |
Header and footer only. |
clock |
Displays the clock. |
Header and footer only. |
Large lamp |
You can add a display component that displays the value of any tag as a lamp. |
Header and footer only. |
Small lamp |
The above is a small lamp part. |
Header and footer only. |
Number |
You can add a display component that displays the value of any tag as a number. |
Header and footer only. |
The menu item provides detailed settings.
Detailed settings for menu items can be made from the settings screen displayed by clicking the "..." selection button to the right of each menu item.
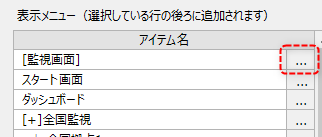
The contents of the detailed settings vary depending on the type of menu item.
■ Screen call detailed settings
The following describes the detailed settings for the menu items that call up the screen.
|
The contents of each setting item are as follows:
|
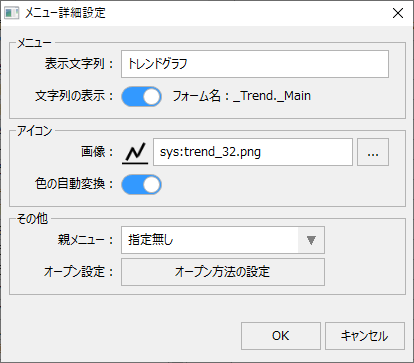
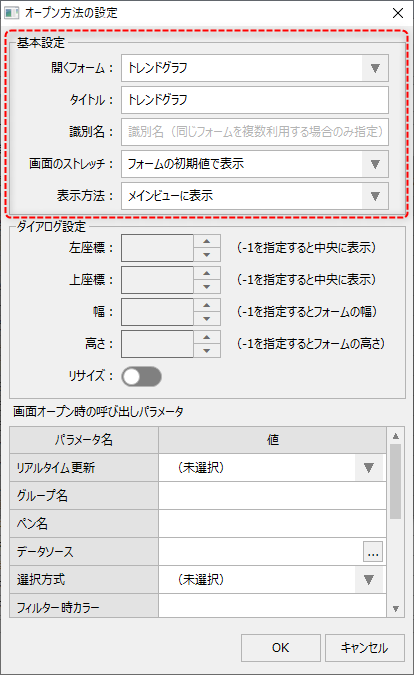
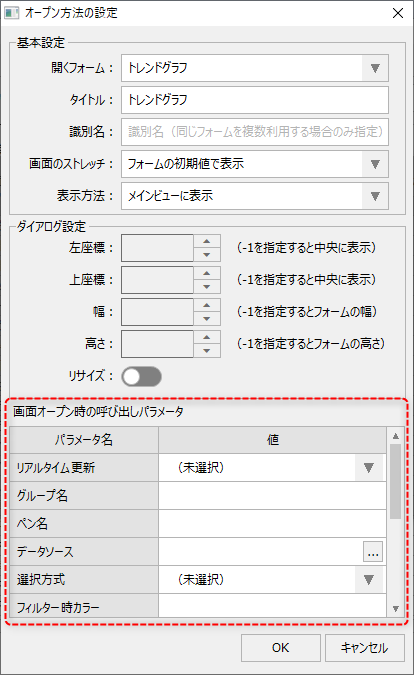
Clicking the "Open Method Settings" button from the Advanced Settings menu will display the settings screen for how the screen will be opened when it is called. By specifying parameters on this screen, you can specify the behavior of the called screen. The types of parameters that can be specified vary depending on the target screen.
|
The basic settings include the following:
|
|
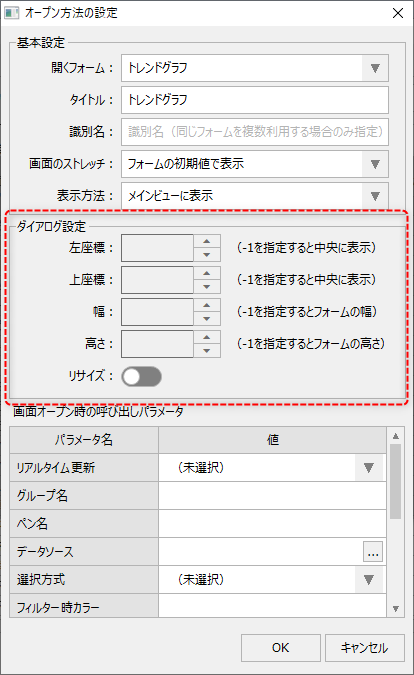
In the dialog settings, configure the following:
|
|
When a screen is opened, you can specify the open parameters in the call parameters. The open parameter settings vary depending on the screen being called.
For more information about the open parameters of the screen library, see "About the open parameters of the screen library" in the Screen Library Reference.
|
In the menu common settings, you can set common settings for the header menu and footer menu.
From the System Settings screen, select the Style Settings tab and select "Menu Common Settings" from the menu on the left side of the screen.
|
On this screen, you can make the following settings for the header menu and footer menu.
|
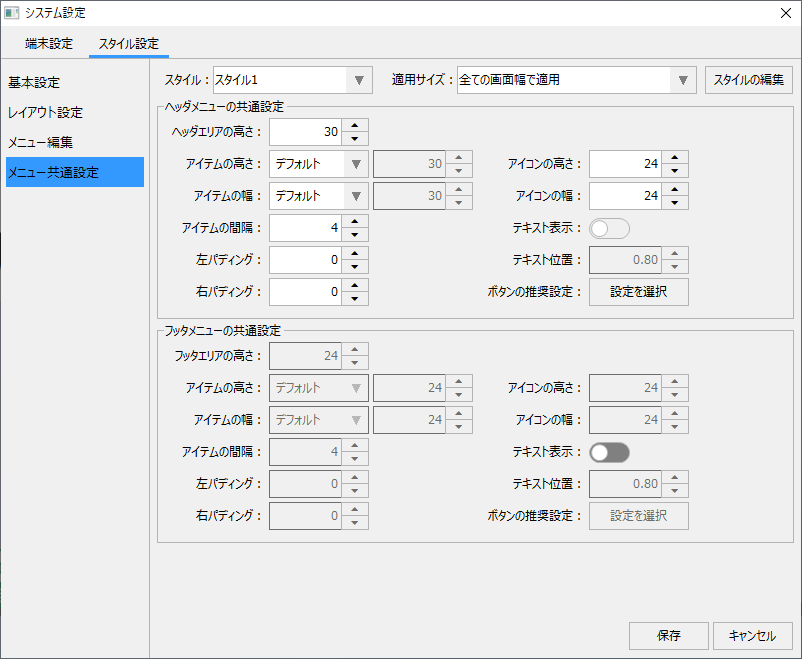
Clicking the "Choose Settings" button will display the recommended size selection dialog shown below.
By selecting recommended settings from this dialog, you can replace the various setting values on this screen with the recommended values all at once.