About the Sticky Notes feature
The standard framework has a built-in sticky notes feature.
The sticky note function allows you to paste text information on the screen like a sticky note. The sticky note information is stored on the server side, so it is possible to share information between multiple clients using sticky notes.
Sticky notes can be attached to all screens, and not only to graphic screens, but also to standard function screens such as trend graphs and alarm summaries.
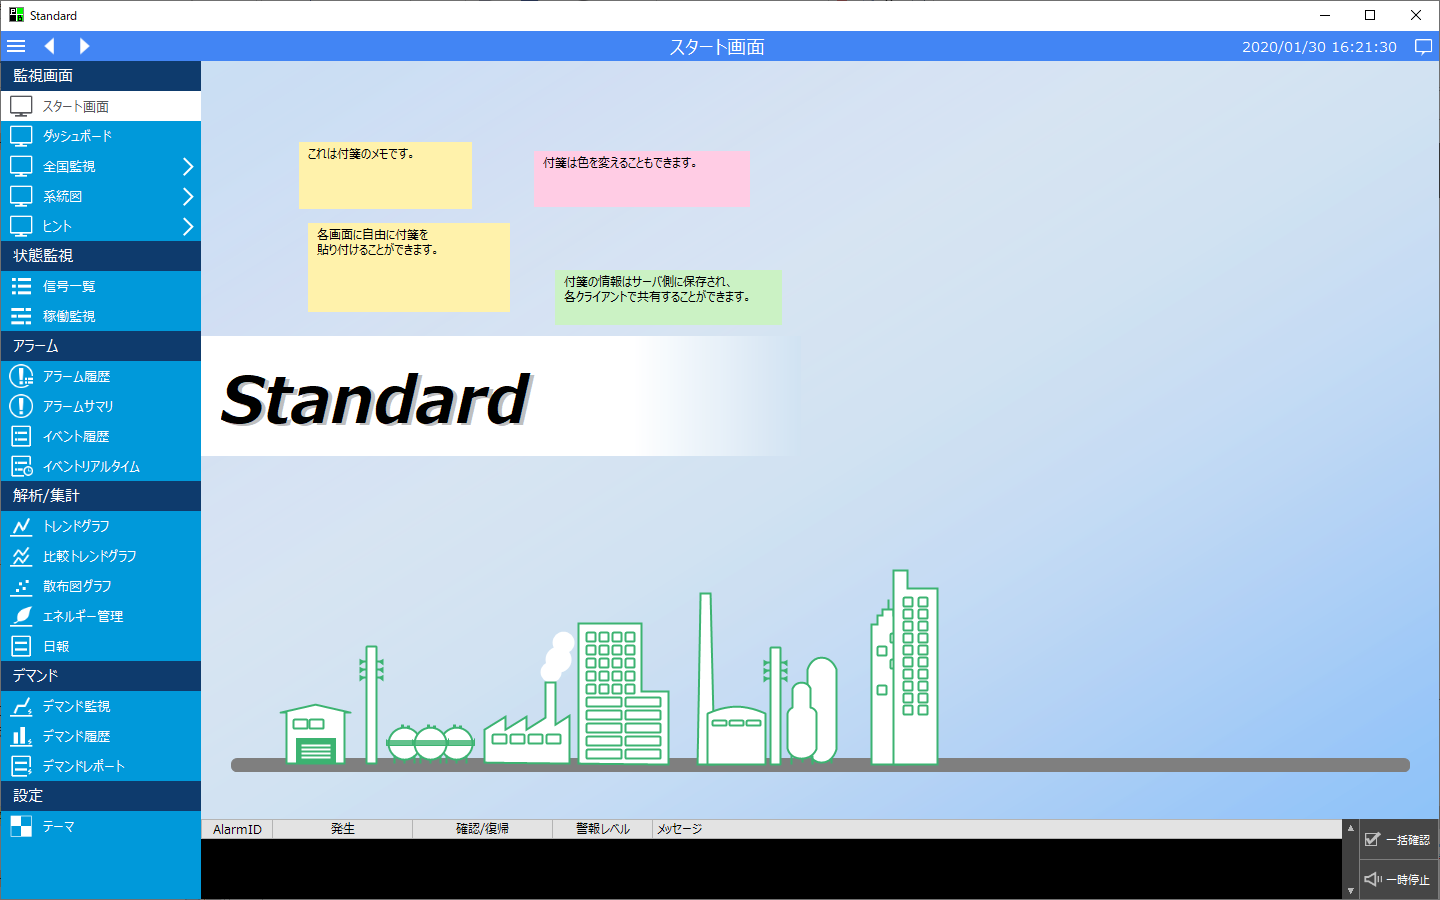
(Example of a form with sticky notes attached)
The sticky notes function can be accessed by default from the following icon on the information bar.
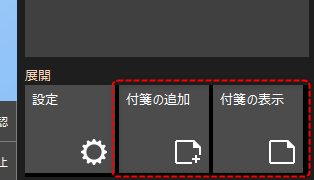
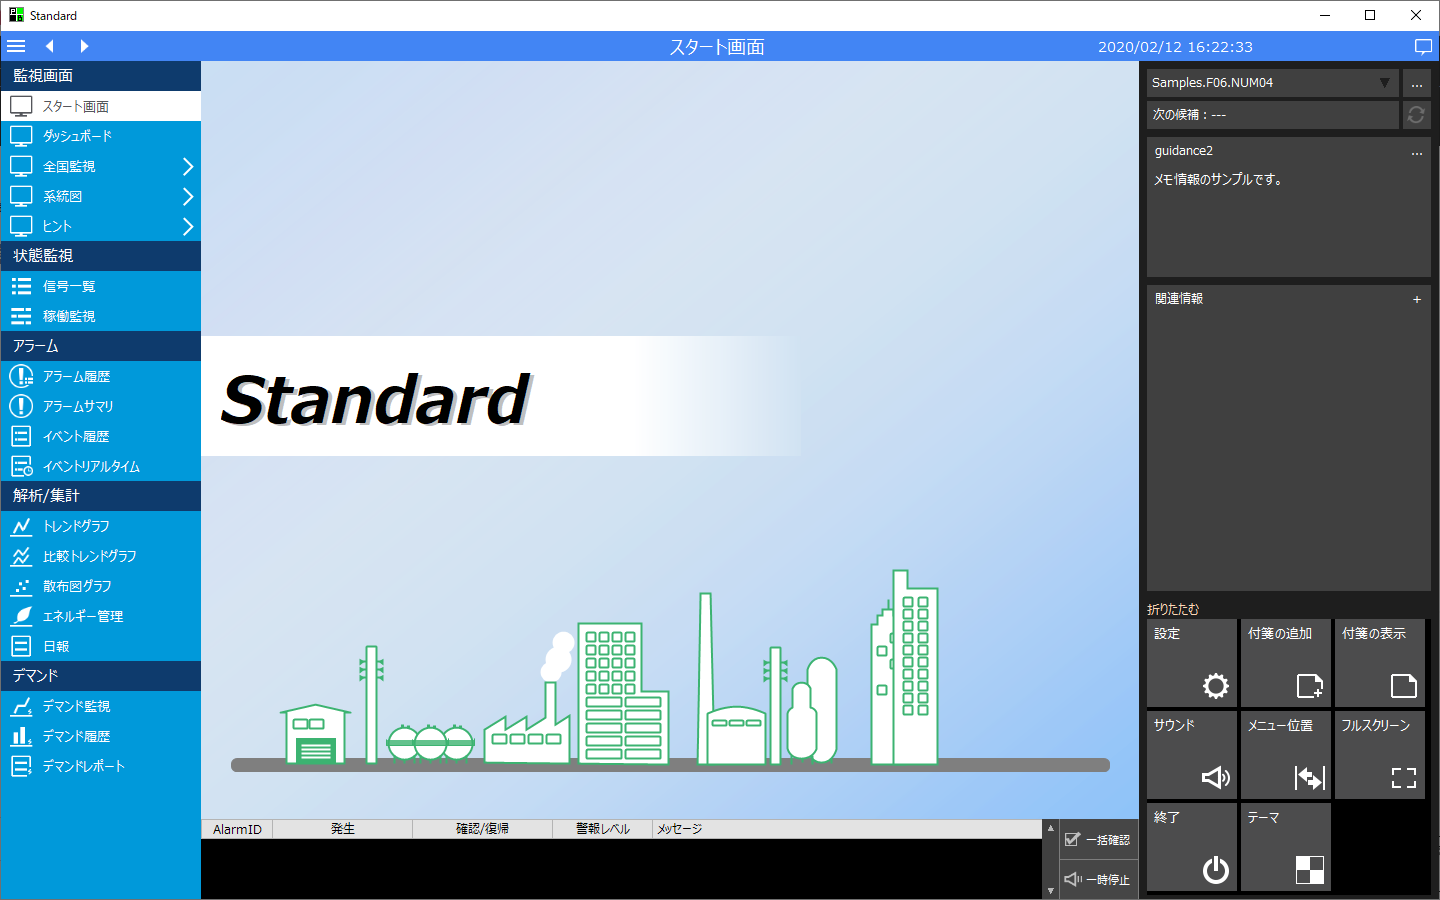
First, make sure the screen where you want to attach the sticky note is displayed and display the information bar.
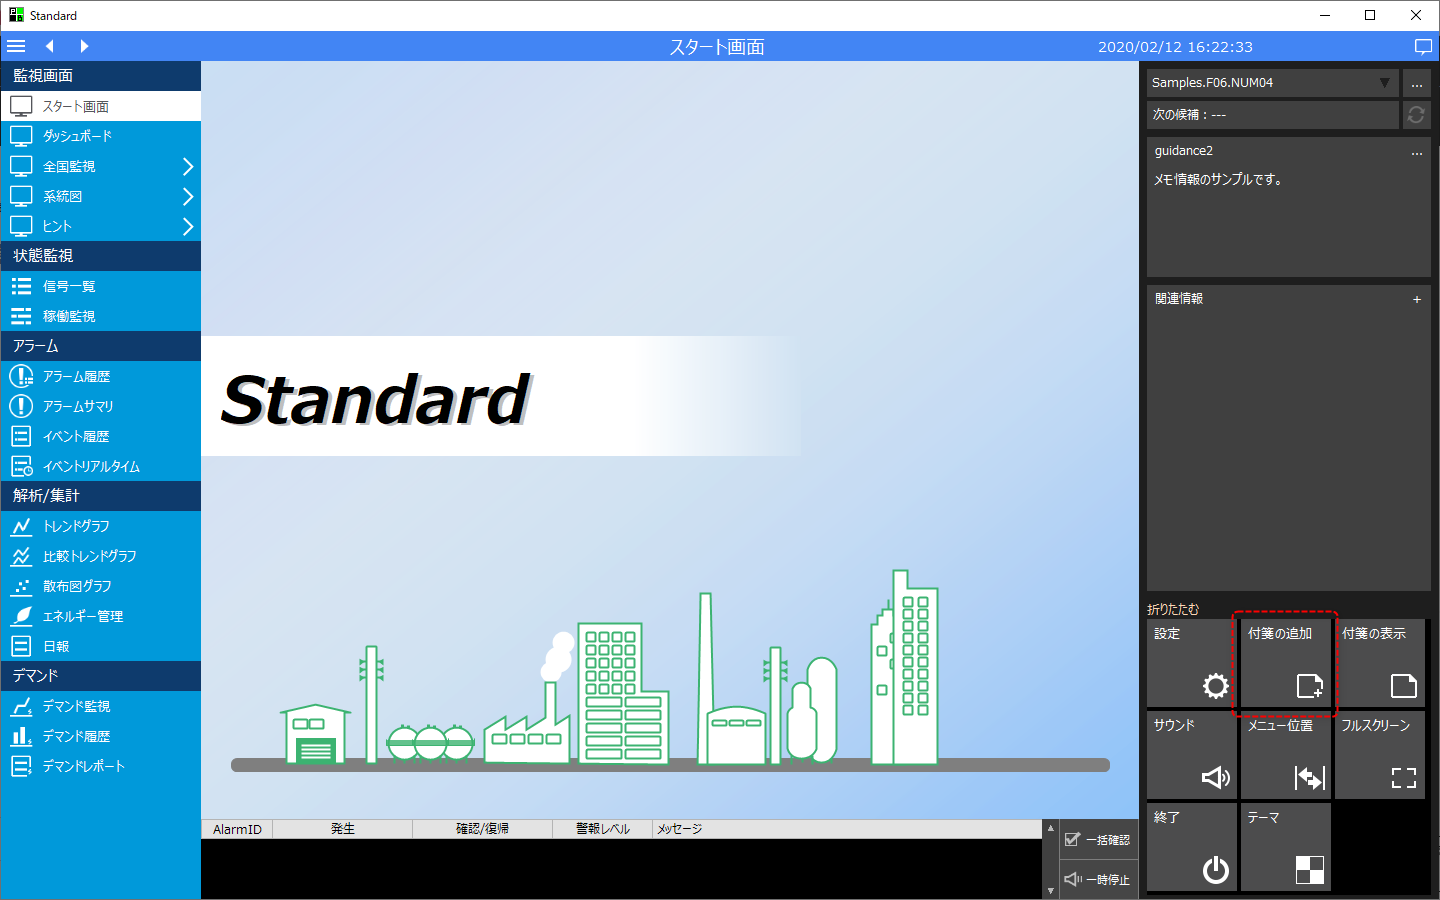
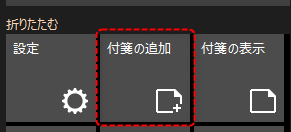
Click the "Add Sticky Note" icon from the information bar.
|
(Add Sticky Note icon)
|
This will paste a new sticky note in the center of the currently displayed screen.
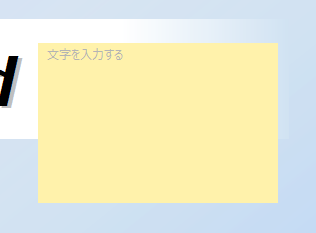
Clicking on the pasted sticky note will put it into editing mode, allowing you to enter text directly.
Furthermore, when you are editing a sticky note, the top will be displayed as a bar like the one below. By dragging this bar with the mouse, you can move the sticky note to any location on the screen.
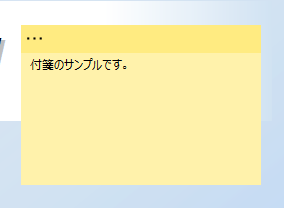
If you move the focus away from the sticky note by clicking another part of the screen, the editing state will be canceled.
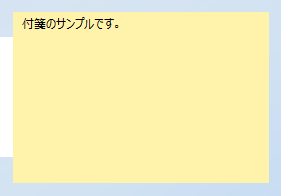
When you place the mouse pointer over a sticky note, a triangular mark will appear in the bottom right corner of the sticky note, as shown below. You can change the size of the sticky note by dragging this mark with the mouse.
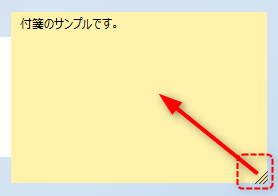
The sticky note size has changed.
|
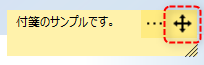
If the vertical width of a sticky note is narrowed, the bar will not be displayed when you edit the sticky note, and the following icon will be displayed in the upper right corner of the sticky note. If you want to move the sticky note in this state, you can move it by dragging the cross arrow icon below.
|
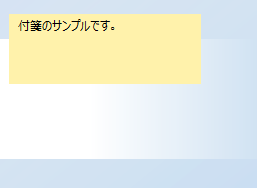
Sticky notes attached to the screen can be shown or hidden all at once across the entire system.
Below is an example of multiple sticky notes pasted on a sheet. Click the "Show Sticky Notes" icon on the information bar.
|
(Sticky note display icon)
|
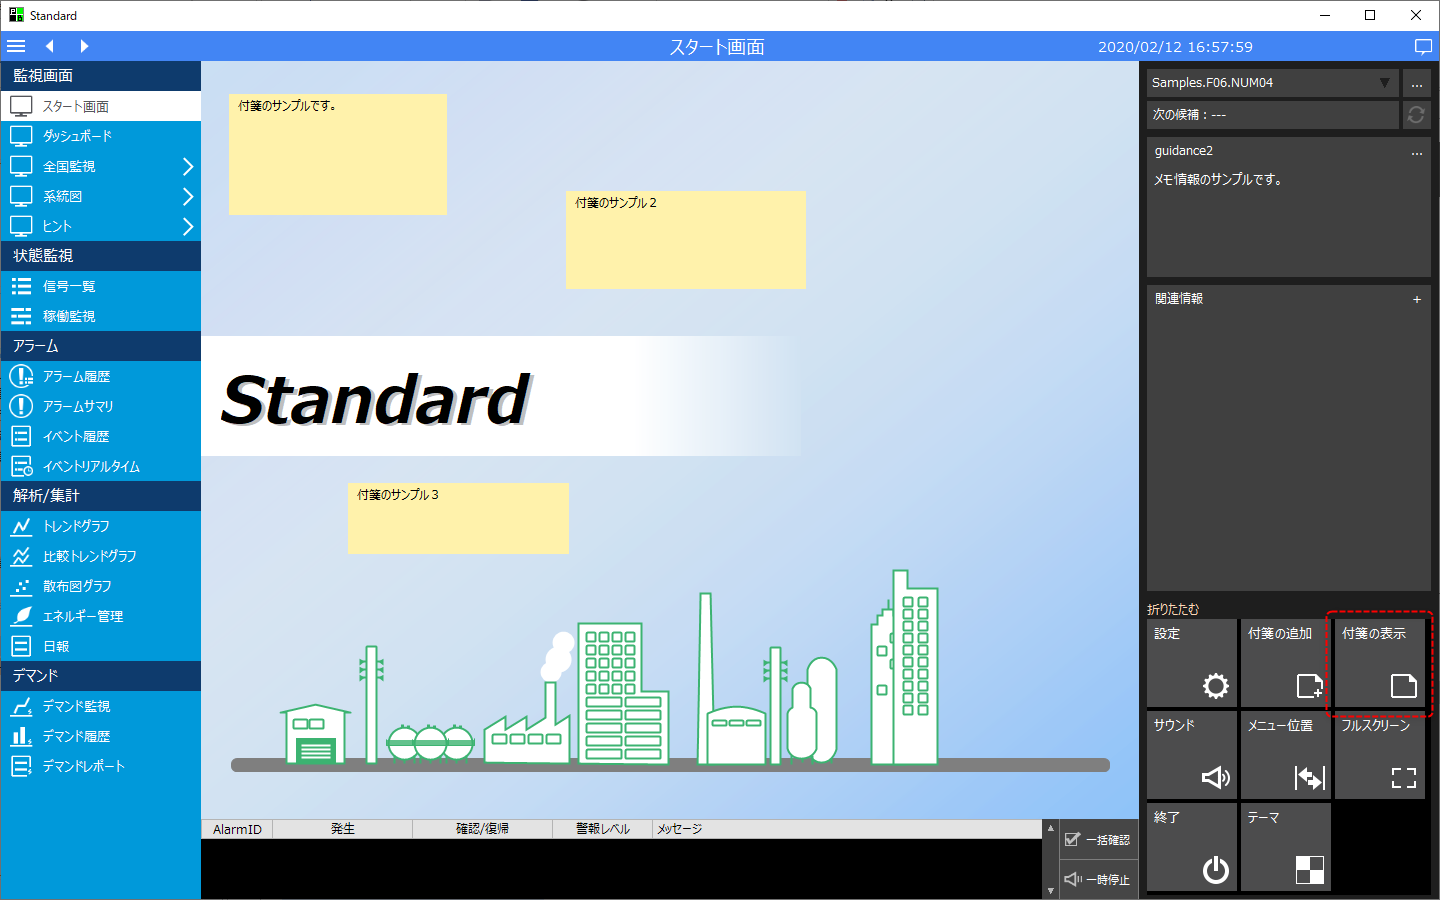
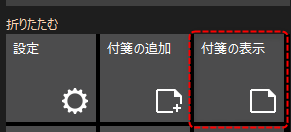
Then, all the sticky notes will be hidden at once.
|
Click the Show Sticky Notes icon again to show all your sticky notes again.
|
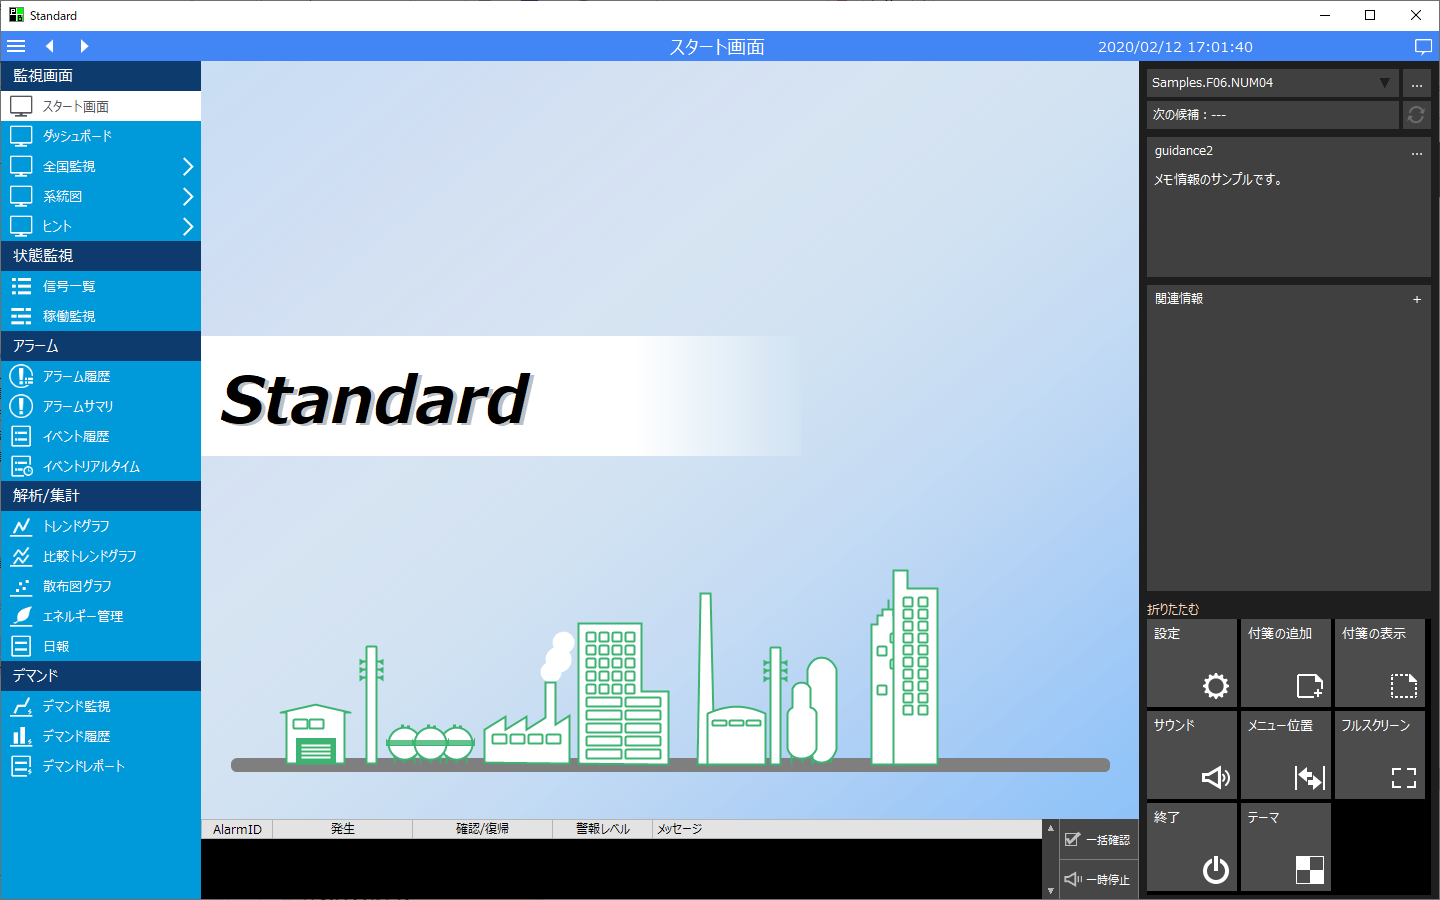
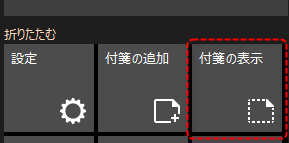
|
The icons placed on the information bar can be freely edited from the menu edit on the system settings screen. The sticky note function can also be placed in places other than the information bar. For example, you can place the sticky note icon in the header area or footer area so that you can call it up quickly without opening the information bar. For information on how to edit the menu, see "Editing the Menu". |

Individual settings for sticky notes
Click the icon below to display the individual settings of the sticky note. This icon appears when you edit a sticky note.
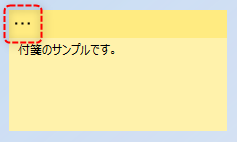
Below is the individual settings for sticky notes displayed.
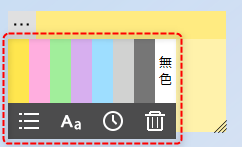
|
Click the palette on the left to change the color of the sticky note you are editing.
|
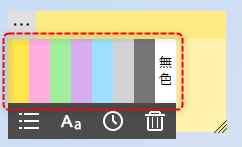
|
Clicking the icon on the left will display a pop-up list of sticky notes. How to use the sticky note list will be explained in the section "Sticky Note List" later in this page.
|
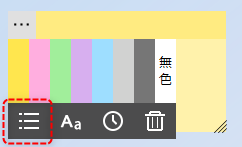
|
Click the icon on the left to change the font of the sticky note you are editing.
|
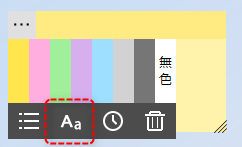
|
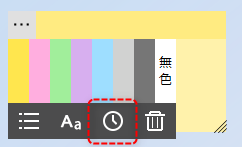
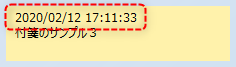
Clicking the icon on the left will insert the current date and time into the top line of the sticky note you are editing. This function is useful when you want to include the time in the note.
(Example of inserting date and time)
|
|
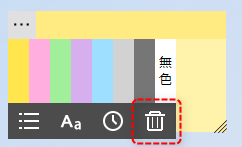
Click the icon on the left to delete the sticky note you are editing.
|
The Sticky Note List displays all currently attached stickies in a list format.
|
Clicking a sticky note from the list will switch the display to the screen on which the sticky note is attached.
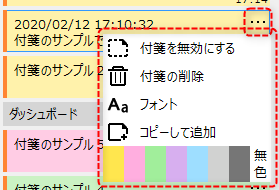
Clicking the settings button "..." for each stickie in the stickie list will display the following menu. From this menu, you can delete the stickie, change its color, copy the stickie, and enable/disable it.
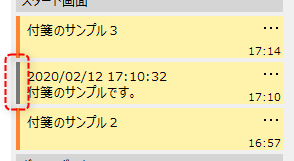
Stickies that are disabled using the above menu will be hidden from the screen and will not be displayed even if you use the system-wide show/hide operation. Disabled stickies are displayed in grey on the left side of the stickies list, as shown below.
|
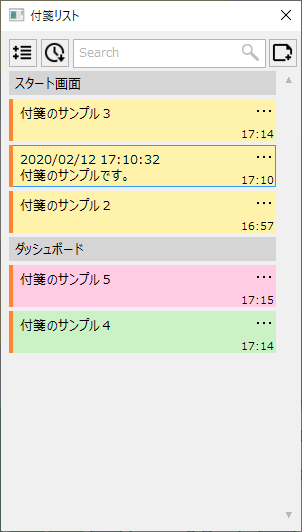
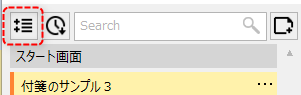
Click the following icon at the top of the list to display a summary list of sticky notes per screen.
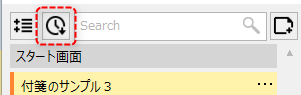
Click the icon below to view a list of your sticky notes sorted chronologically.
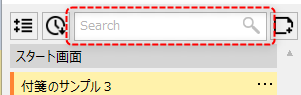
You can search for sticky notes in the input area below. The search will be performed for partial matches of the entered string, allowing you to narrow down the list.
Click the icon below to add a new sticky note. This action works the same as clicking the "Add Sticky Note" icon on the information bar.
|
The icons placed on the information bar can be freely edited from the menu edit in the system settings screen. The standard sticky note function icons are only the "Add Sticky Note" and "Show Sticky Note" icons, but in addition to these icons, there is also a special function called "Show Sticky Note List." Placing this icon will allow you to directly call up the sticky note list. For information on how to edit the menu, please refer to "Editing Menus". |