Split screen function
The standard framework has a built-in split view feature.
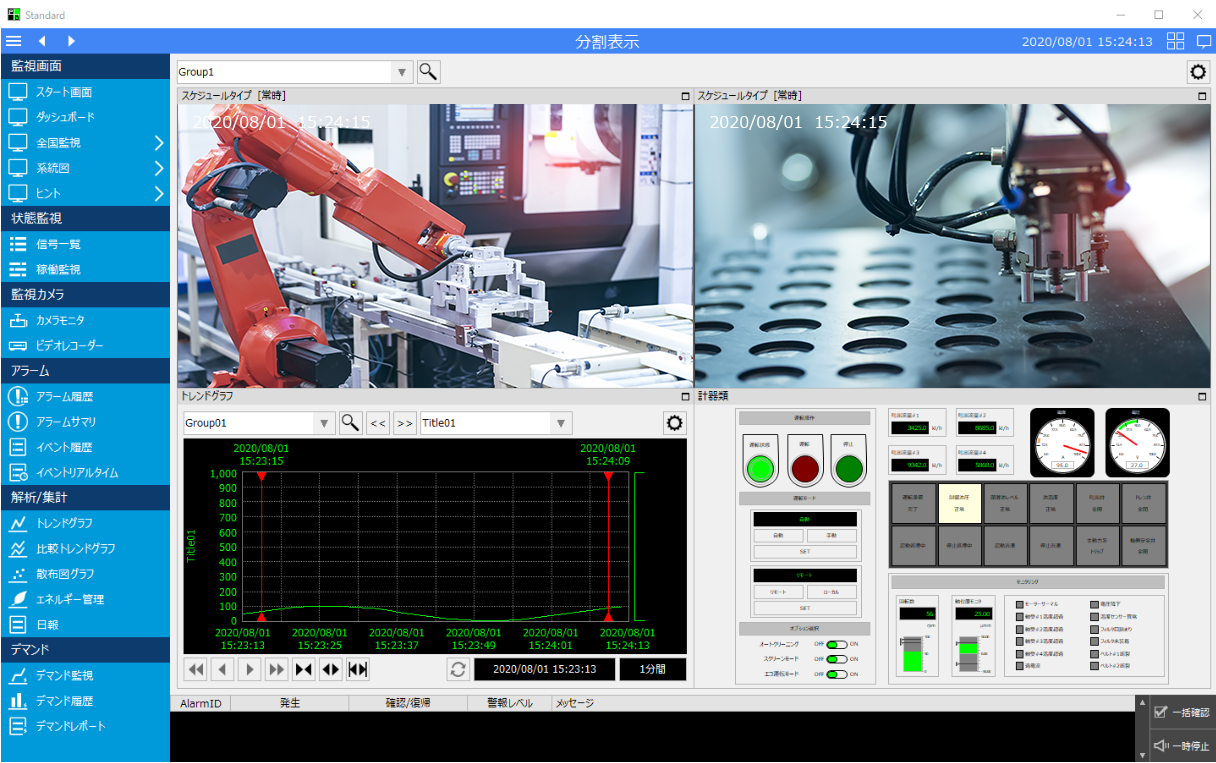
The split display function allows multiple graphic screens and standard function screens to be displayed side by side in the main area. The number of split scenes and the allocation of screens to be displayed in each view can be flexibly set during operation. In addition, the split display can also be used to register network cameras and display them as camera monitors.
(Example of a 4-part display)
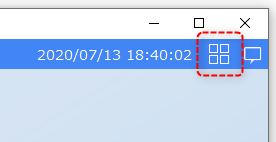
You can call up the split display at any time by clicking the following icon in the title area of the screen.
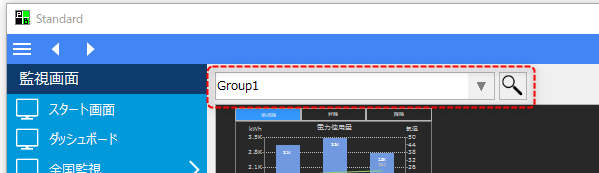
You can register multiple split screen group settings. To switch the split display group, select from the following combo box at the top of the screen.
|
The split display function is provided by the split display screen library. The standard project has the same screen library built in, so you can use it right away. For details on how to set up the split display function, see "Split Display" in the Surveillance System Construction Guide. |

Split display settings (overview)
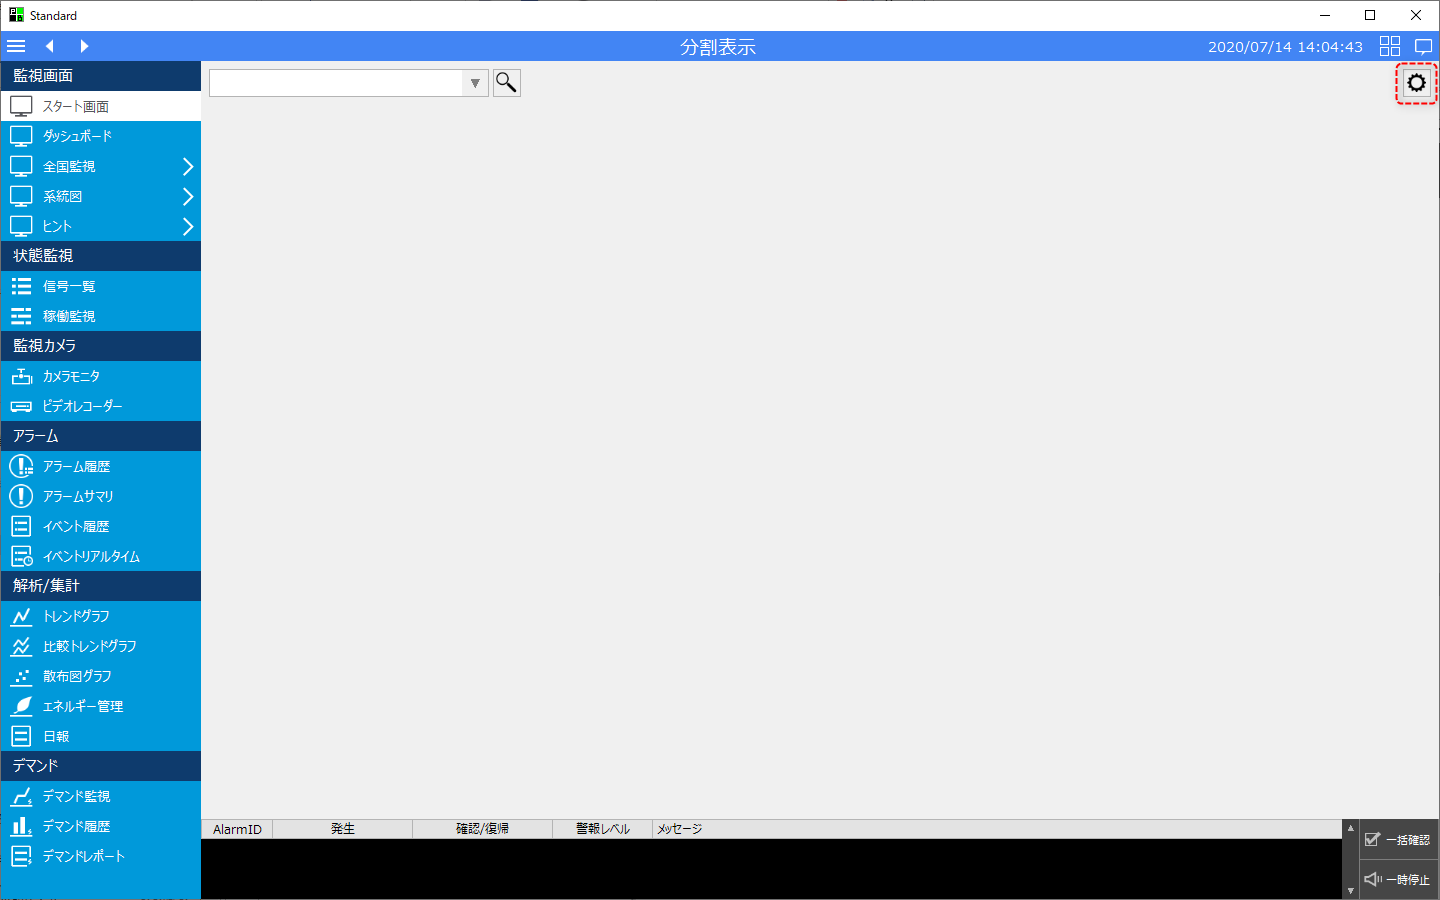
Clicking the settings button (gear icon) in the top right of the screen will open a split screen menu on the right side of the screen.
From the menu on the right, select "Register Settings."
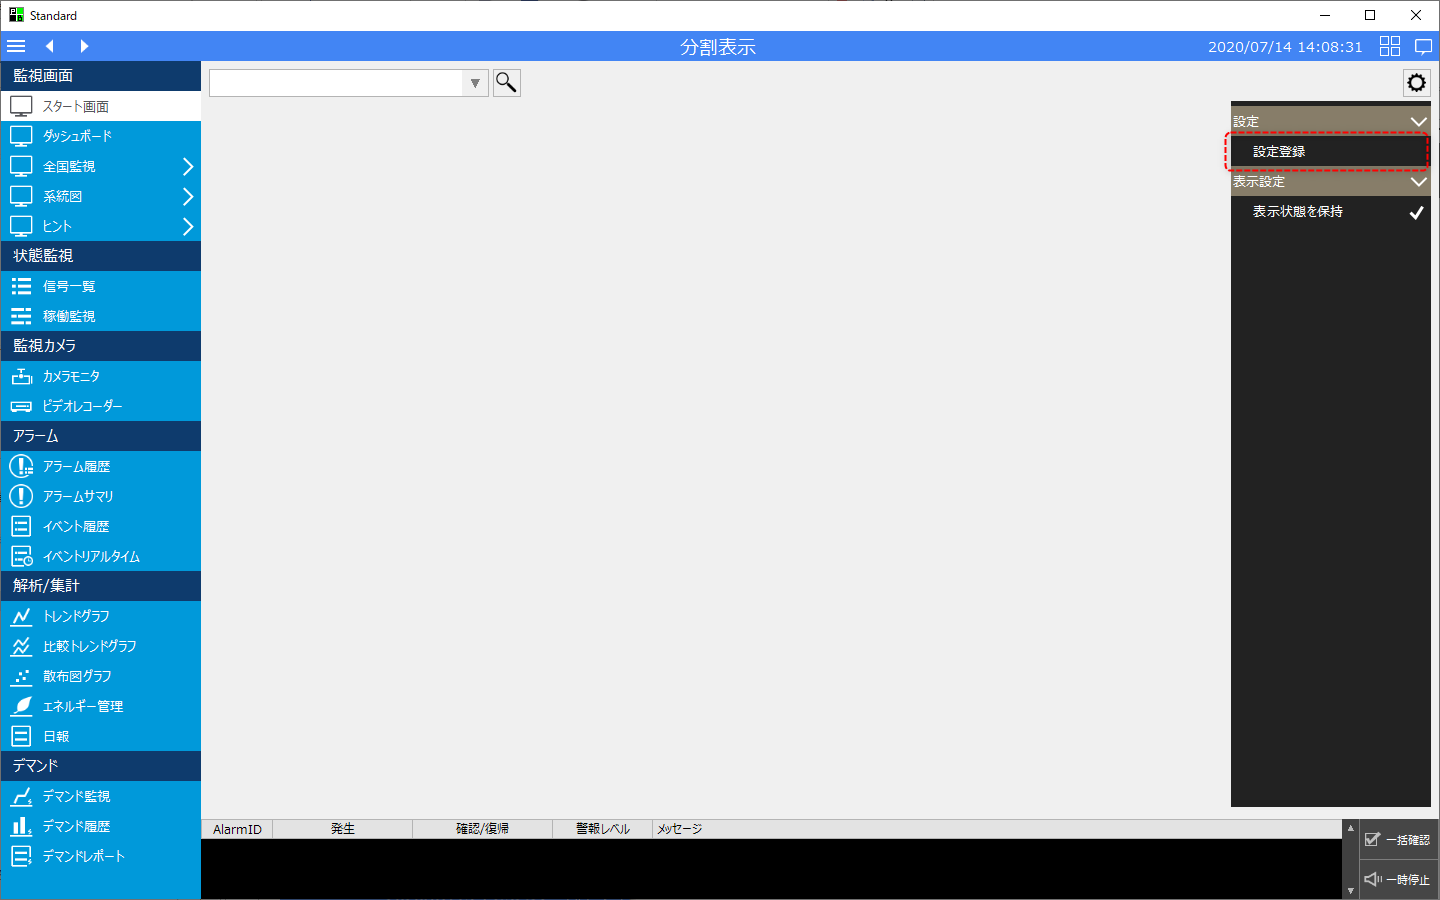
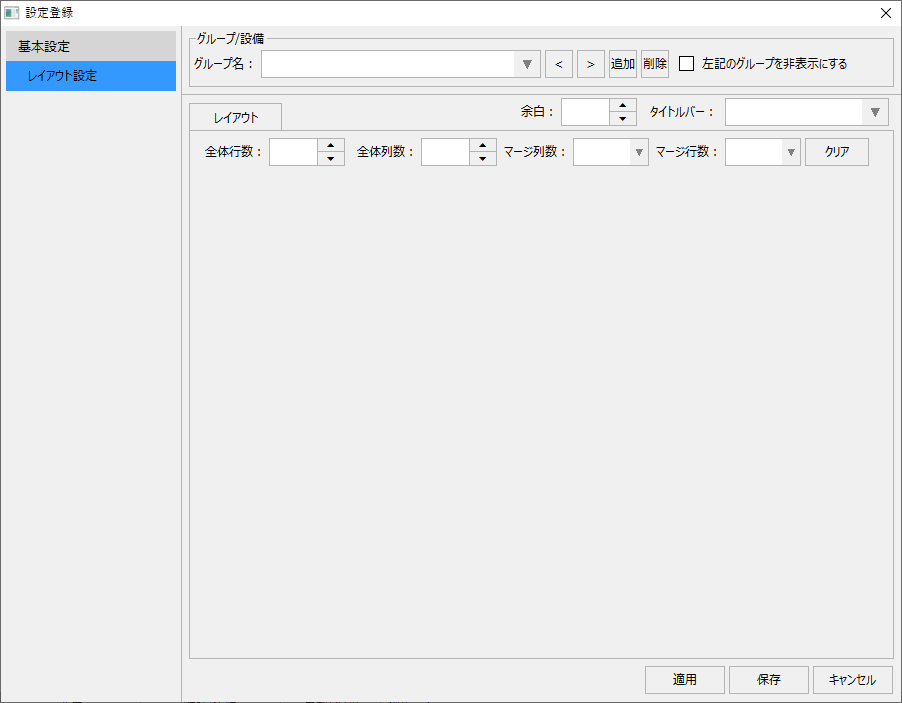
The settings screen is displayed.
|
The split display can be flexibly configured. Users can freely configure how the screen is split and displayed, and what screen is displayed in each split view during operation. It is also possible to register multiple screen split group definitions, and you can select any group from the screen to switch the split display.
First, click the "Add" button to the right of the group name to add a new group.
|

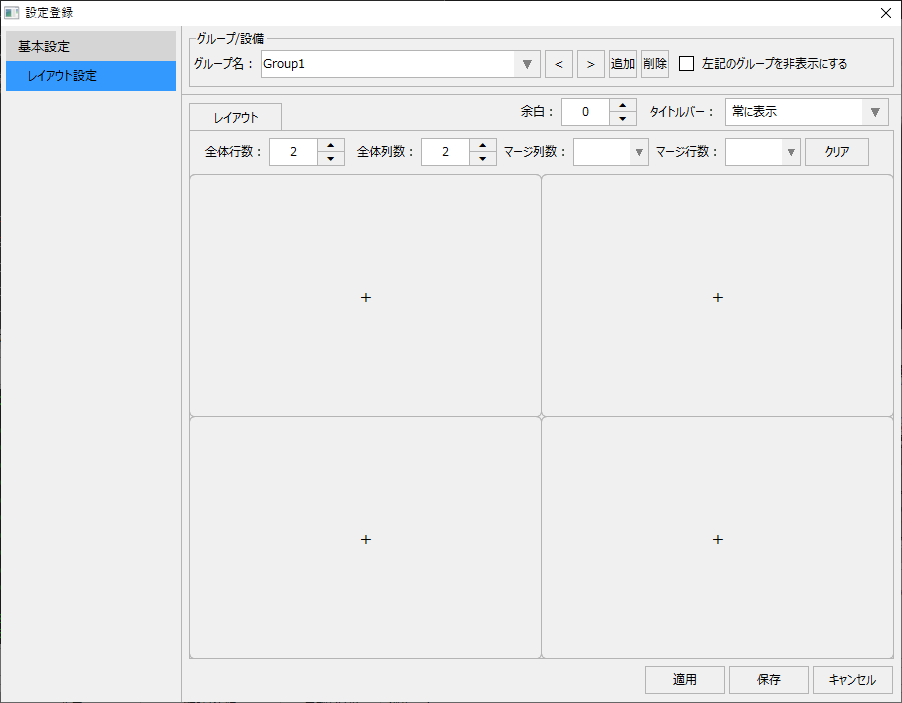
A new group called "Group1" will be created. You can change the name as you like.
|
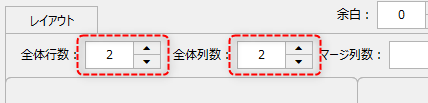
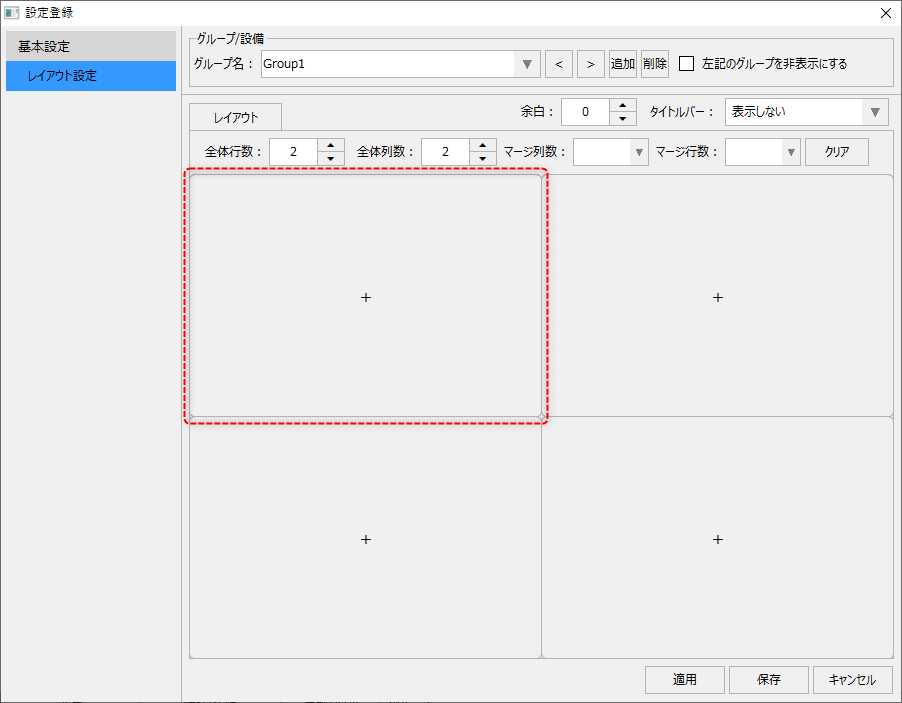
In the newly added group, the total number of rows and columns is 2. This is the number of divisions of the screen.
This setting can be changed (up to a maximum of 10) by the following settings:
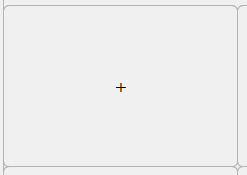
In addition, the screen has blank frames (views) as shown below. You can assign any screen to each display frame and display them simultaneously.
(Unallocated blank frame)
|
Next, assign the screen to the display frame.
|
When you click on the display frame to which you want to assign a screen, the following selection screen will appear.
|
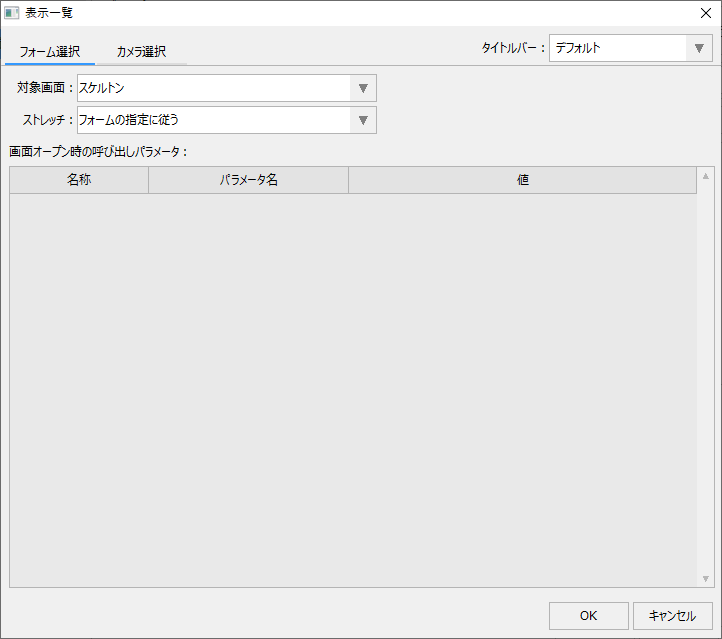
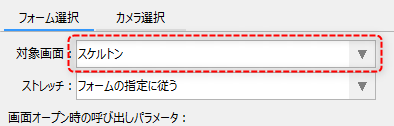
Select the target screen from the "Target Screen" combo box on the selection screen. You can also register a network camera and assign and display the camera image from the camera selection.
The selected screen will then be assigned to the display frame as shown below.
|
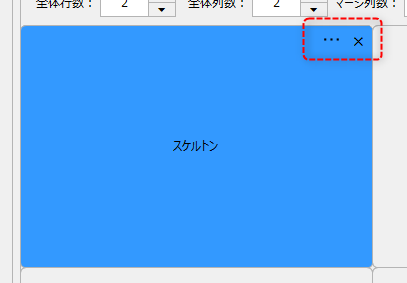
Furthermore, once a screen has been assigned to a display frame, you can click the selection button "..." in the upper right corner of the frame to display the selection screen again and change the target. You can also click the "X" button to remove the screen that was assigned to the frame.
|
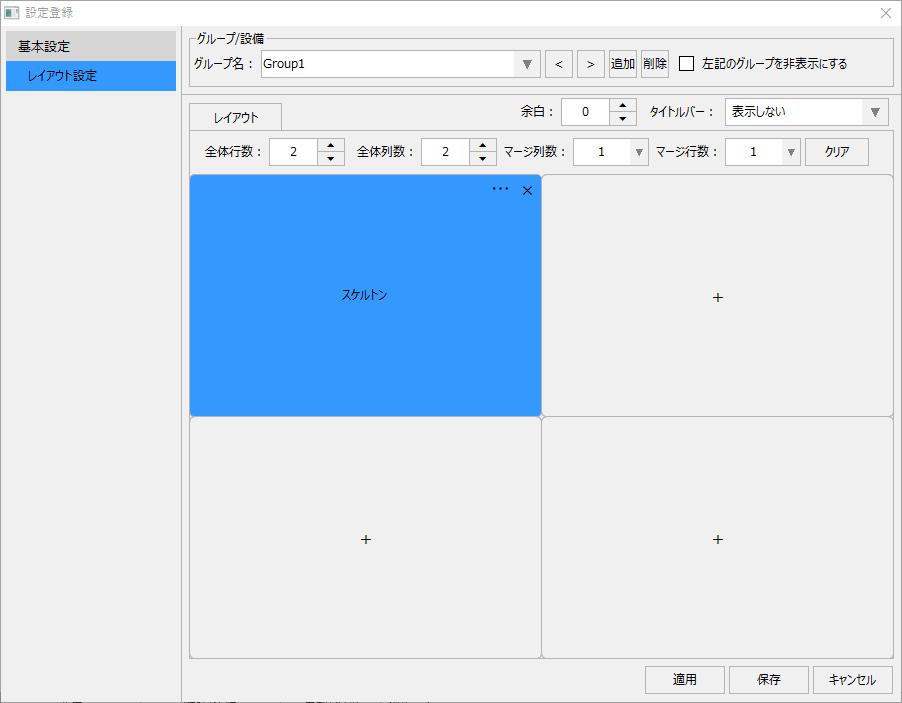
Below is an example of a 2 row x 2 column split display.
You can merge (join) the display frames by changing the following settings.
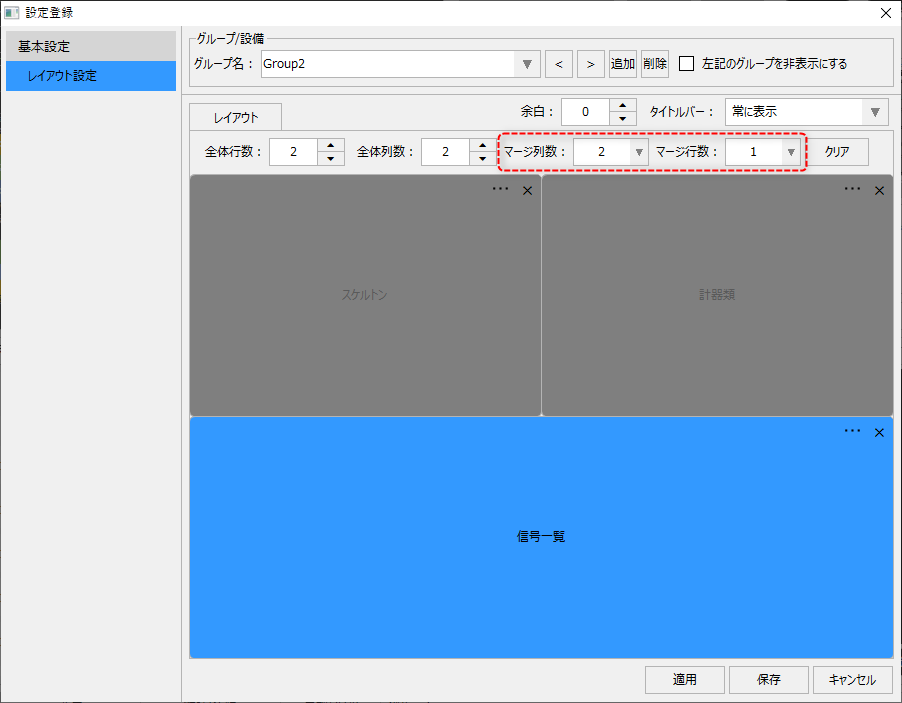
Below is an example of the bottom half of a split screen being merged and displayed in three parts.
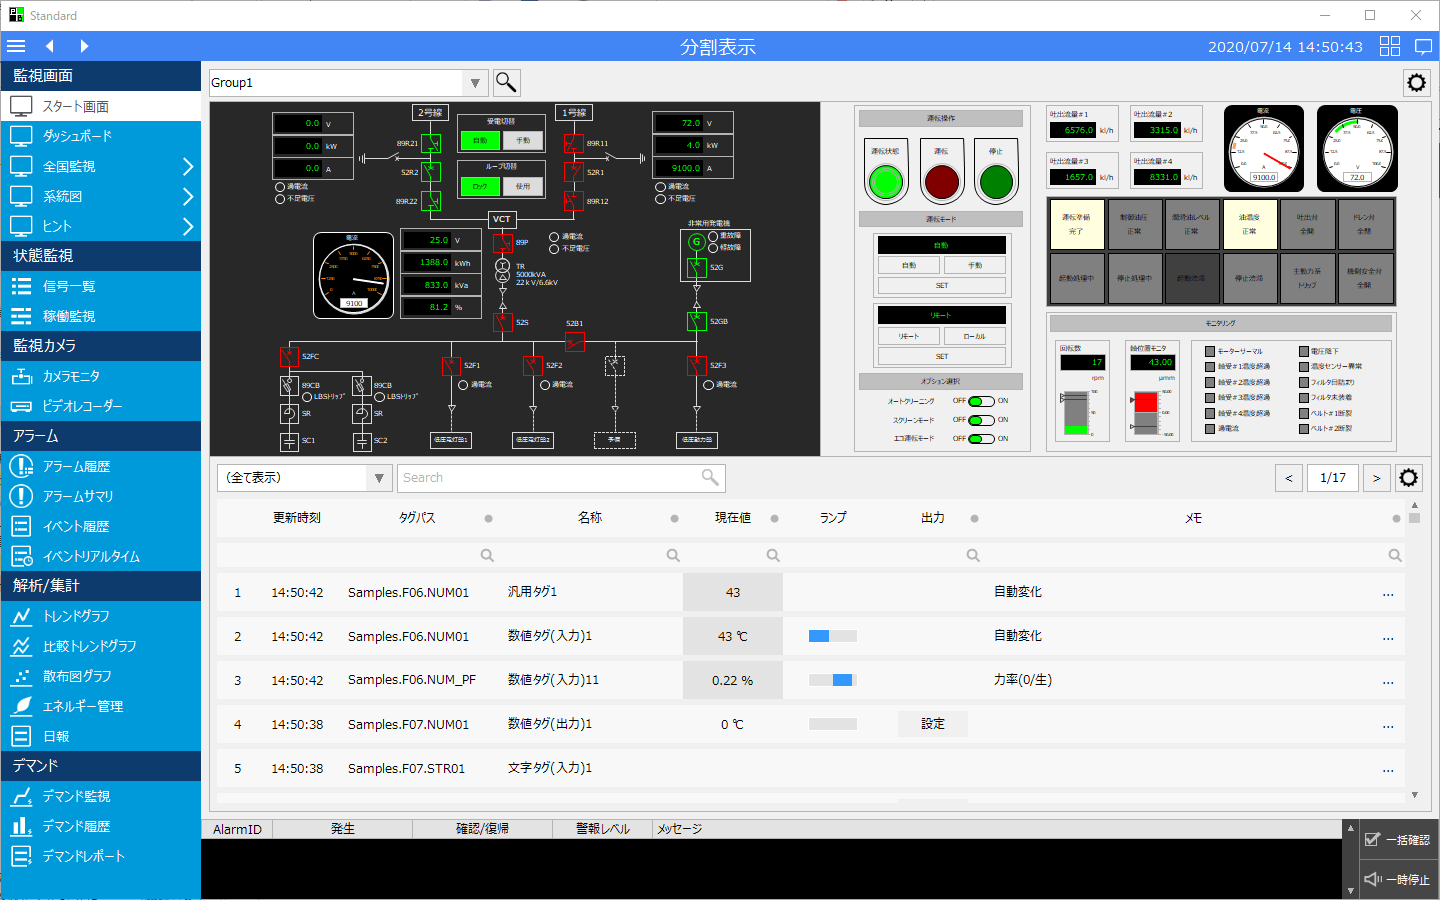
|
For details on how to configure the split display function, see "Split Display" in the Surveillance System Construction Guide. |