Layout settings

<< Click to Display Table of Contents >>

Manual > Surveillance System Construction Guide > Creating a Project > Creating a Standard Project > System Settings for a Standard Project > Editing Layout and Menu (Styling) >

Layout settings

About the Standard Framework Layout

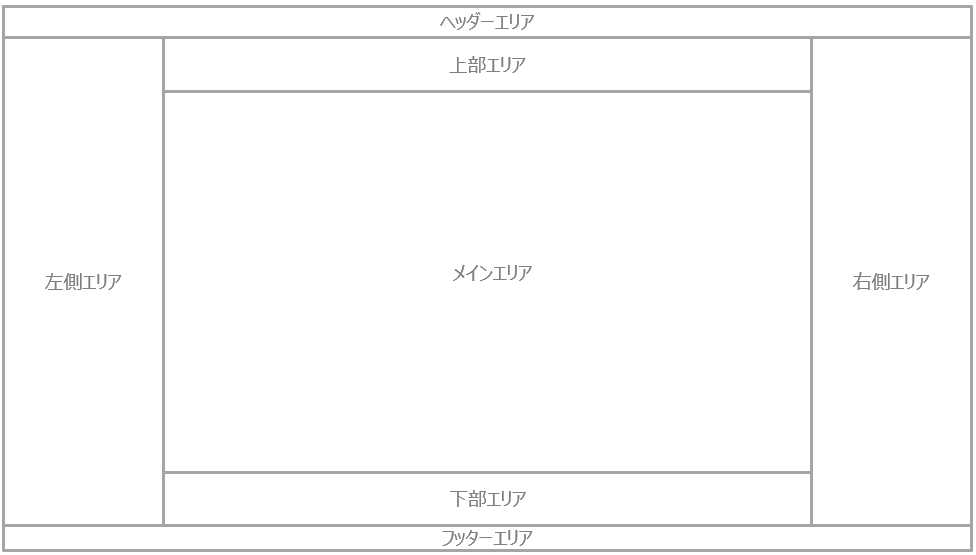
A screen in the standard framework consists of several display areas.

The structure of the display area is as shown in the figure below.


(Standard framework display area)
p_prj_0096


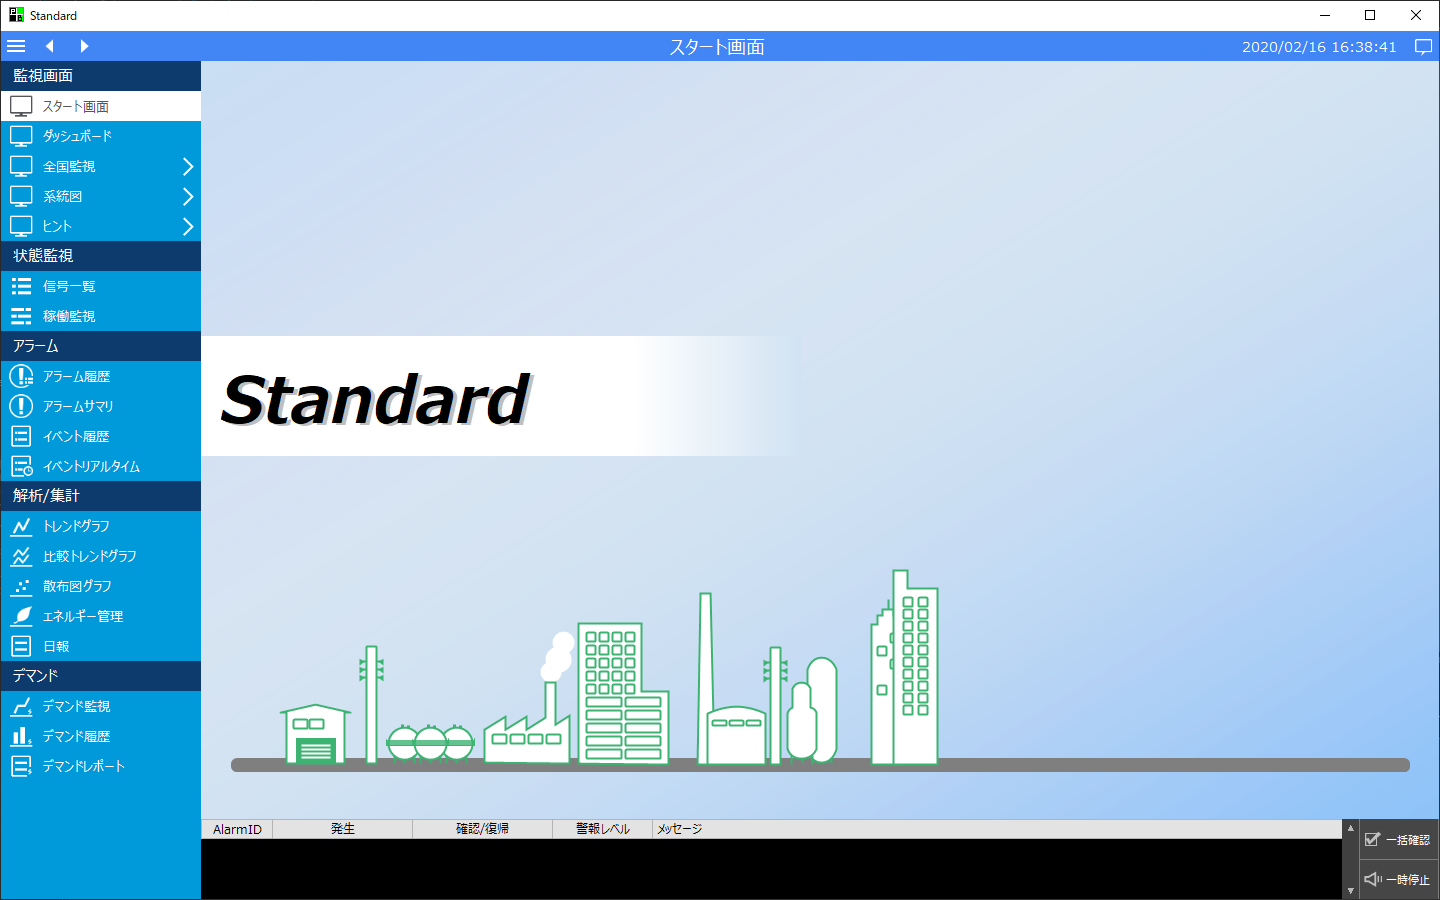
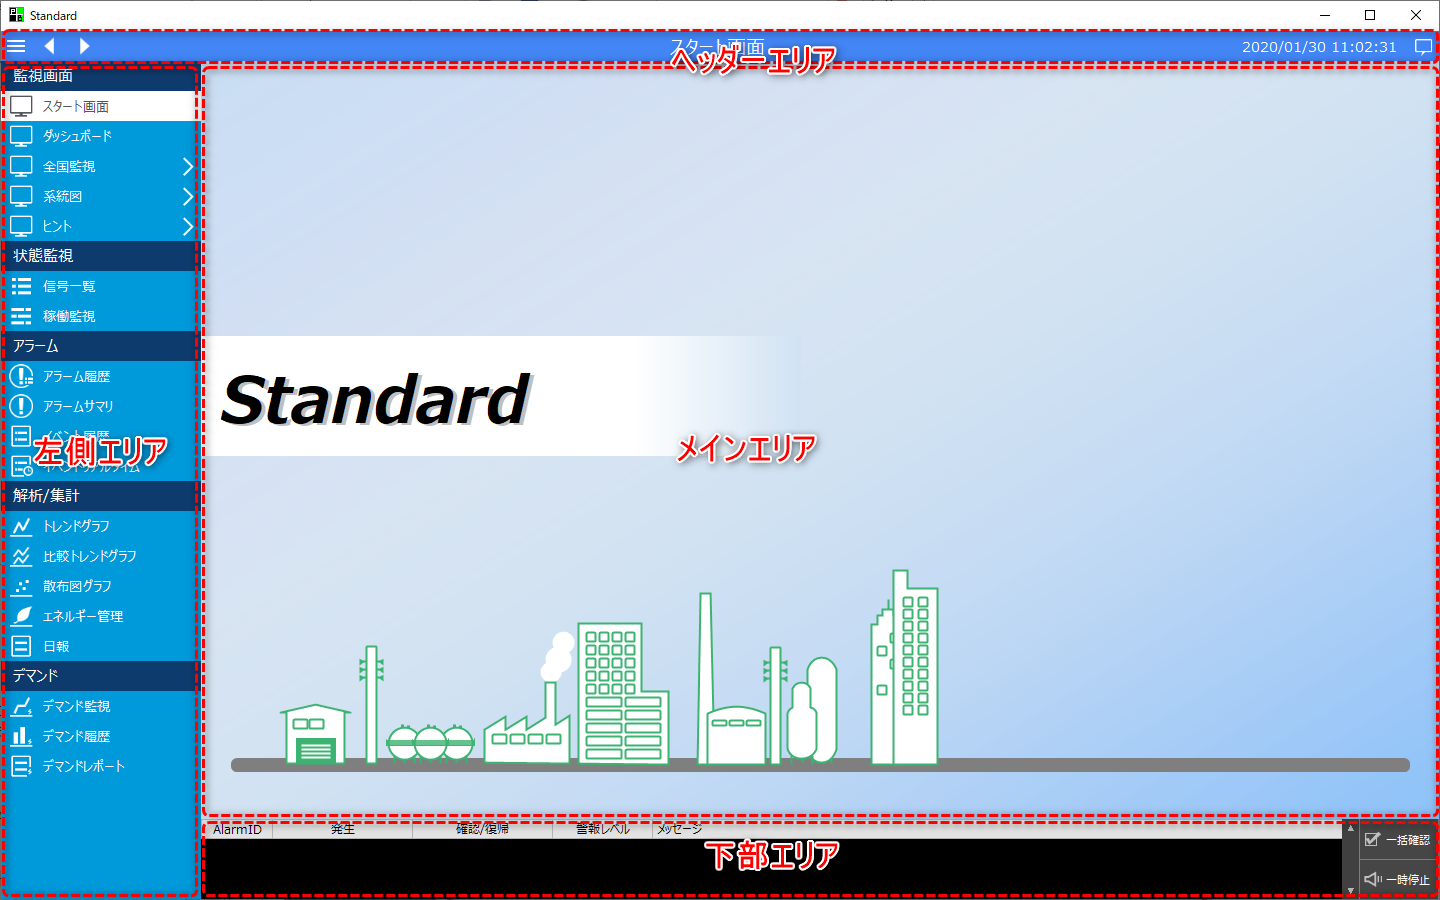
The default display settings are as follows:


(Standard framework default area configuration)
p_prj_0095


•Header area: Menu icons, page turn, title, clock, etc.

•Footer area: Hidden (unused)

•Upper area: Hidden (unused)

•Lower area: Common alarm summary display

•Main area: Graphic screens and standard function screens (trend graphs, etc.) are displayed in this area.

•Left area: Main menu

•Right area: Hidden (unused)


The above settings can be changed from the layout settings.


Layout settings

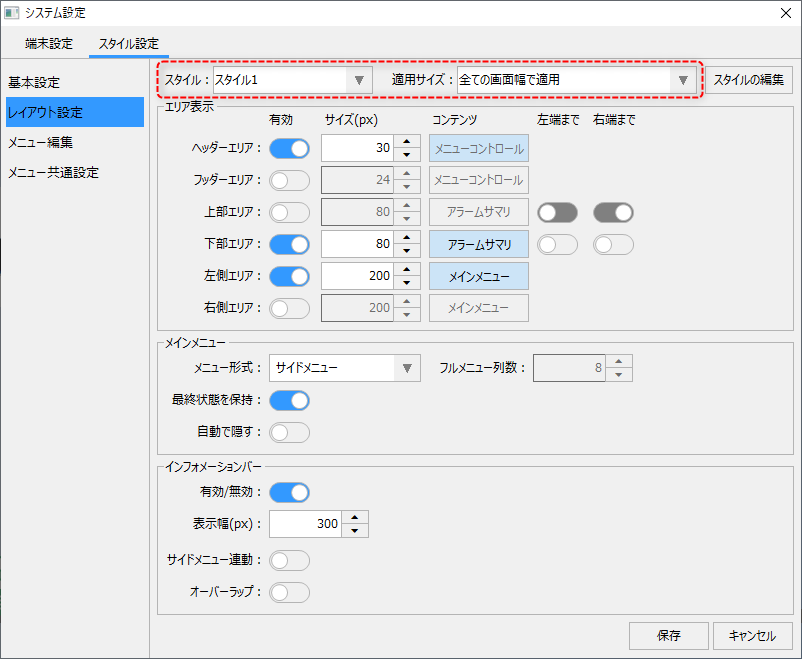
To set the layout, select the Style Settings tab from the System Settings screen and select "Layout Settings" from the menu on the left side of the screen.


p_prj_0112


Layout settings can be made for each style and size. Please make sure that the style you want to edit is selected in the combo box on the left.


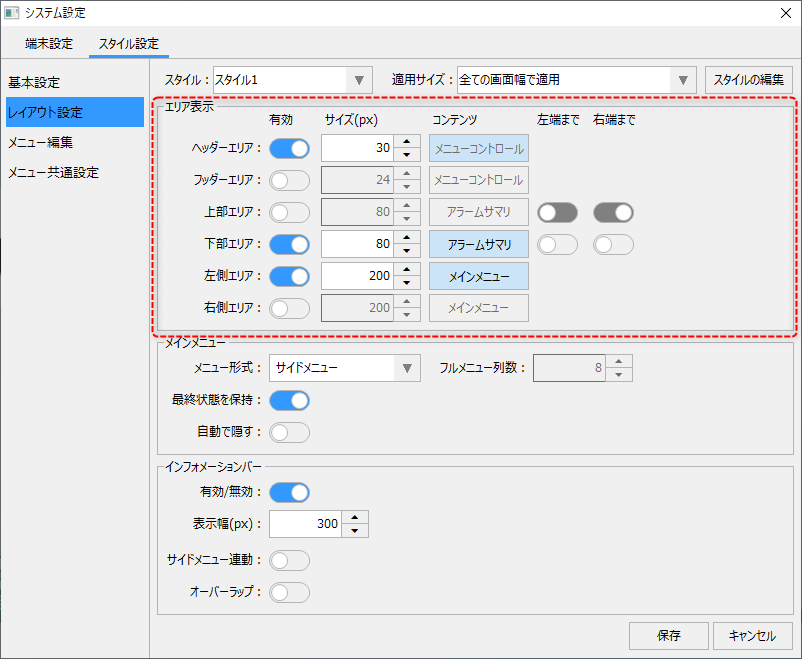
■ Editing area display


In "Area Display," you can set whether to display each area, its size, and the content to be displayed.


p_prj_0113


Setting contents


Header Area

Select whether to display the header area. You can assign "Menu control" to either the header or footer. By default, Menu control is assigned to this area. You can specify the vertical width in pixels.

Footer Area

Select whether to display the footer area. It is hidden by default. You can specify the vertical width in pixels.

Upper Area

Select whether to display the upper area. It is hidden by default. You can specify the vertical width in pixels. You can set whether to make this area full width to the left and right edges.

Lower Area

Select whether to display the bottom area. You can assign a common "Alarm Summary" to either the top or bottom area. By default, the alarm summary is assigned to this area. You can specify the vertical width in pixels. You can set whether to make the display width of this area full to the left and right edges.

Left Area

Select whether to display the left area. You can assign the "Main Menu" to either the left or right area. The main menu is assigned to this area by default. You can specify the width in pixels.

Right side area

Select whether to display the right side area. It is hidden by default. You can specify the width in pixels.


The content to be displayed can be selected by clicking a button.


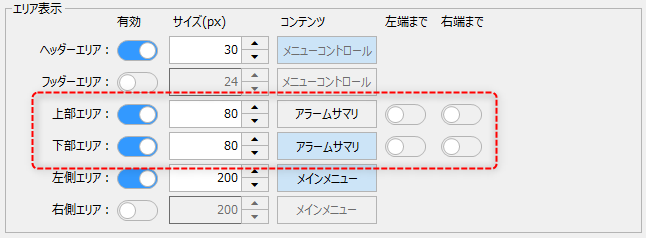
For example, in the following state, display is enabled in both the upper and lower areas, and "Alarm Summary" is assigned to the lower area.
 

p_prj_0114


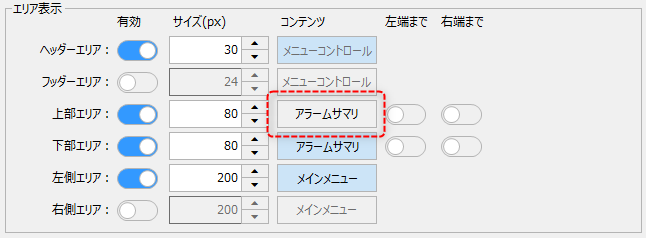
Clicking the "Alarm Summary" button in the upper area will switch the alarm summary assignment to the upper area.
 

p_prj_0115


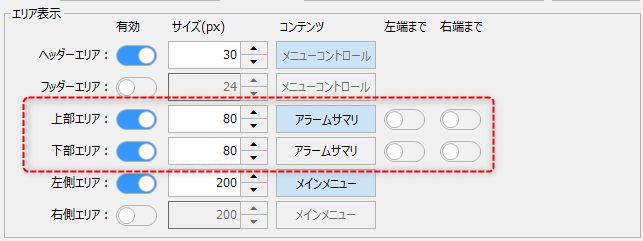
The alarm summary has been switched to the top area.
 

p_prj_0116


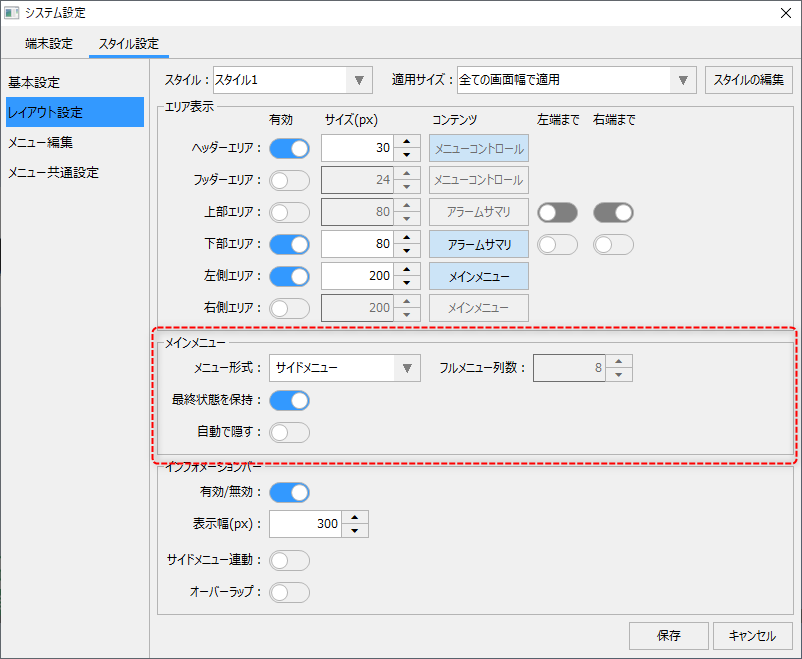
■ Editing the main menu


In "Main Menu" you can set the display format of the main menu.


p_prj_0117


Setting contents


Menu Format


You can choose either a "side menu" or a "full menu".

The side menu is the standard display format, and displays the main menu on either the left or right side of the screen. The full menu displays the menu using a menu screen with only buttons.

Full menu column count


When you select Full Menu as the menu format, specify the number of columns for button display on the menu screen.

Hold Final State


Holds the last state of the menu, whether it is open or closed.

Auto hide


When a side menu is selected, it will automatically collapse.


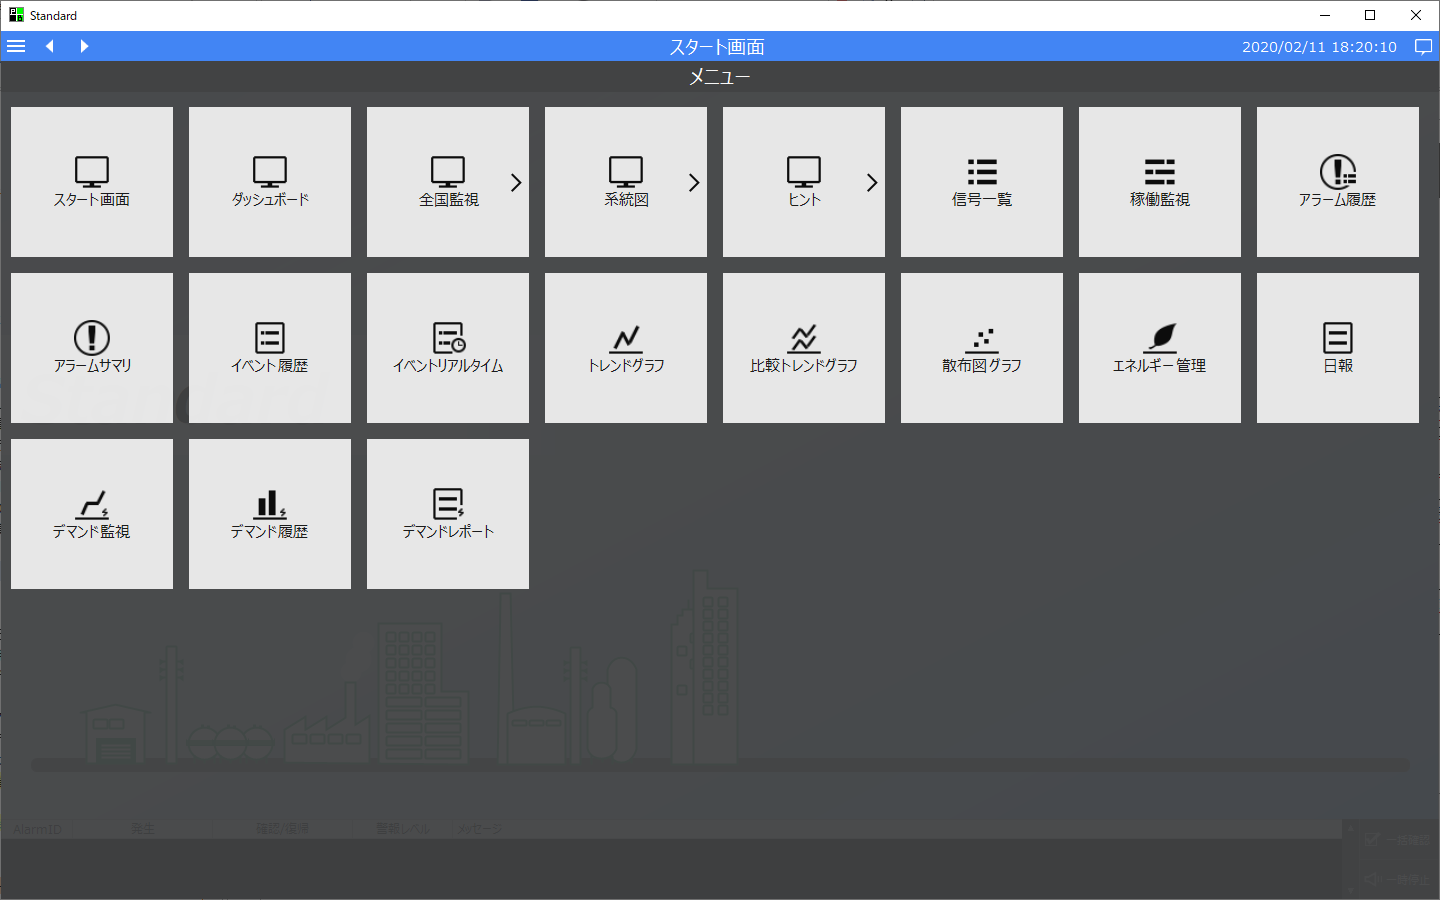
(Example of side menu display)

p_prj_0263


(Example of full menu display)

p_prj_0118


hint

Displaying the full menu is a method suitable for displaying the client screen on a tablet or smartphone, etc. By defining the screen width in the style application size settings, you can set it so that the side menu method is used for normal screen display, and the full menu is displayed only when the display width falls below a certain value.


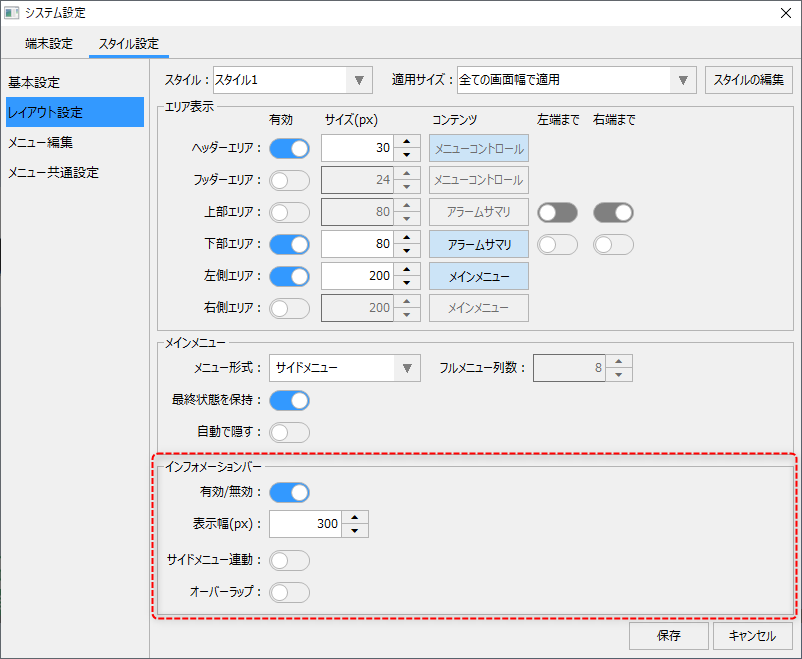
■Editing the information bar


"Information Bar" allows you to configure the display settings for the information bar.


p_prj_0119


Setting contents


Enable/Disable


Select whether to enable or disable the information bar. If you disable it, the information bar icon in the right corner of the header area will be hidden.

Display Width

Specifies the display width of the information bar in pixels.


Side menu linkage


If you enable this setting, the side menu will open and close when the information bar is opened (when the information bar is opened, the side menu will automatically close, and when the information bar is closed, the side menu will automatically open).

Overlap


If you enable this setting, the information bar will be displayed over other display areas (the right edge will be hidden under the information bar). If you disable this setting, the other display areas will be automatically resized when the information bar is displayed (the right edge will not be hidden under the information bar).


attention

The information bar contains a settings button for calling up the system settings screen. Therefore, if you disable the information bar, you may not be able to call up the settings screen. However, there is a way to call up the information bar using key operations. How to call up the system settings screen using key operations is described in the function explanation "Displaying the system settings screen using key operations".