View layout settings
In the layout settings, you can set the layout of the display frame on the operation status monitor screen.
Select "Operation Status Monitor Settings" from the menu on the left side of the setting registration screen, and then select the "Layout" tab in the center of the screen. The screen will change to the one shown below.
From this screen, you can edit the display layout of the operation status monitor.
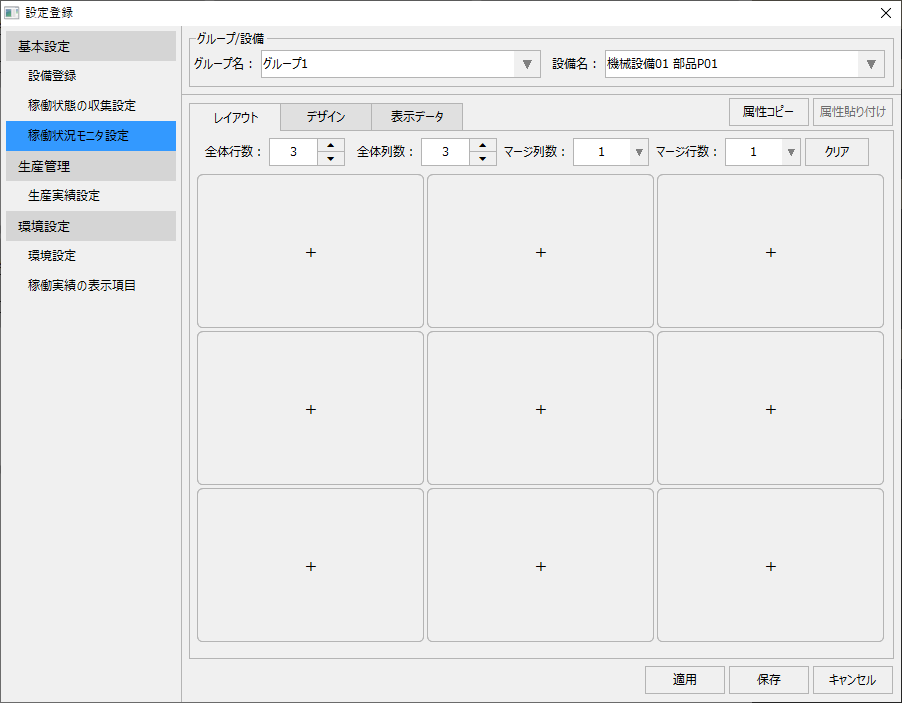
Layout settings are done for each group. Select the group you want to set from the combo box at the top of the screen.

Layout setting procedure
The procedure for editing the layout settings is explained below.
■ Setting the total number of rows/columns
You can specify the number of display frames for the operation status monitor by specifying the "Total number of rows" and "Total number of columns" on the screen.
This setting applies to the currently selected group.
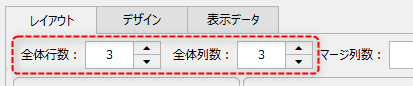
The above settings have 3 rows and 3 columns by default. You can freely change this number if you want to increase or decrease the number of facilities displayed in one group.
Please note that if the number of equipment registered in a group is greater than the number of display frames (number of rows * number of columns) that can be displayed on one screen, the equipment that exceeds the number of display frames cannot be displayed.
■ Equipment selection (single operation)
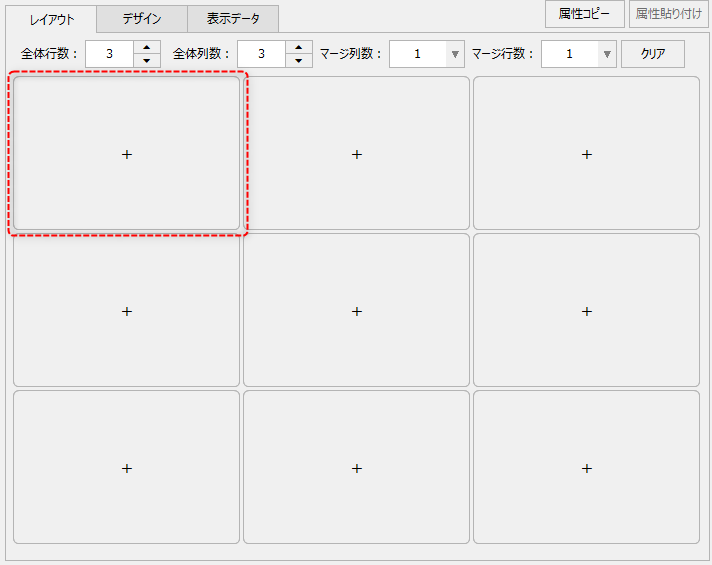
In the initial state of the display frame, no facilities have been placed yet.
|
Display frames that do not have equipment assigned to them will be displayed blank, as shown below.
(Blank display frame)
|
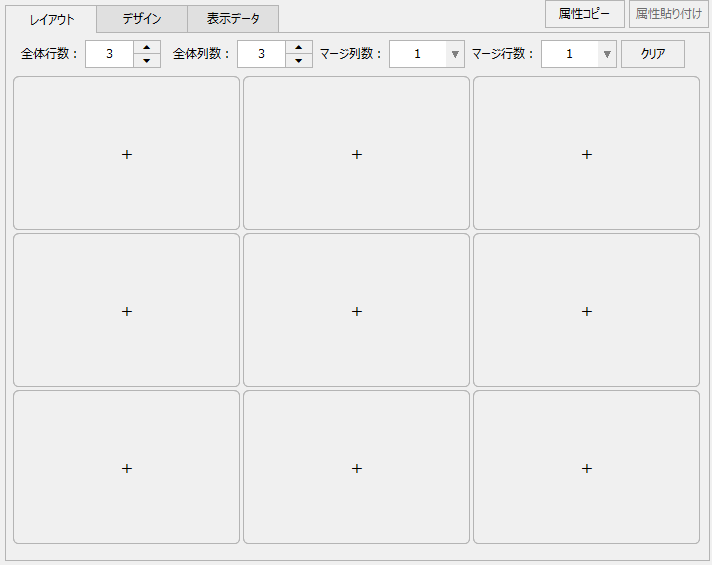
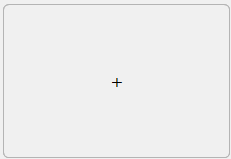
Click on an unassigned display frame to display the selection dialog. In this example, click on the display frame in the upper left corner.
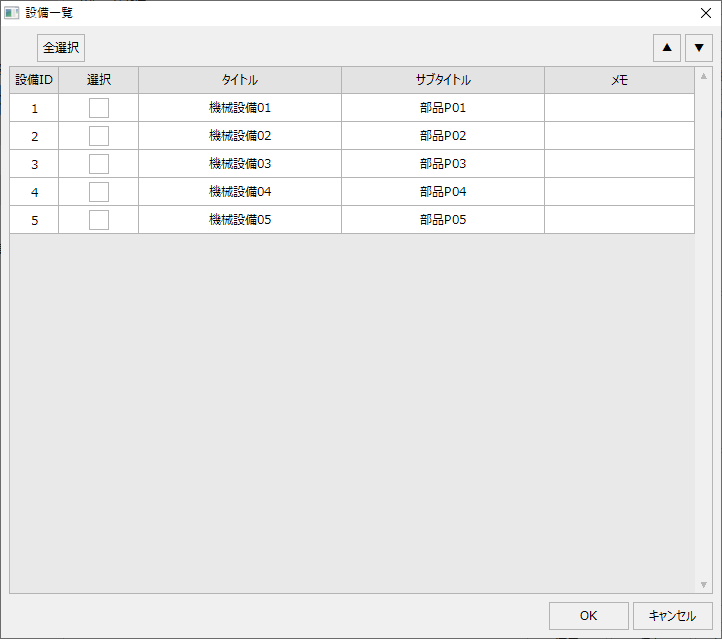
This will display the facility selection dialog box shown below.
|
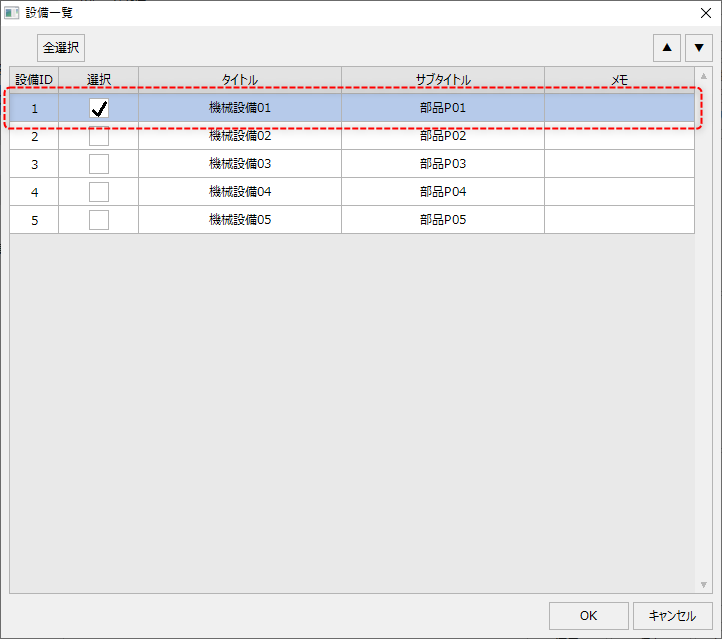
In the facility selection dialog, check the "Select" box for the facility you want to display in the display pane, and click OK.
As an example, check the facility in the first row and click OK.
|
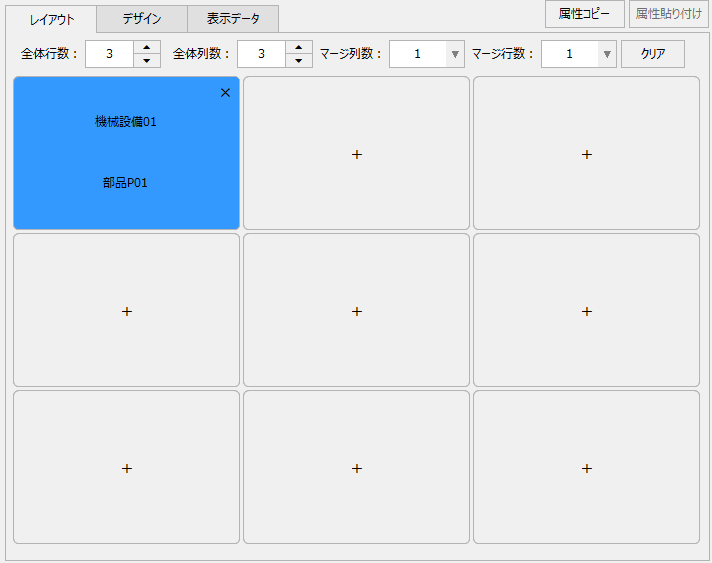
The facility has been set in the display frame.
|
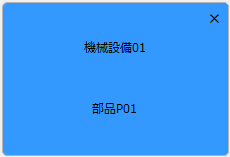
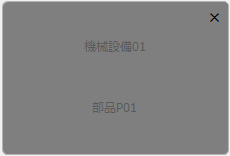
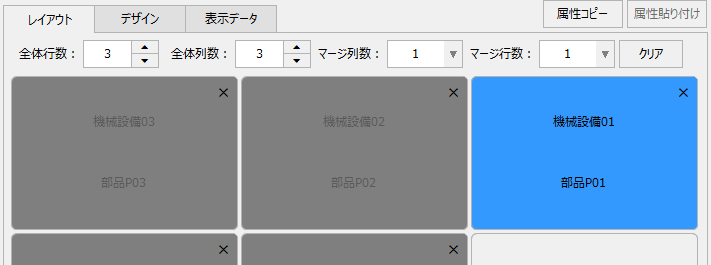
Furthermore, if you click with the mouse on a display frame to which equipment is assigned, the clicked display frame will become selected.
The currently selected display frame is displayed in blue as shown below.
Display frames that are not selected are displayed in gray, as shown below.
|
■ Equipment selection (bulk operations)
In the facility selection dialog, you can also select and assign multiple facilities at the same time. When assigning multiple facilities at the same time, they will be assigned in order from the top left to the bottom right, starting from the display frame selected on the layout setting screen.
The operation method is explained below. For example, click the following display frame on the layout screen to call up the dialog.
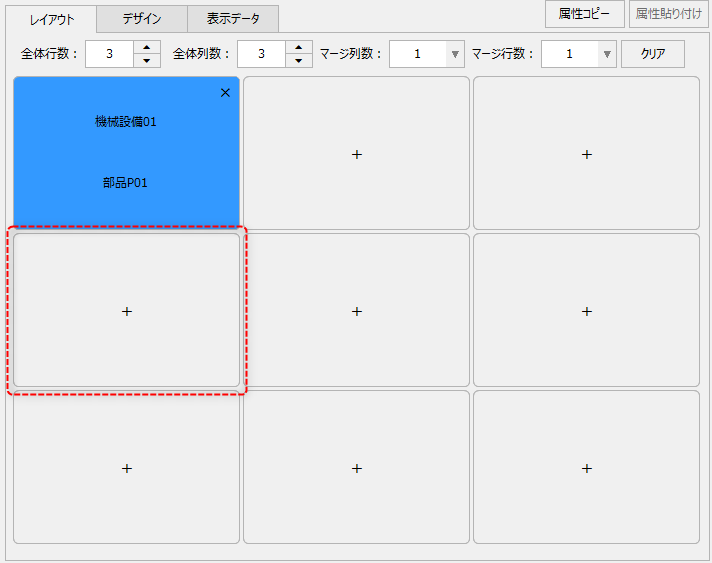
The equipment selection dialog is displayed. Equipment that has already been assigned to a layout will not be displayed in the list. As an example, check the following four lines in the equipment selection dialog. You can also select all equipment at once by clicking the "Select all" button.
|
Once you have selected the desired equipment, click the OK button.
|
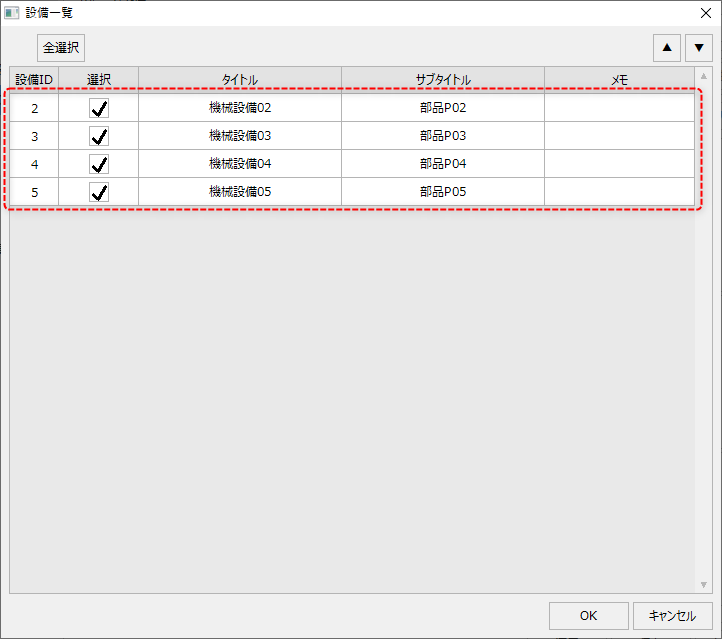
The equipment selected in the dialog was then automatically placed starting from the selected display frame, as shown below.
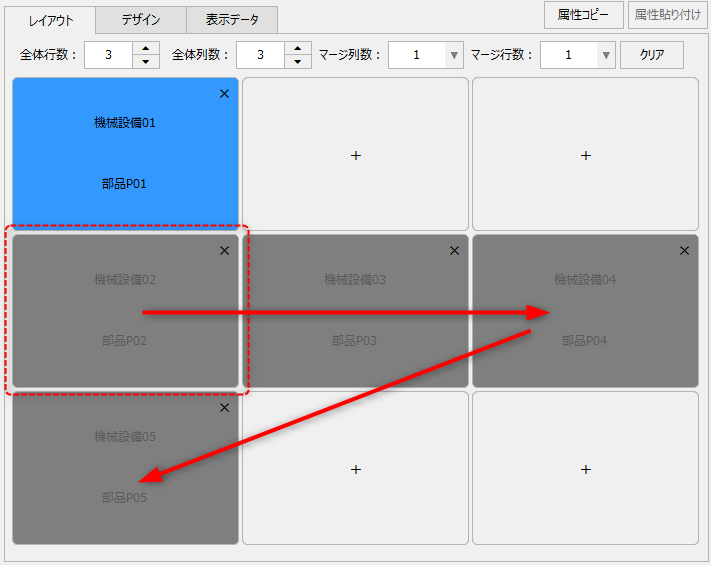
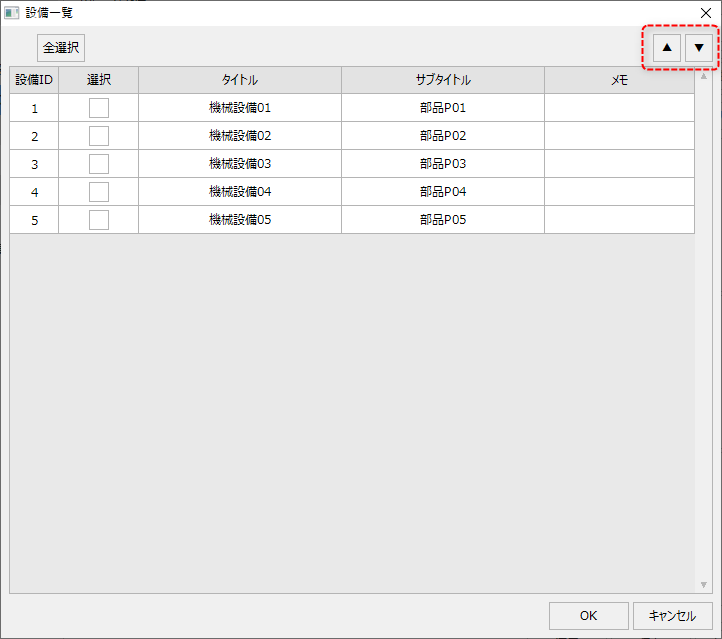
The display order of the facilities in the layout will be the same as the display order in the facility selection dialog. If you want to be aware of the order in which facilities are placed in a bulk operation, you can edit the display order of the list in the facility selection dialog.
|
To edit the order of the list, first click on the row you want to move to give it focus, then click the up or down buttons on the left to move the equipment in that row up or down.
After changing the order as desired, check the selection box for the desired facility and click OK to arrange the facilities in the order displayed in the list.
|
■Clearing equipment
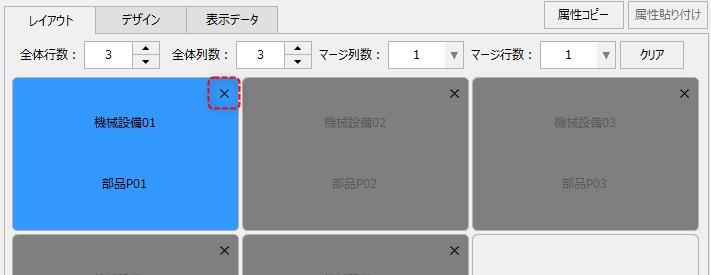
To clear the equipment assigned to the display frame, click the "X" button displayed in the upper right corner of the equipment display frame.
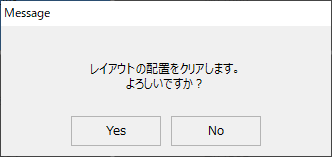
A confirmation dialog like the one below will appear. Click Yes to proceed.
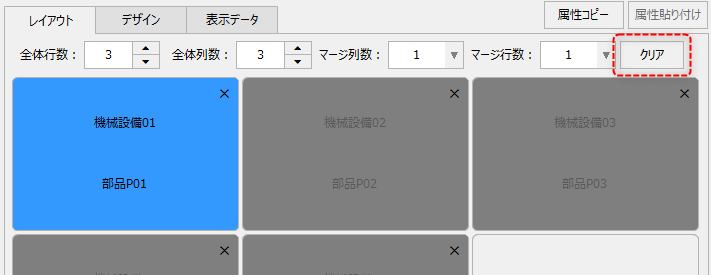
Furthermore, you can clear all display frames of the currently selected group at once by clicking the "Clear" button displayed in the upper right corner of the layout screen.
When clearing all at once, a confirmation dialog will be displayed just like when clearing an individual item.
■Relocation of equipment
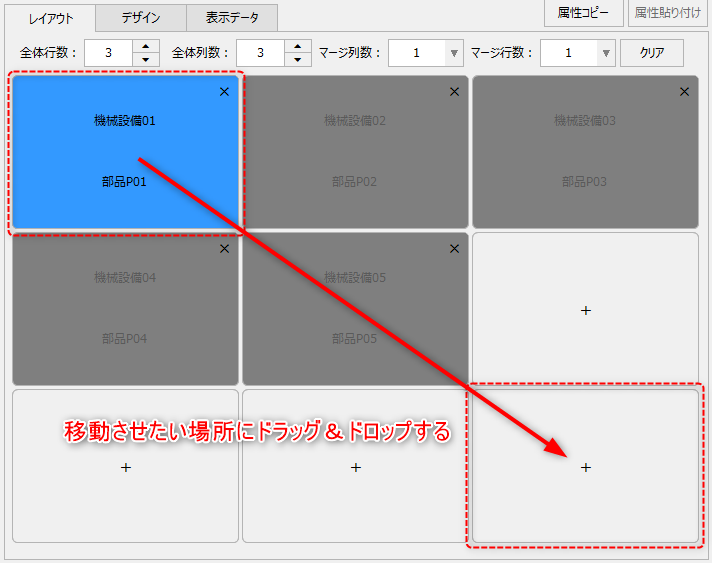
To move the allocation position of a piece of equipment, select the display frame you want to move it to, then drag and drop it onto the frame you want to move it to.
As an example, select the display frame in the upper left corner and drag and drop it to the lower right corner.
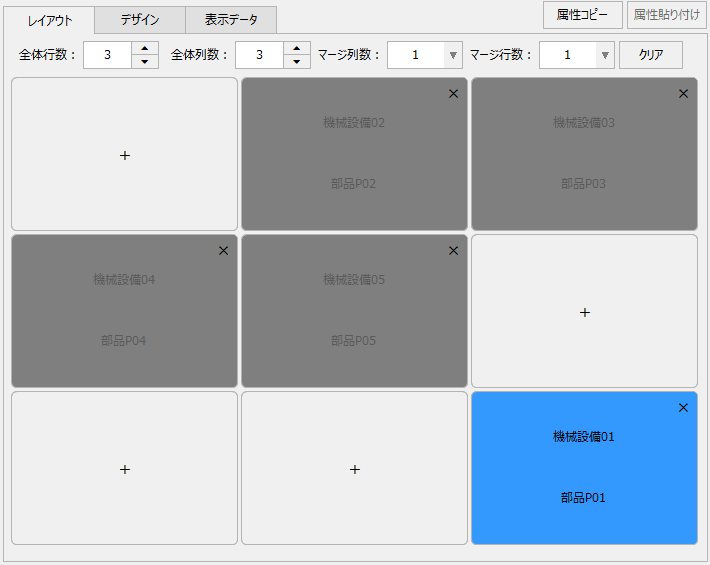
The facility display frame has been moved.
■ Swapping display frames
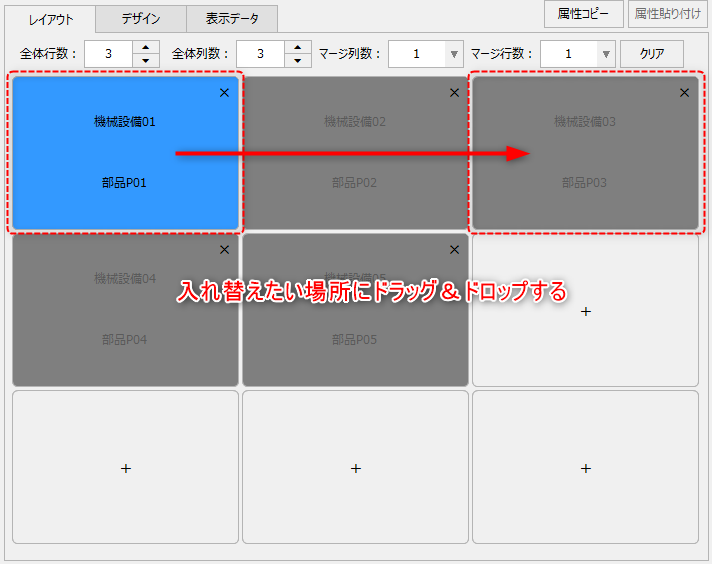
You can swap the positions of display frames by dragging and dropping onto a display frame that already has equipment assigned to it.
The equipment assigned to the display frame has been swapped.
To perform this operation, the size of the source and destination display frames must be the same.
■ Merging display frames
By merging display frames, you can change the width and height of the display frames in units of the number of rows and columns. In the following example, for ease of understanding, the total number of rows is set to 6 and the total number of columns is set to 6.
|
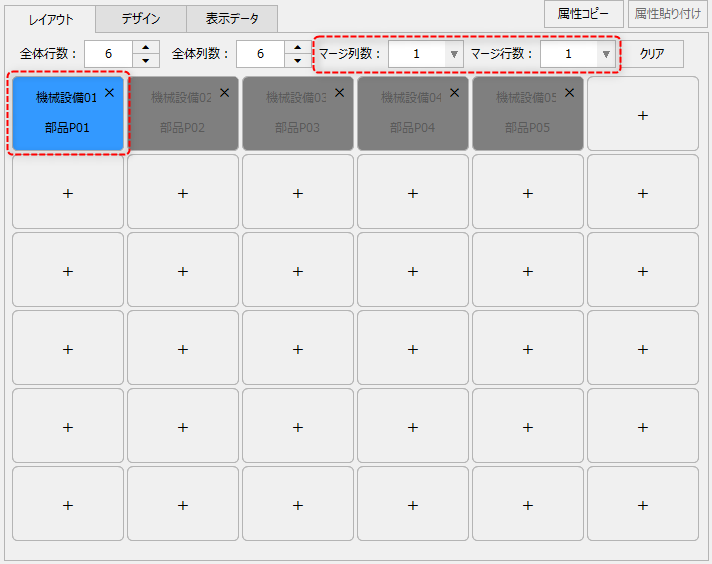
First, use the mouse to select any display frame for which you want to configure merge settings. In the example on the left, the upper left frame is selected.
In this state, change the number of merge columns and the number of merge rows.
|
|
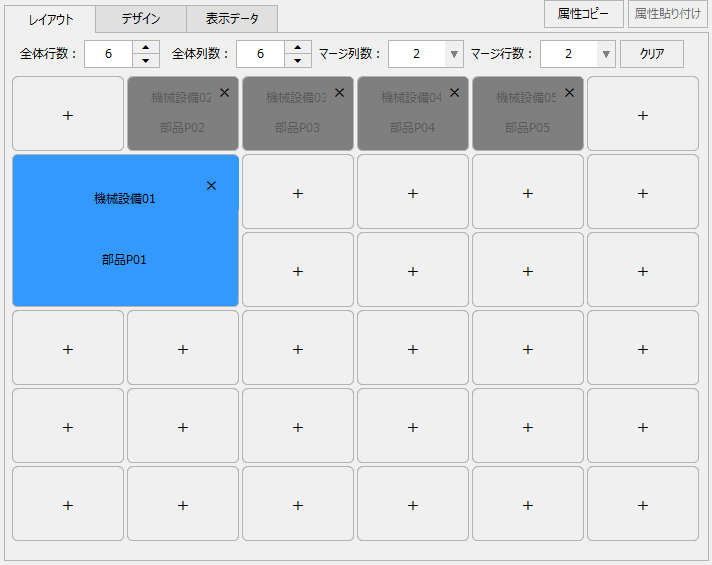
For example, if you change the number of merge columns to 2 and the number of merge rows to 2, the size of the selected display frame will change to 2 rows and 2 columns.
Furthermore, if the merge settings result in a resize that makes it impossible to display in the original location, it will be automatically moved to a displayable location as shown on the left.
|
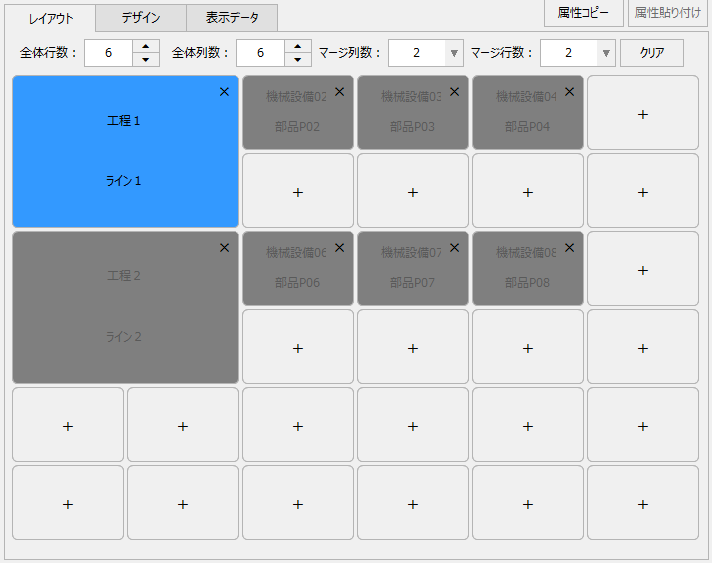
By adjusting the layout using merge settings, you can express parent-child relationships as shown below, or enlarge the display frame of important equipment.
■Copy/paste attributes
In the upper right corner of the layout setting screen, there are buttons called "Copy Attributes" and "Paste Attributes."
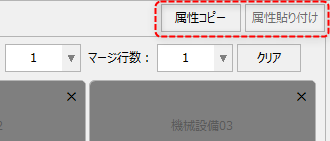
Copying attributes allows you to easily copy the settings in the "Design Settings" tab and the "Display Data Settings" tab. For example, this is useful when you want to reflect the following settings in other display frames in the same way.
•Font settings for facility title
•Lamp and display frame color
•Setting the number of displayed data and display items
•Margin settings for data display layout, etc.
Here's how to use it:
1.Select the display frame you want to copy and click the "Copy Attributes" button. Note that the "Paste Attributes" button will be disabled until you have copied the attributes.
2.Click on the display frame to which you want to paste the attributes to select it and click the "Paste Attributes" button. Note that once attributes are copied, they will be retained until you close the settings registration screen, so you can easily apply the settings of one display frame to multiple display frames by selecting the display frame you want to paste them to and repeatedly clicking the "Paste Attributes" button.