|
Setting production results is not required for operation monitoring. Please set this as necessary. For example, if you only want to monitor the operation status such as operation and shutdown, and do not want to manage production targets and results, there is no need to set this. |

View production performance settings
In the production results settings, you can set production targets and the method for collecting production results.
When you select "Production performance settings" from the left menu on the setting registration screen, the display in the center of the screen will change as follows.
(Settings registration screen: Production results settings)
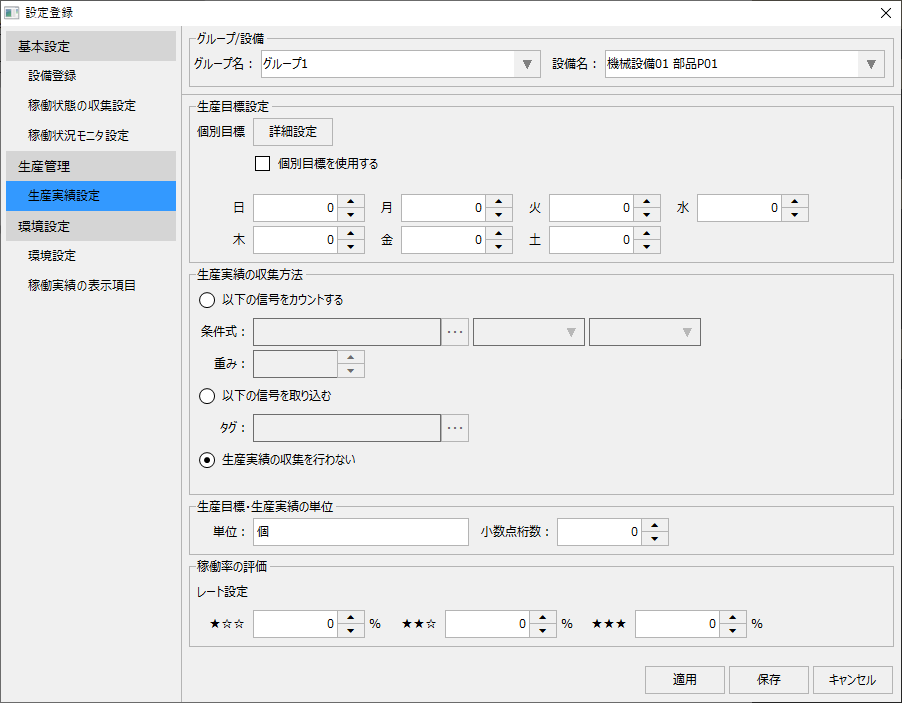
This setting must be done for each facility individually. The facility to be set can be selected from the following combo box at the top of the screen.

First, select the target group from the left combo box, then select the target facility from the right combo box.
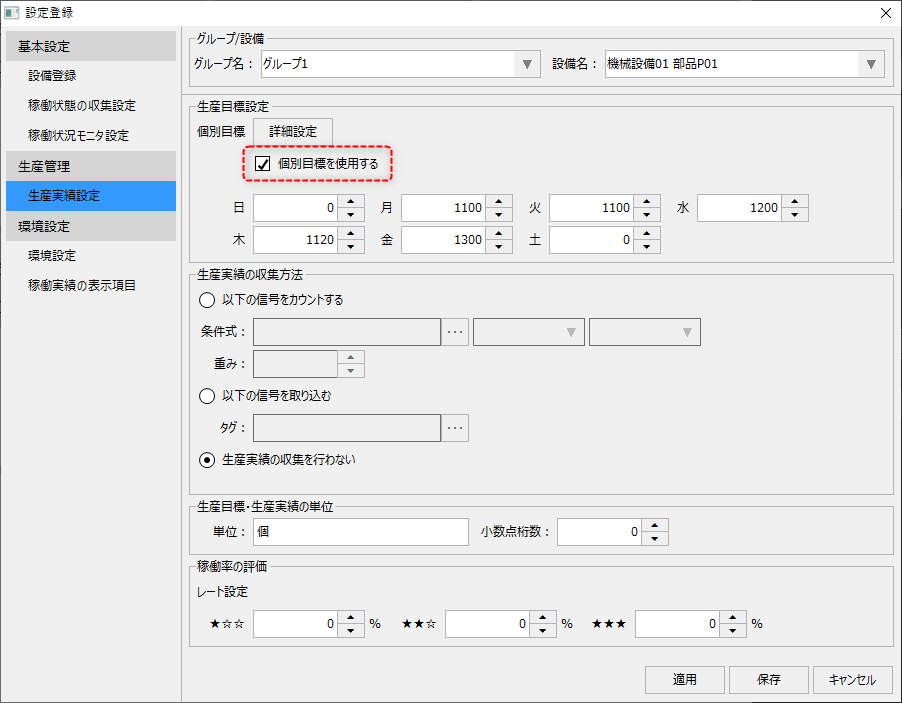
The production target is set based on the following:
|
When setting production targets, you can set targets for each day of the week and individual targets for each date using a calendar.
|
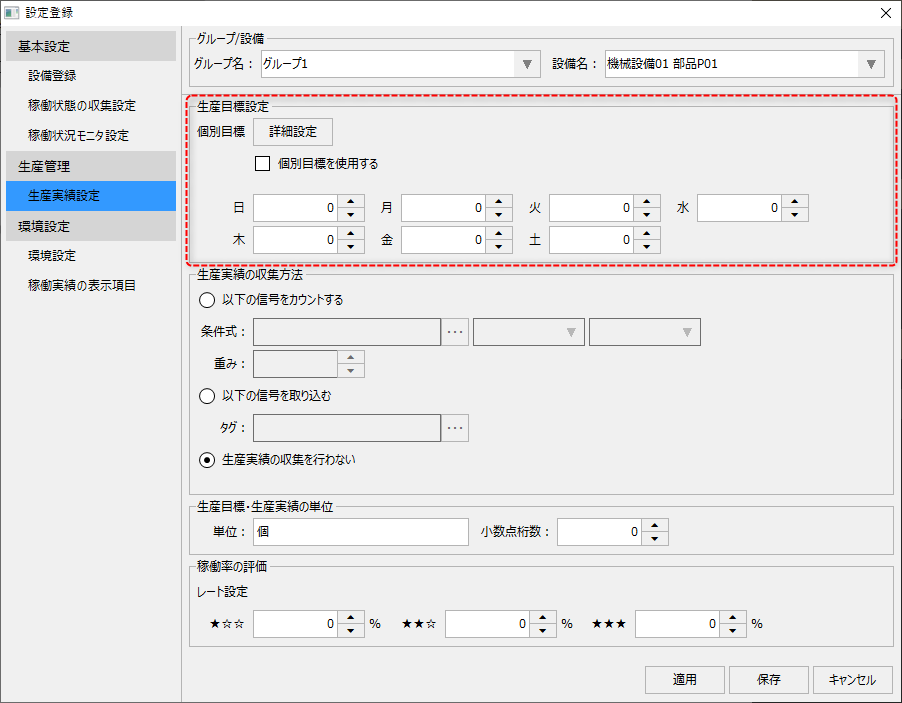
■ Setting goals for each day of the week
To set goals for each day of the week, enter each goal setting for that day.
(Example of setting goals for each day of the week)
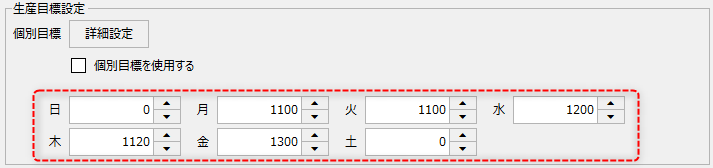
Based on the above, the production target that corresponds to the day of the week will be adopted.
■ Setting individual goals using the calendar
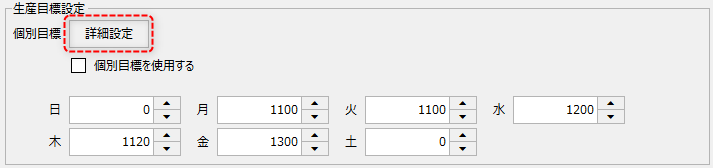
Also, if you click the "Advanced Settings" button below, a detailed registration dialog will be displayed.
(Detailed registration dialog)
|
From this dialog, you can set individual production targets for each calendar day. The calendar grid displays your goals for the currently selected year.
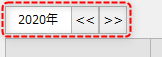
You can also change the year you are setting from the section at the top of the screen below.
Clicking on the year display will display a year selection dialog, allowing you to select the target year from the dialog. Also, clicking the left or right button will move forward or backward through the currently displayed year.
|
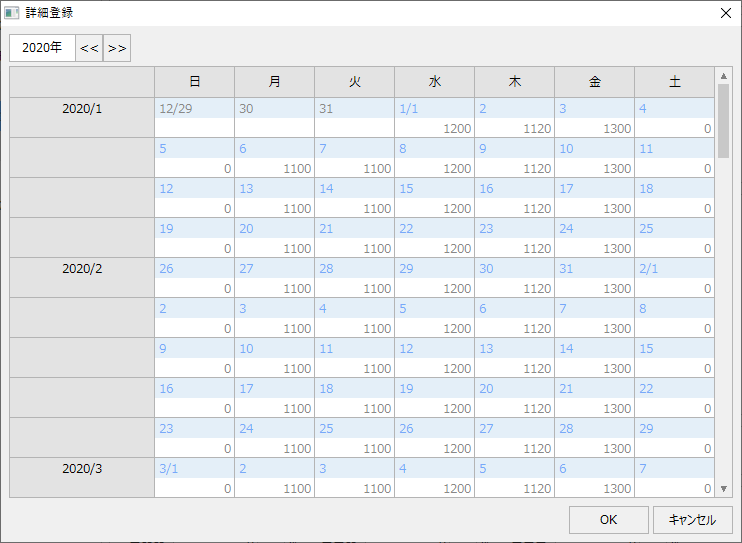
The grid displays a calendar with a goal value displayed beneath each date.
The target value set for each day of the week is applied as is to the default value for each target value. The default target value is displayed in gray.
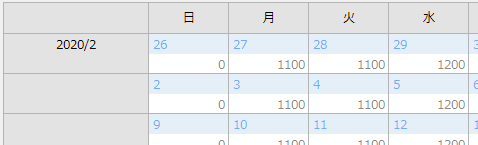
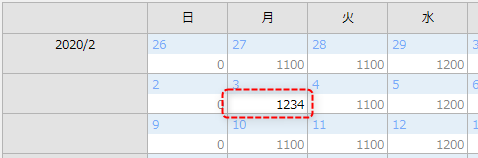
To change an individual target value, double-click the cell of the target value for the date you want to change. The cell will then be editable, allowing you to directly enter the target value.
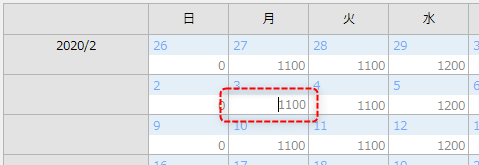
When you change the target value, the value display color changes to black.
In this way, dates for which individual goals are set can be distinguished by the different color of the values displayed.
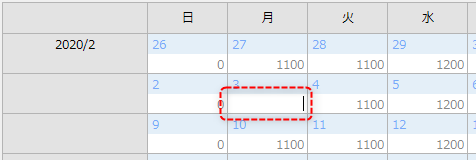
If you want to reset the target value to the default value for the day of the week, delete the value set in the desired cell.
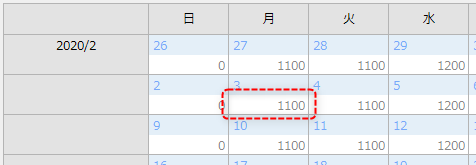
This will change the target value for that date back to the target value for that day of the week.
To enable individual goals set from the calendar, check "Use individual goals" in the production goal settings. If you uncheck this, the goal settings for each day of the week will be used.
Setting the method for collecting production results
The method for collecting production results can be set in the following areas:
|
|
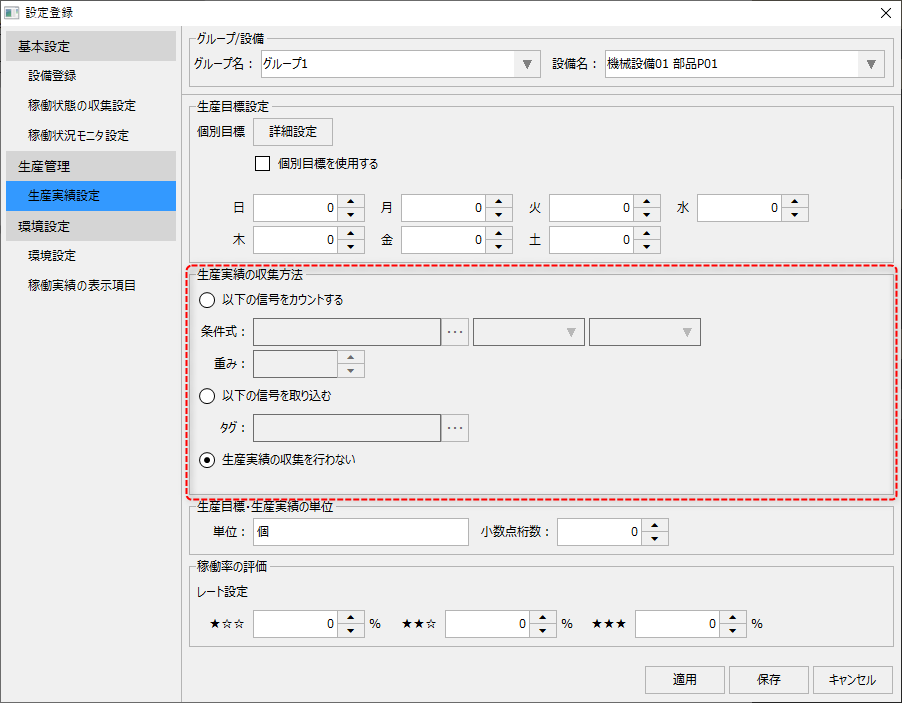
If you do not want to import production results, select "Do not collect production results."
When importing production results, there are two ways to set it:
■ When receiving the production quantity counted by the downstream device
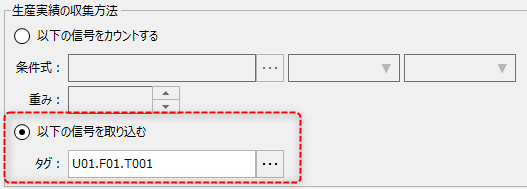
With this method, the daily production quantity is counted up by downstream devices such as a PLC and received as a numerical value via a tag.
In addition, with this method, it is assumed that the counter for the number of production units counted on the lower side will be automatically reset at appropriate times, such as at the turn of the day..
(Settings image)
|
Setup Steps:
•Select "Capture the following signals." •Specify the tag path of the tag that will receive the production results.
|
■ When receiving a production trigger by pulse
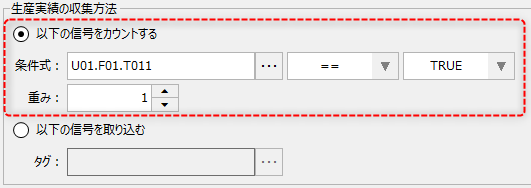
With this method, a trigger signal is received indicating that production has taken place, and the number of times the trigger condition is met is counted up using the operation monitoring function to determine the production quantity.
Here, a trigger signal is a signal that turns ON for a certain period of time each time production is performed, such as a shot signal from a press or a completion signal from manufacturing equipment.
(Settings image)
|
Setup Steps:
•Select "Count the following signals." •In the condition expression, specify the tag path of the tag that will receive the production trigger pulse, and specify the comparison condition and weight.
The weight specifies the number of products produced in one shot. For example, if your equipment produces 30 products per pulse, specify 30 as the weight. |
|
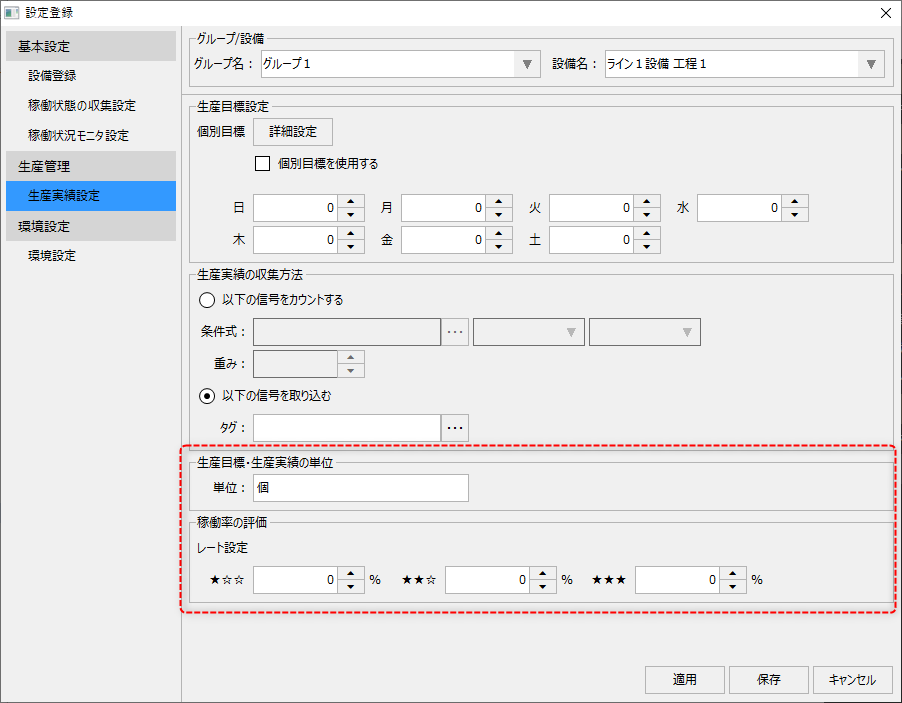
The following settings specify the units and number of digits for the week used to display the production target and production results. You can specify any string for the unit.
The following settings also set the threshold for evaluating the availability rate. This setting is used to determine the performance evaluation of the utilization rate displayed on the utilization analysis screen.
|