overview
The standard menu items include a "camera monitor" option. Simply add a camera monitor to the menu to make the split display work as a camera monitor. Internally, the camera monitor is realized by the split display screen library, and the two have exactly the same functionality. For reference, this article introduces how to add a split display to the menu and make it work as a camera monitor.
Split display menu addition and parameter setting
As an example, we will explain using a standard project with the following menu structure.
|
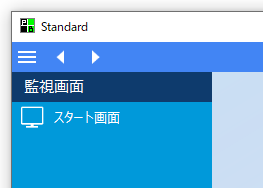
The image on the left shows only the start screen registered in the menu.
|
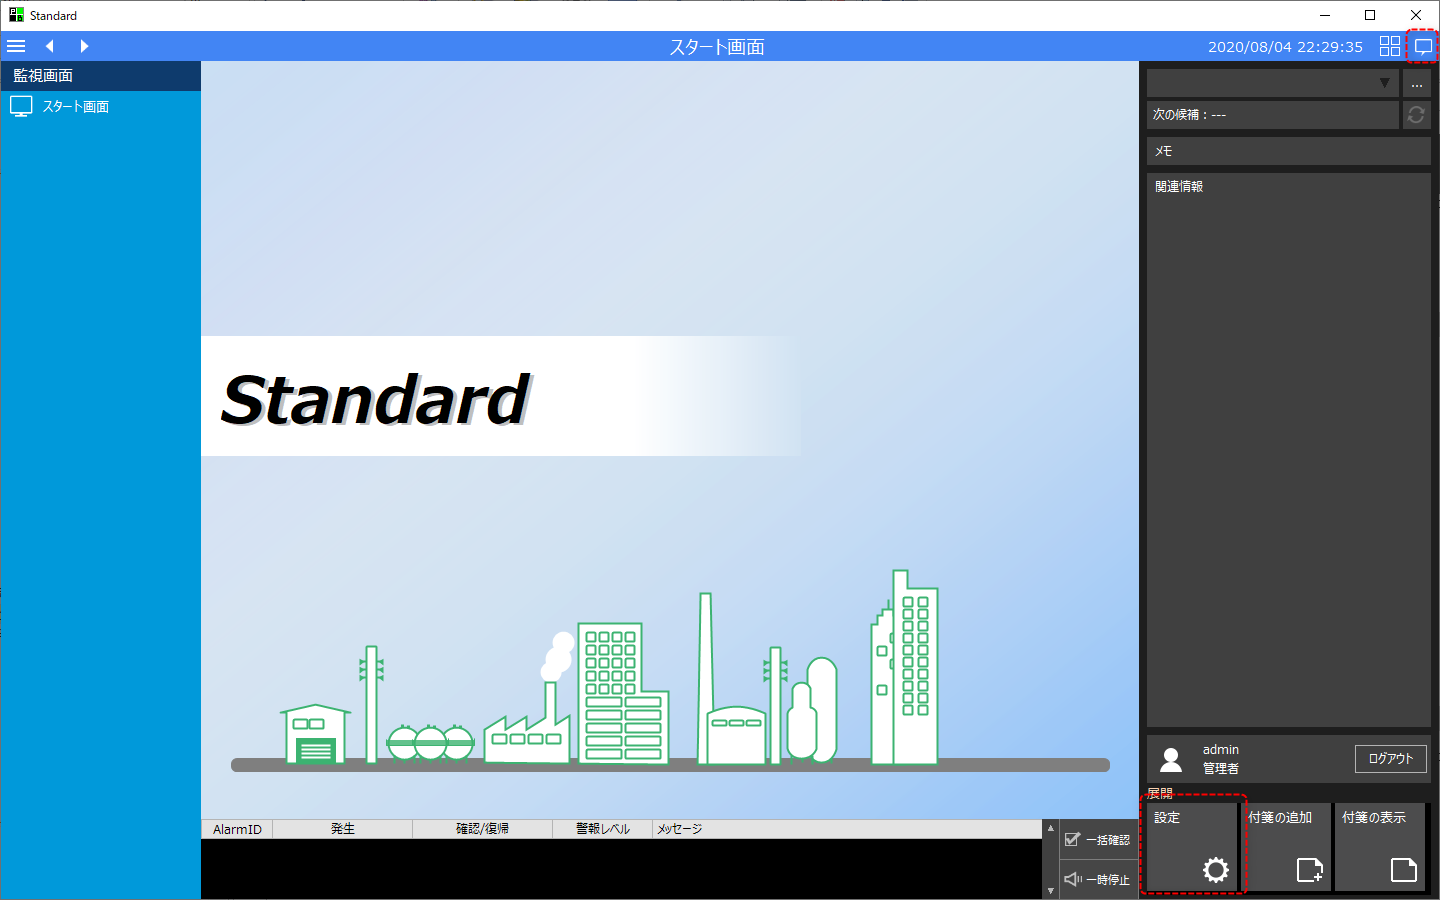
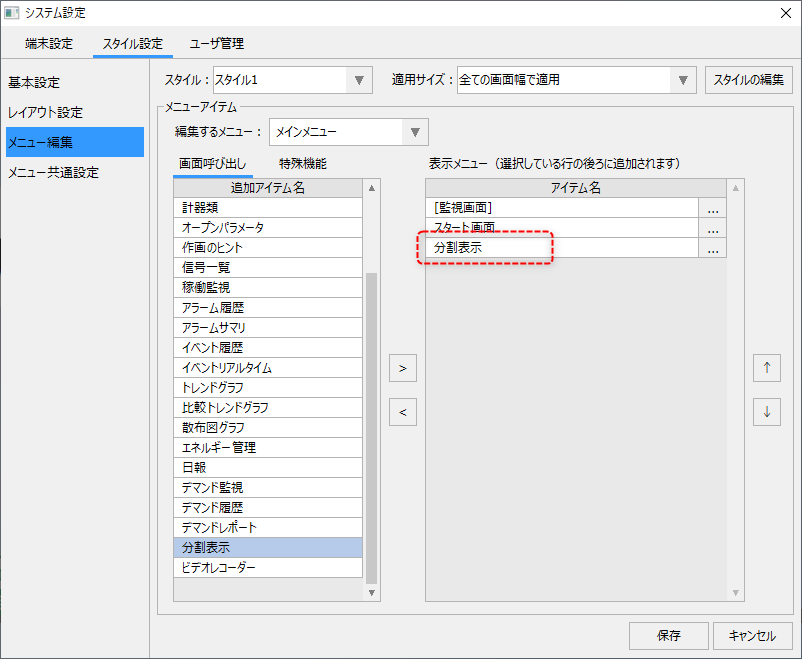
Menu editing can be done from the System Settings screen. Display the Information Bar and then display the System Settings screen.
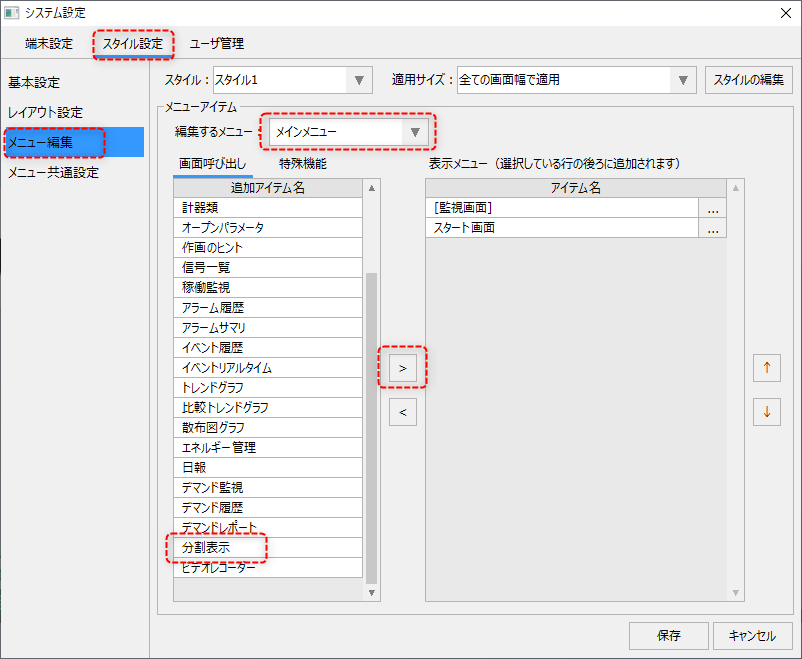
Select "Style Settings" from the system settings screen to display the menu editor.
|
Make sure that the menu you want to edit is "Main Menu," select "Split Display" from the screen call list and click the ">" button.
|
"Split View" has been added to the View menu.
|
Click the "Split View" settings button that has been added to the View menu list.
|
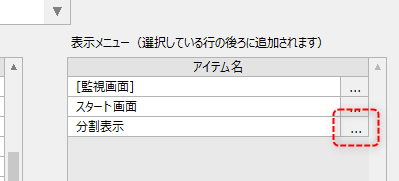
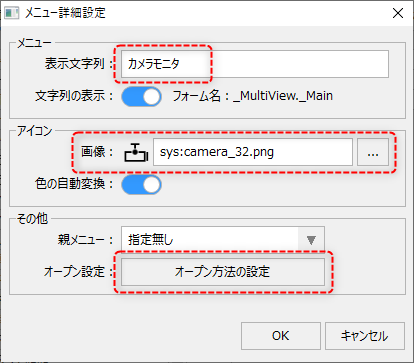
The menu details setting screen will be displayed, so change the following parameters.
|
Change the display string to an easy-to-understand name. In this example, we will use "Camera Monitor."
Also, by default, the icons are split, so change it by selecting the camera icon from the system resources. In the example on the left, "sys:camera_32.png" is selected.
Next, click the "Set Open Method" button to edit the open parameters.
|
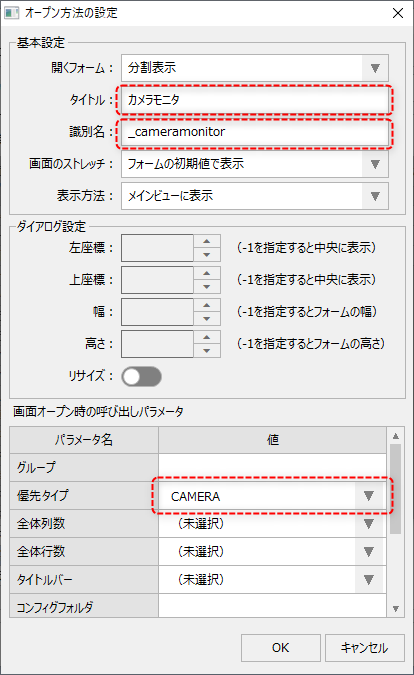
The open method setting dialog will be displayed, so please set the parameters as follows.
|
Change the title to something more easily understandable. In this example, we will call it "Camera Monitor."
Next, specify the identification name, which must be unique across the entire system. Here we will use "_cameramonitor" as an example.
Next, specify "CAMERA" for the "Priority Type" in the open parameters. This setting calls up the split screen as a camera-priority display mode.
Also, specify the "Library Unique Name" at the bottom of the list. This name must also be unique across the entire system. In this example, we will use "_cameramonitor". Note that you can use the same name for the identification name and library unique name.
|
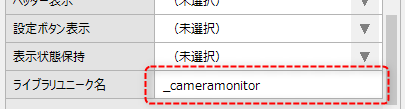
Furthermore, various setting data for screen libraries are managed by library unique name, and split display settings (groups and layouts) are also saved separately for each library unique name. For example, if you want to call up a split display screen menu from multiple locations and want to share the split display settings called from each, specify the same name as the library unique name. Details regarding screen library identification names and library unique names are described in "Registering screen libraries as separate items" in the Screen Library Reference.
This completes the setup. Save the settings on the System Settings screen.
Please confirm that "Camera Monitor" is registered as an item in the main menu.
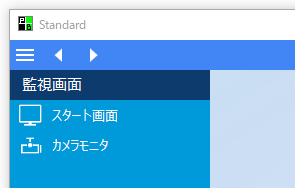
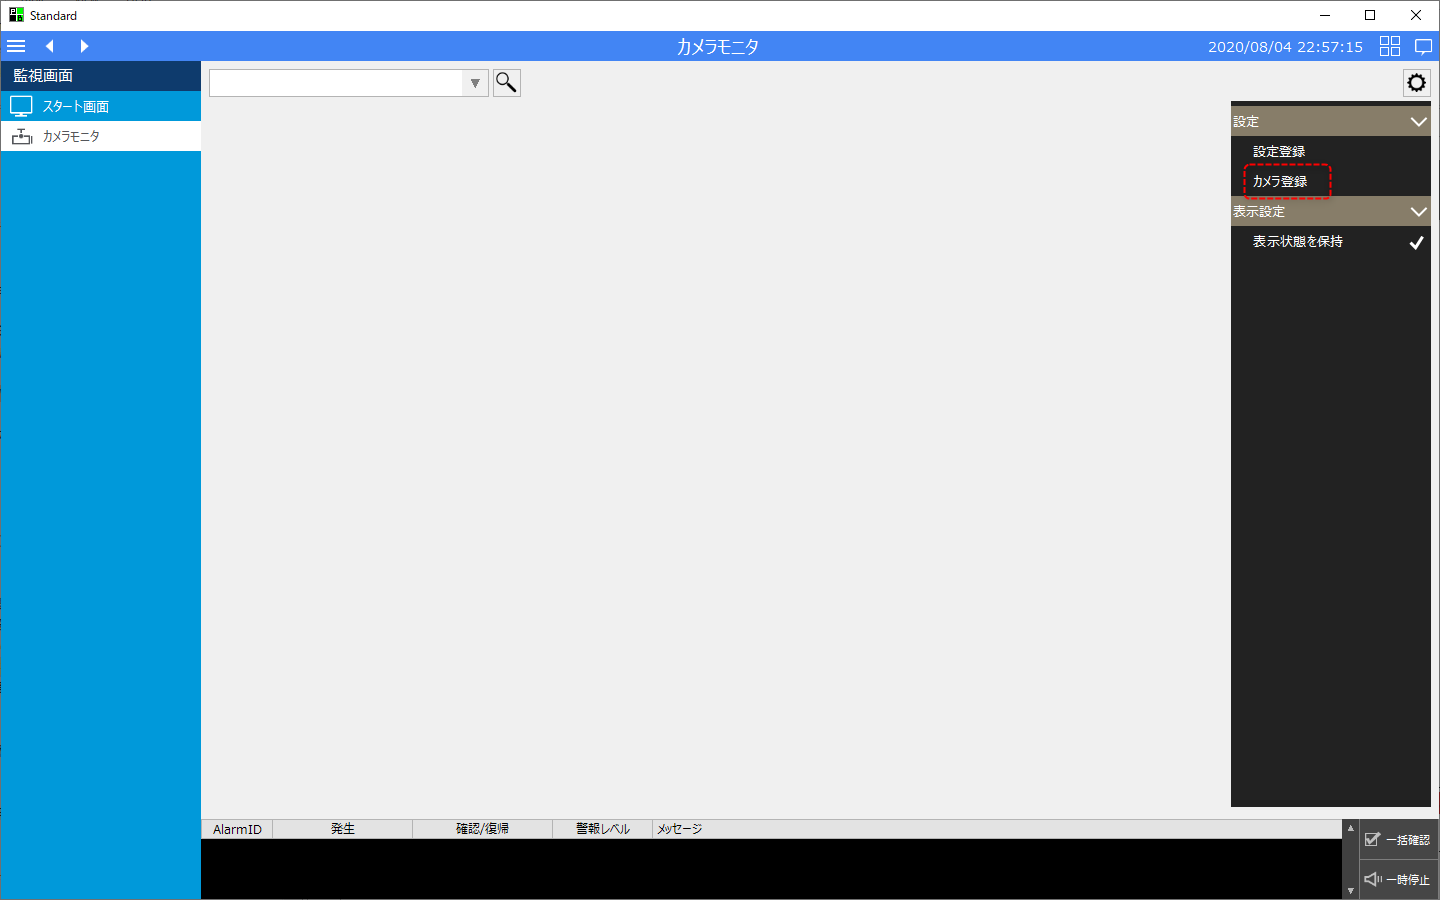
When you display the camera monitor, a split screen will be displayed with the title "Camera Monitor." Also, "Camera Registration" will be displayed as a setting item (this menu item will only be displayed when camera priority is selected).