Add the ability to display your own form screen to user management
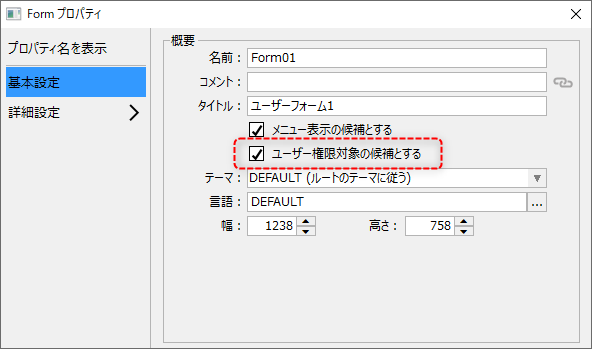
If you want to add your own forms that you have added to the project, such as user-created graphic screens, to user-managed access permissions, set the form's "AuthCandidate" property to True.
name |
Property Name |
Contents |
Candidate for user authority |
AuthCandidate
|
If you want the form to be displayed in the access permissions of the user management group, set this property to True (check it). If you do not set this property to True, the form can be opened as usual regardless of the access permissions.
(Form property settings dialog)
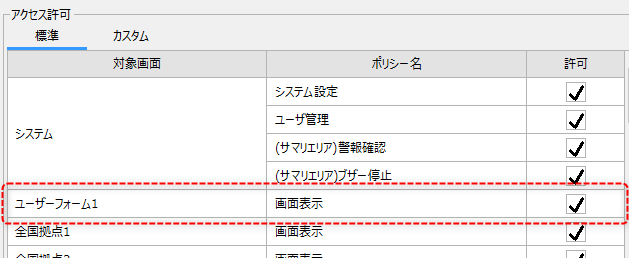
If you set the above to True, the "Screen display" permission will be displayed in the list of access permissions in the group registration in User Management, as shown below.
(Example of a list of access permissions)
|
Adding custom permissions to a form
When you add a form to access permissions, the "Screen View" permission is displayed by default, but you can also define and add other unique permissions to the form's access permissions.
Set your own access permissions in the "AuthParam" property of the form.
name |
Property Name |
Contents |
User Privilege Parameters |
AuthParam
|
This property is described in the following format.
Permission Key Name;Desc:Policy Name
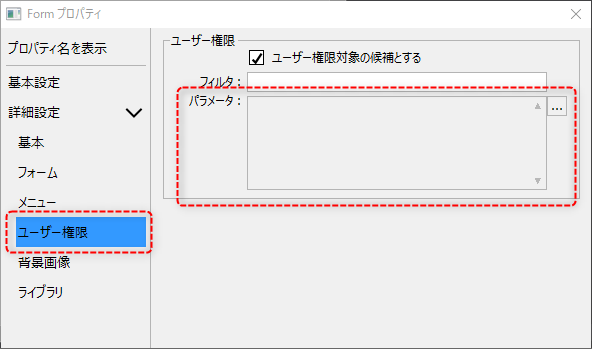
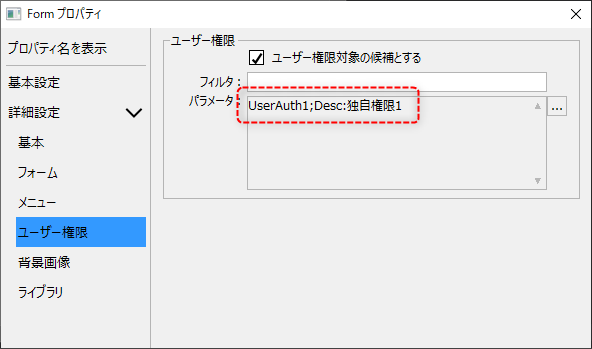
This setting can be set from the user authority in the property setting dialog of the form. Or, you can directly edit the AuthParam property from the property page. If you want to register multiple authority keys, you can write the above format on multiple lines.
(Form property settings dialog/User permissions)
Click the Settings button to display the editor and enter the parameters.
For example, if you set it as shown below, a new authority with the policy name "Custom Authority 1" will be added with the authority key "UserAuth1" (the following is an example setting).
UserAuth1;Desc:Custom authority 1
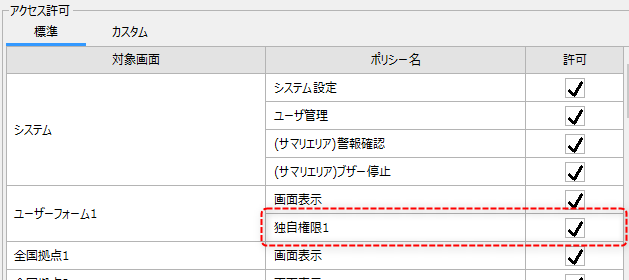
When you register the above, the permission setting for "Unique Permission 1" will be displayed in the access permission list. In addition, you can use the permission key "UserAuth1" from a script to obtain the presence or absence of permission.
(Example of unique permissions added to the access permission list)
|
To get your own permission status from a script, use the "AUTH" route method.
Below is an example of a simple process implementation.
■ Script implementation example
1.Add a form to the standard project.
Set the following properties of the added form.
Property Name |
Contents |
Title |
User Form 1 |
MenuCandidate |
True |
AuthCandidate |
True |
AuthParam |
UserAuth1;Desc:Custom authority 1 |
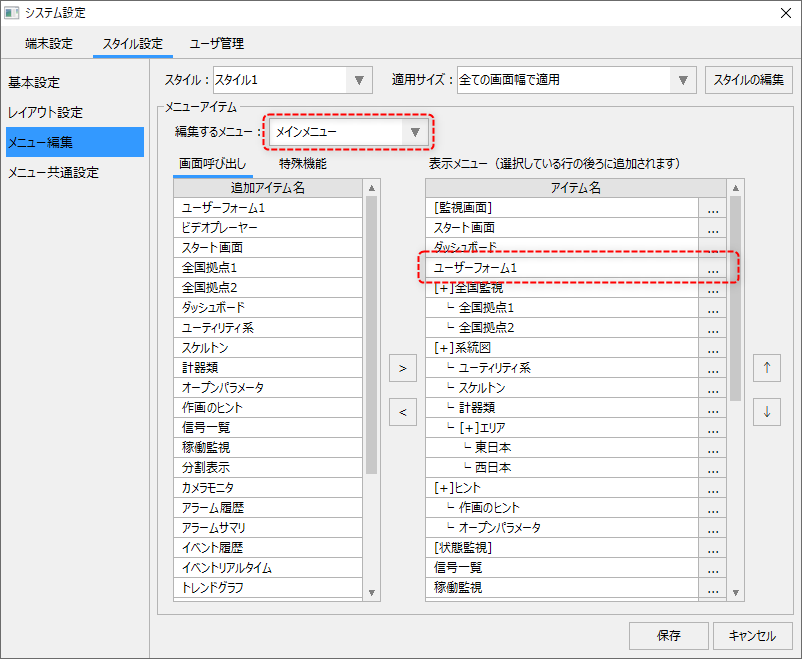
Open the menu editor from the style settings in the system settings screen and add "User Form 1" to the main menu.
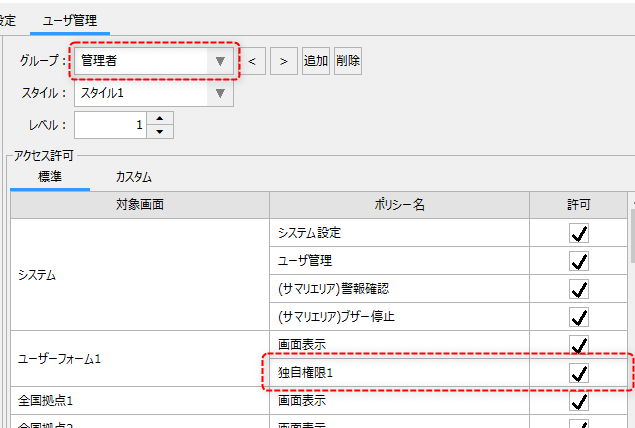
Next, on the User Management settings screen, set the access permissions for administrators and general users as follows.
(Administrator access rights)
|
In the access permissions for the Administrator group, check "Unique authority 1" for User Form 1.
|
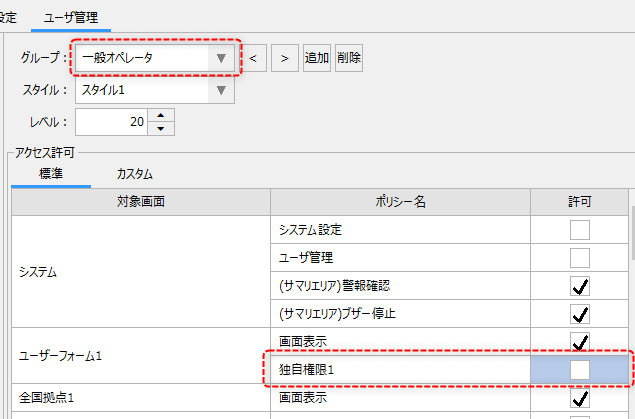
(Access rights for general operators)
|
To grant access permissions to general operators, uncheck "Unique Authority 1" in User Form 1.
|
2.Place one button on the form added above.
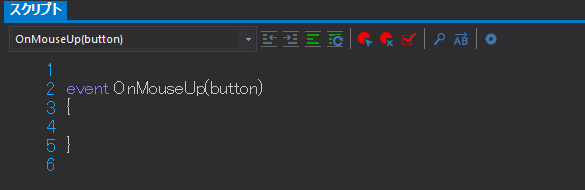
3.Open the button's script page and add a OnMouseUp event.
4.Write the script.
To check for permission, use the AUTH route method. As an example, we will implement a process to check for permission and display the result in a message box.
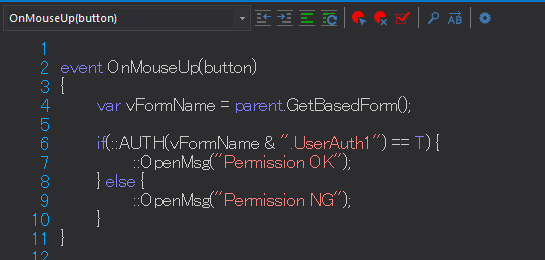
(Description)
event OnMouseUp(button) { var vFomeName = parent.GetBasedForm();
if(::AUTH(vFomeName & ".UserAuth1") == T) { ::OpenMsg("Permission OK"); } else { ::OpenMsg("Permission NG"); } } |
Explanation:
•The authorization key can be referenced by "form name.authorization key name". In the above, the GetBaseFormName form method is called to obtain the form name in the vFormName variable, and the authorization key name is concatenated and specified as an argument to the AUTH method as shown below. By writing in this way, you can write code without having to worry about the form name.
vFomeName & ".UserAuth1"
•The AUTH route method returns the authorization status as T/F.
5.Operation check
Run the project, first log in as an administrator, and display User Form 1.
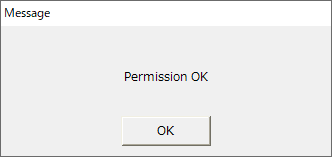
When you click the button, "Permission OK" will be displayed as shown below.
Next, log in as a general operator and click the button in the same way.
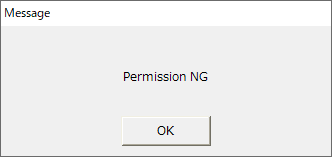
Then, you will see the message "Permission NG" as shown below.