User Levels
■ User level settings for standard user management functions
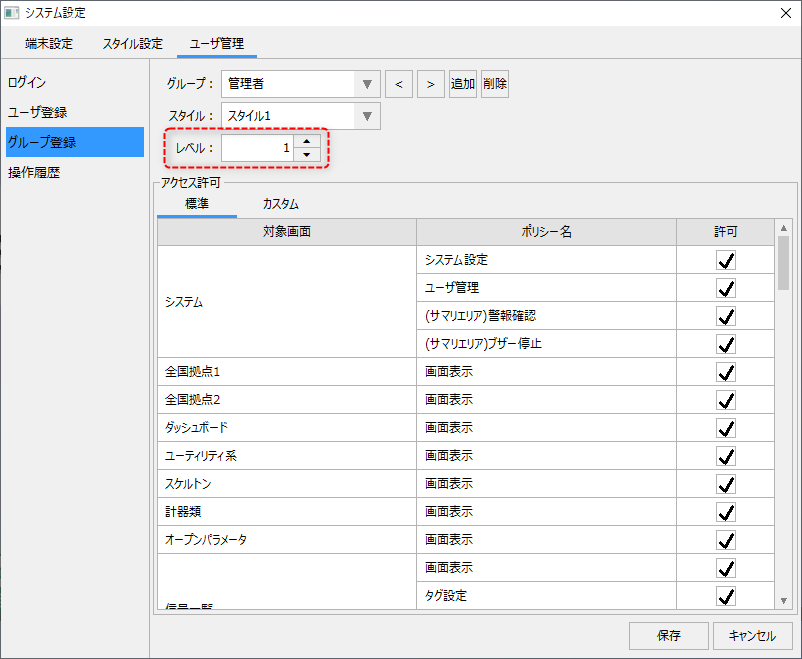
In the standard user management function, user levels are managed by group. On the group registration screen, you can set the "level" of users who belong to that group.
(System settings screen/User management/Group registration)
|
The level can be set to any integer value.
When a user logs in, the value set for the level of the group to which that user belongs is stored in the PSUserLevel root property and $USERLEVELBrowser tag. By referencing these from binds or scripts, or calling a method to obtain the user level, you can, for example, control whether a button placed on a custom graphic screen can be operated (the button's Enabled property is enabled/disabled) automatically depending on the level value of the currently logged-in user.
|
In addition, standard projects are implemented so that the lower the level number, the higher the authority.
In the following description, it is assumed that the following user groups are registered.
(Group Settings/User Name)
Group Name |
level |
Username |
Administrator |
1 |
admin |
Advanced Operator |
10 |
senior |
General Operator |
20 |
operator |
Viewing User |
30 |
guest |
Switching between button operation availability based on user level
The easiest way to automatically switch button operations depending on the user level is to define a bind expression that references $USERLEVELBrowser tag in the binding setting for the Enabled property of the target button.
Here we will introduce a setting example that enables button operations only when the level value is "10 or less" (in other words, only when the user is "admin" or "senior").
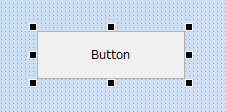
1.First, place a button on the form.
2.Next, open the Binding tab of the button's Enabled property and set the following binding expression:
|
$USERLEVEL <= 10
|
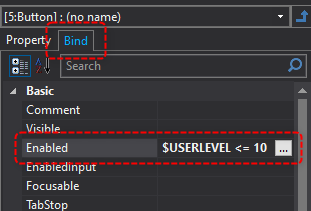
This completes the setup.
3.Operation check
Run the project and first log in as admin (level 1).
When you display a screen with buttons on it, you will see that the buttons are displayed in a usable state, as shown below.
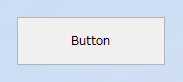
Next, I logged in as guest (level 30). Then, I couldn't operate the buttons, as shown below.
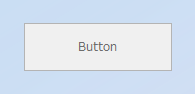
Next, log in as senior (level 10). Then, the buttons will become operable as shown below.
Next, when I logged in with operator (level 20), button operations were disabled as shown below.
Referencing the user level from a script
You can also reference the user level from a script. There are two ways to get the level from a script: by directly referencing the PSUserLevel route property, or by calling the AUTH route method.
As an example, we will write a script in the OnMouseUp event of a button and briefly introduce each implementation example.
■ Referencing the PSUserLevel root property
Here is an example implementation that references the PSUserLevel route property.
1.Place a button on the form.
2.Open the button's script page and add a OnMouseUp event.
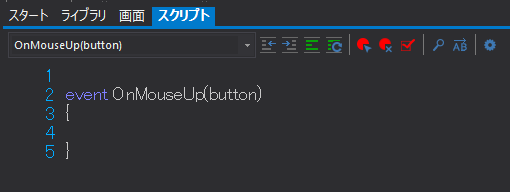
3.Write a script like the following:
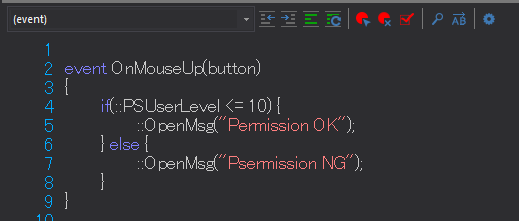
(Description)
event OnMouseUp(button) { if(::PSUserLevel <= 10) { ::OpenMsg("Permission OK"); } else { ::OpenMsg("Psermission NG"); } } |
❖The code goes between "{" and "}" in the event.
❖All text other than the message box display text should be written in half-width characters.
❖The white space at the beginning of a line is called "indentation." To indent, press the Tab key (you can enter a few half-width spaces, but do not enter full-width spaces).
4.Operation check
Run the project and log in as admin or senior (i.e. user below level 10).
When you click the button, the following message will be displayed:
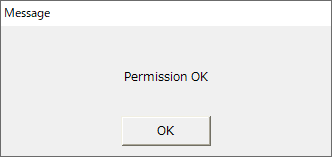
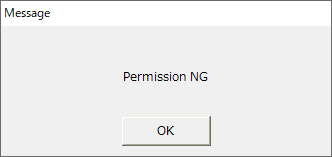
Next, log in as operator (i.e., a user at level 11 or above) and click the button, and the following will be displayed.
■Using the AUTH route method
Here is an example of implementation using the AUTH route method. When you call the AUTH method by specifying a number as an argument, it will return True if the number passed is equal to or less than the currently logged-in user level. This allows you to determine whether the current user meets the desired user level.
1.Place a button on the form.
2.Open the button's script page and add a OnMouseUp event.
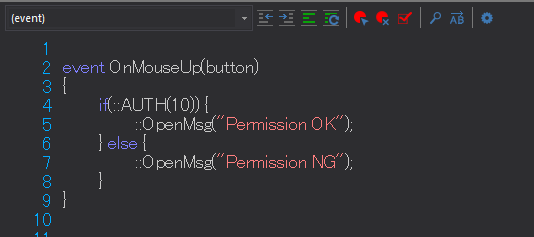
3.Write a script like the following:
(Description)
event OnMouseUp(button) { if(::AUTH(10)) { ::OpenMsg("Permission OK"); } else { ::OpenMsg("Permission NG"); } } |
4.Operation check
Run the project and log in as admin or senior (i.e. user below level 10).
When you click the button, the following message will be displayed:
Next, log in as operator (i.e., a user at level 11 or above) and click the button, and the following will be displayed.