User management (login function)
Here is a brief overview of what can be done with the user management function (login function) (clicking on the link will take you to the relevant section on the page).
•User groups and access permissions
•Integration with event history function
•How to register/edit user information
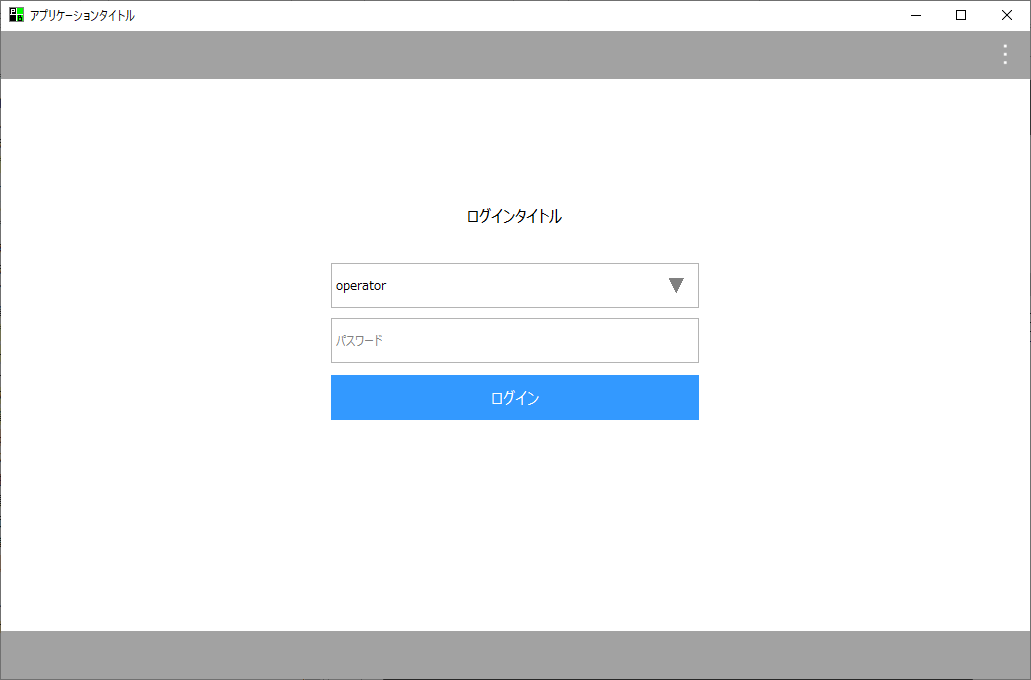
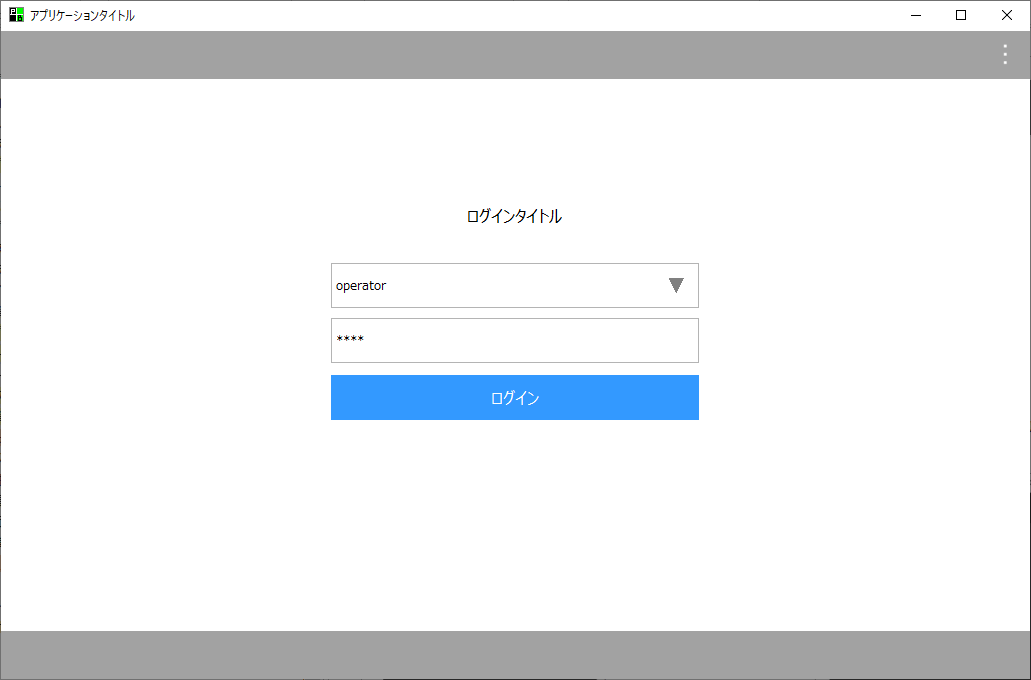
By registering user information in advance, a login screen can be displayed when the system is started, and authentication can be performed using the user name and password. This mechanism makes it possible to prevent the system from being used unless the user successfully logs in. It is also possible to set the system to automatically log in at startup, or to display the login screen again when the user logs out, preventing the system from being used until the user logs in again.
(Example of login display when browser is started)
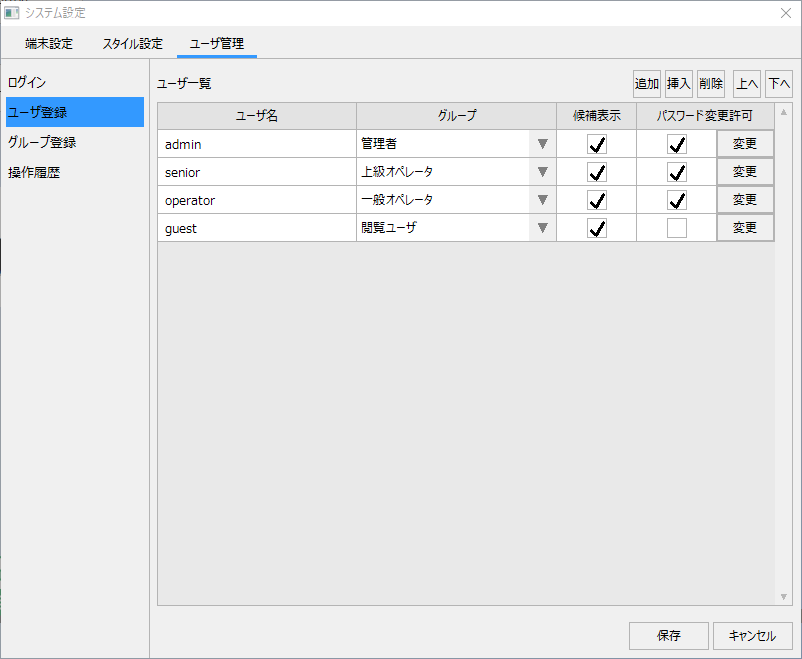
The user name used to log in can be registered and edited on the user registration screen. When registering a user, you can set the group to which the user belongs, password, etc.
(User Management/User Registration)
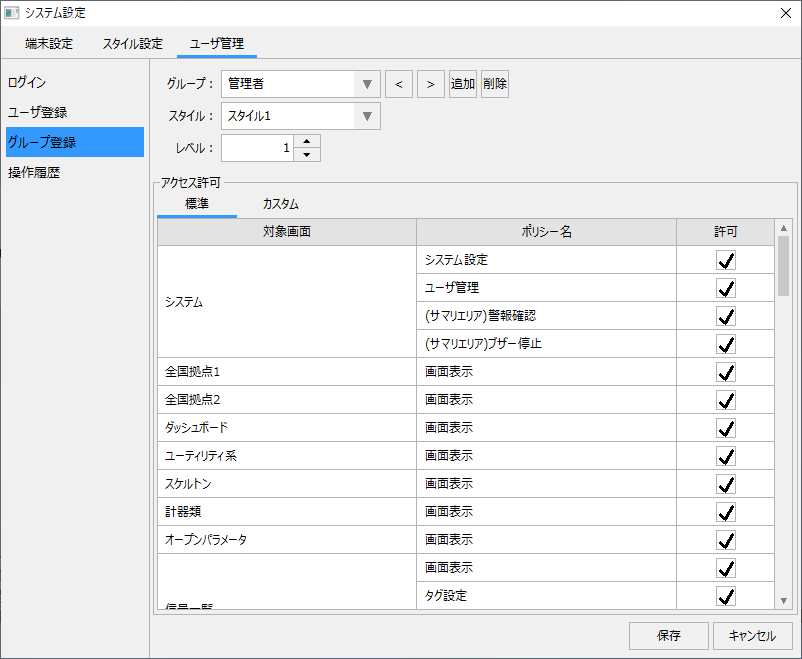
User privileges and user levels are managed collectively by group. In group settings, you can set access permissions for screens and functions for each group.
(User management/group registration)
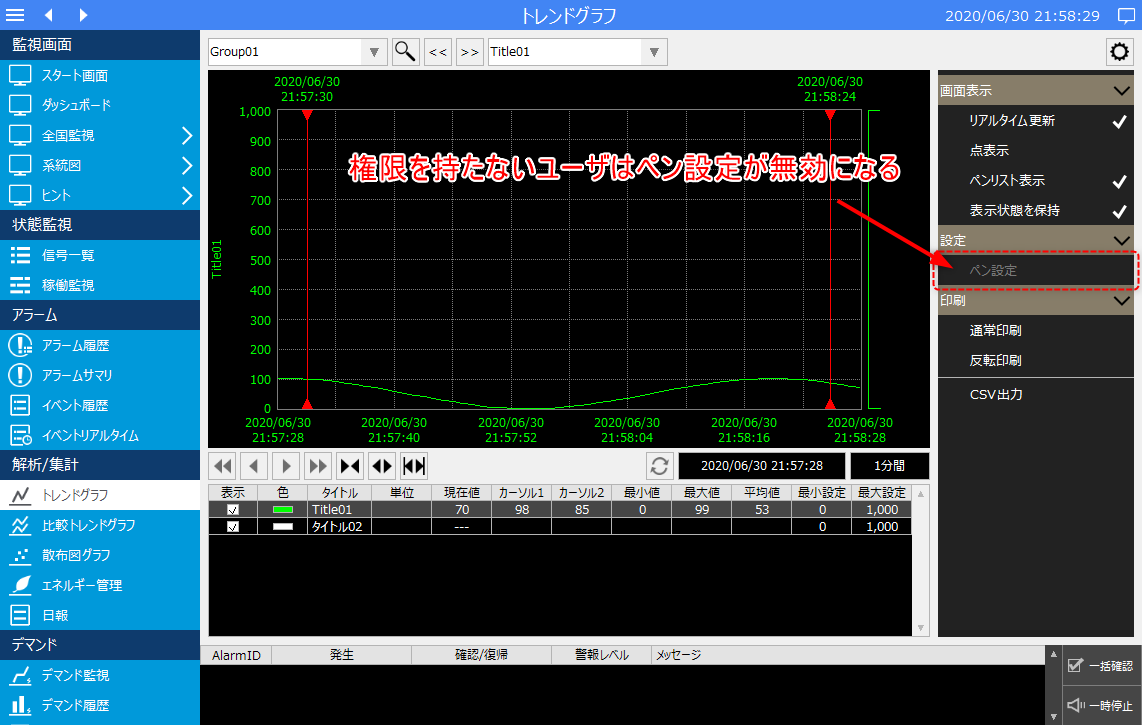
For example, in the settings for the "General Operator" group registered by default, the "Pen Settings" permission for trend graphs is not checked.
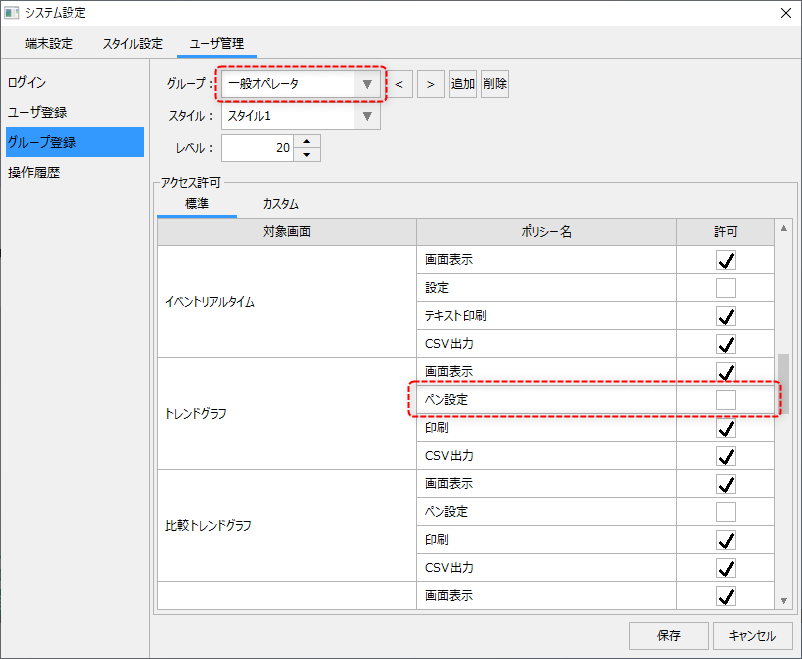
When a user belonging to the general operator group logs in in the above state, the pen settings on the trend graph screen will automatically be disabled.
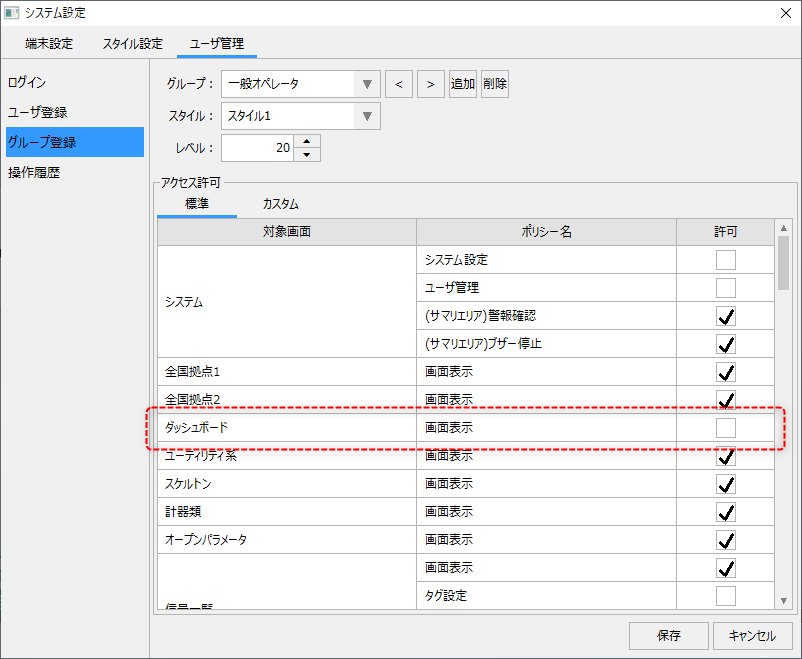
Also, if you uncheck the screen display permissions as shown below, users belonging to the corresponding group will not be able to open that screen.
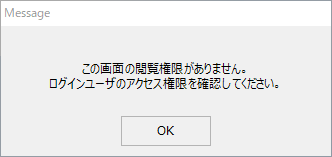
If the target screen is called from the menu in the above state, a message box like the one below will be displayed and the screen call will be canceled.
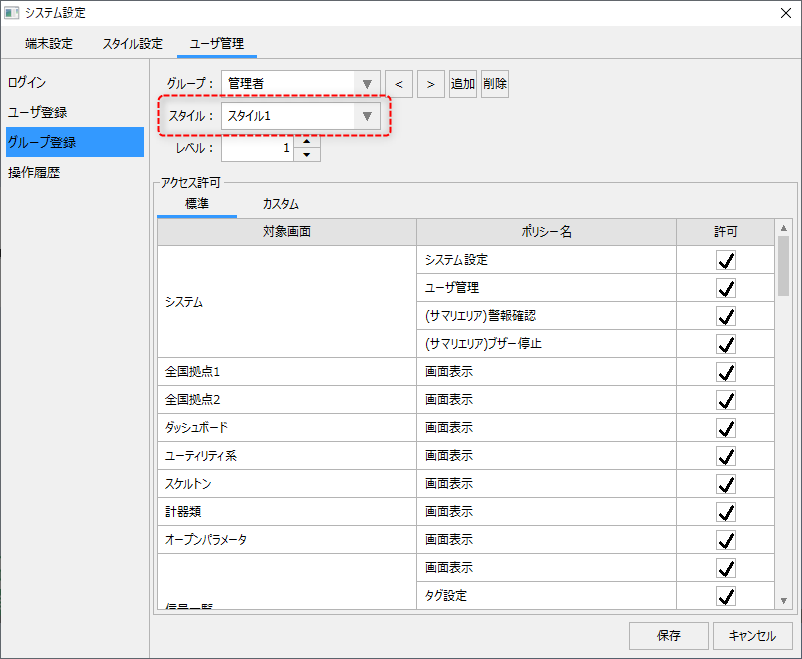
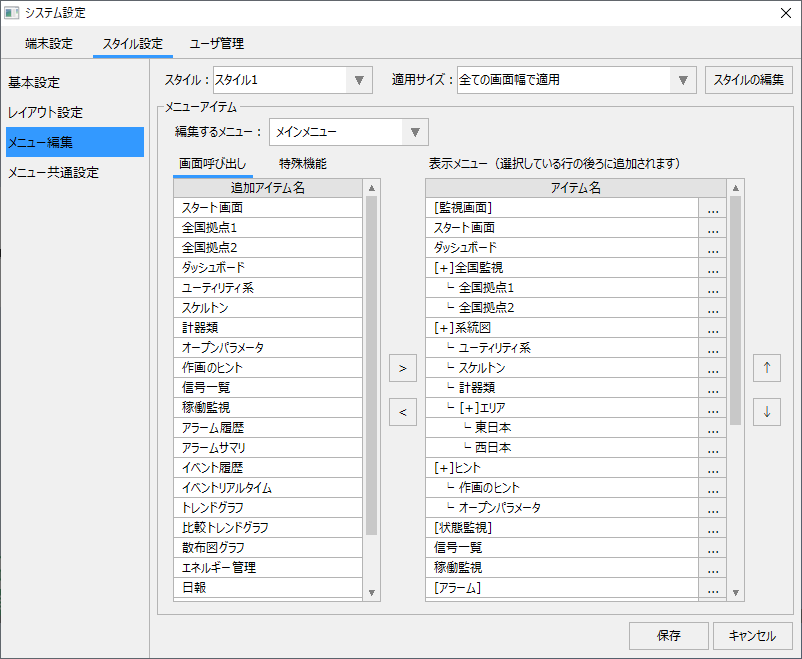
In the user group settings, you can specify the "style" that will be applied when users in that group log in.
A style is a set of settings related to screen display, and can be defined from the system settings screen of the standard project. Multiple styles can be registered, and the menu display contents can be freely defined for each style. For example, by registering "Demand Monitoring" only in the menu displayed by a certain user group and setting it not to be registered in the menu of other user groups, it is possible to set restrictions such as "Demand Monitoring" being displayed in the menu only when logged in by a user belonging to a specific group.
(Group Style Selection)
(Example of style setting screen)
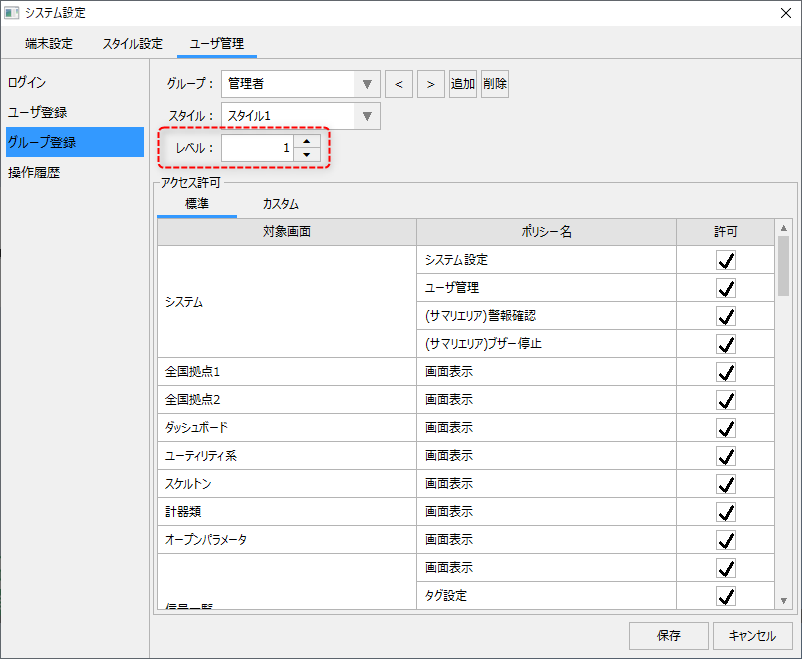
In the user group settings, you can specify an integer value for the "level" of users in that group.
(Group level setting)
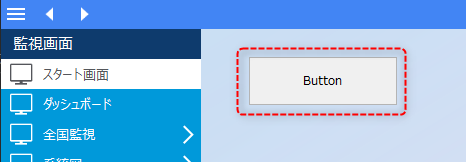
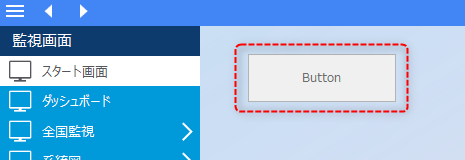
The level value of the currently logged-in user can be referenced at any time from logic such as bindings and scripts. By using this value to automatically switch properties such as enabling/disabling buttons or showing/hiding them, you can easily control whether operations can be performed according to the user level.
(Button operation is possible for users who meet the authority level.)
(An example of disabling buttons for users without the required authority level)
There are two login modes available: "Normal login mode" and "Guest login mode".
(Login mode settings)
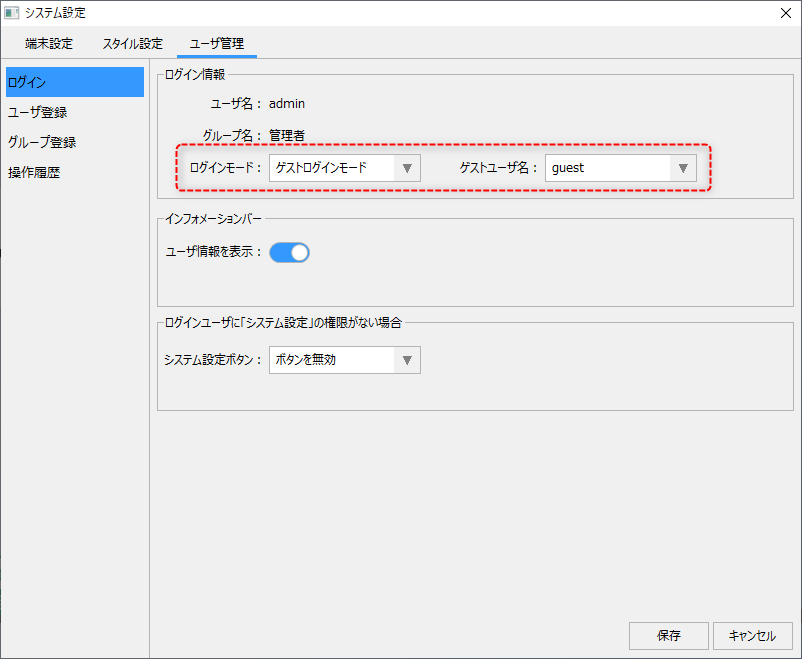
In normal login mode, to display the monitoring screen, you must log in. If you log out, the login screen will be displayed again and you will not be able to use the system until you log in again.
(In normal login mode, when you log out, the login screen is displayed and viewing and operation of the screen is prohibited.)
On the other hand, in guest login mode, when a user logs out of the system, the system will automatically log in as a "guest login" using a pre-specified guest user. By setting the guest user's permissions to only view the screen, it is possible to allow only screen display rather than completely prohibiting the display of all screens during logout. This mode allows operation such as only allowing viewing of the screen when logging out, and requiring the user to log in before performing operations.
(In guest login mode, you can view the screen even when logged out.)
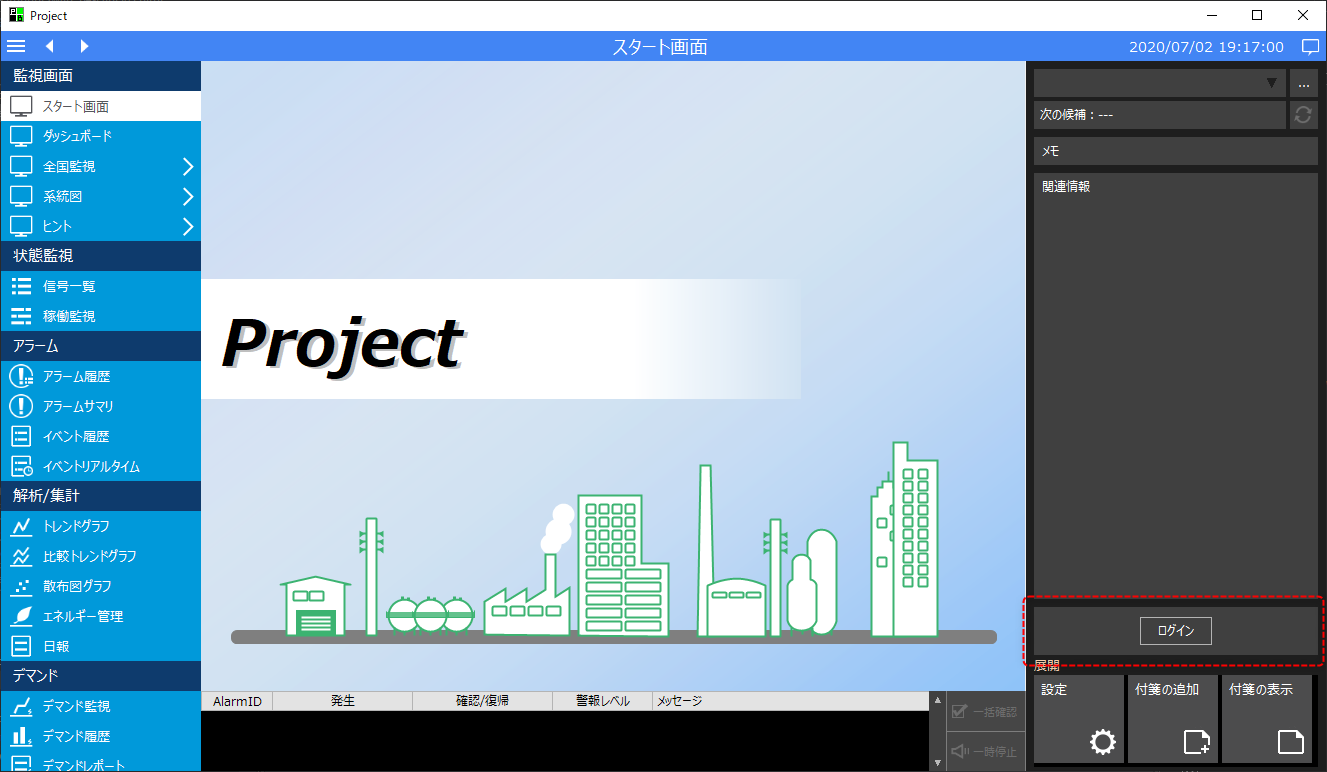
By default, the guest login mode is selected for a standard project.
Linking with event history function
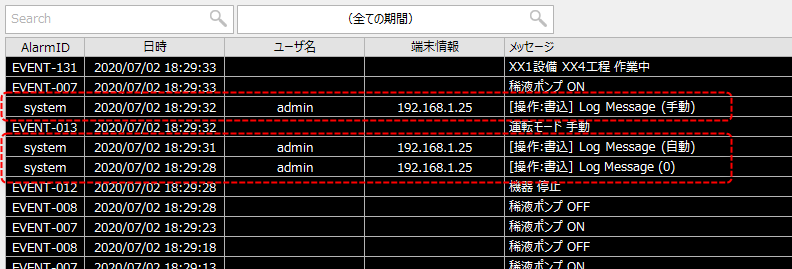
In user management, by linking with the standard event history function, you can record information about the currently logged-in user in the event history (alarm history).
(User management operation history settings)
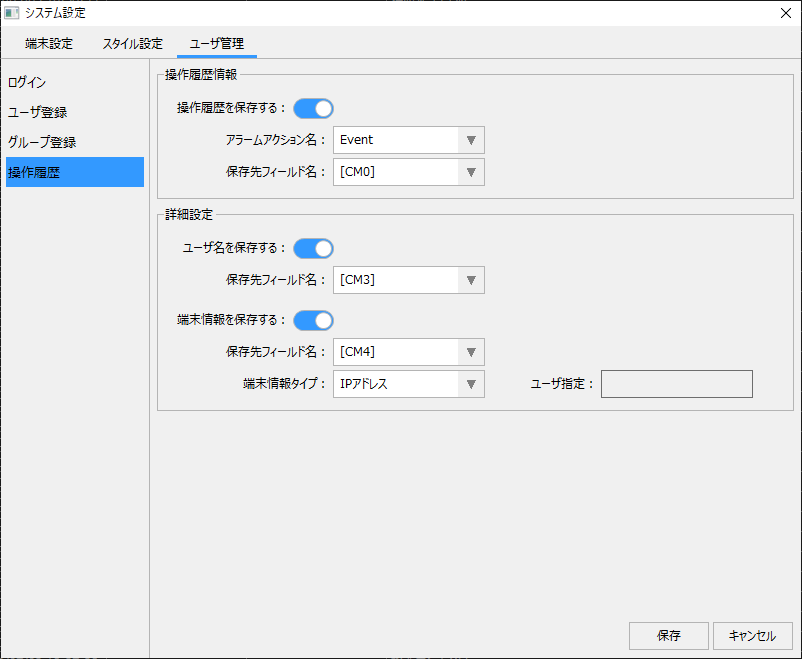
(An example of operation history recorded in the event history)
How to register/edit user information
Various settings such as adding users and groups and editing permissions are performed from the User Management tab on the System Settings screen of the standard project.
(System Settings screen/User Management tab)
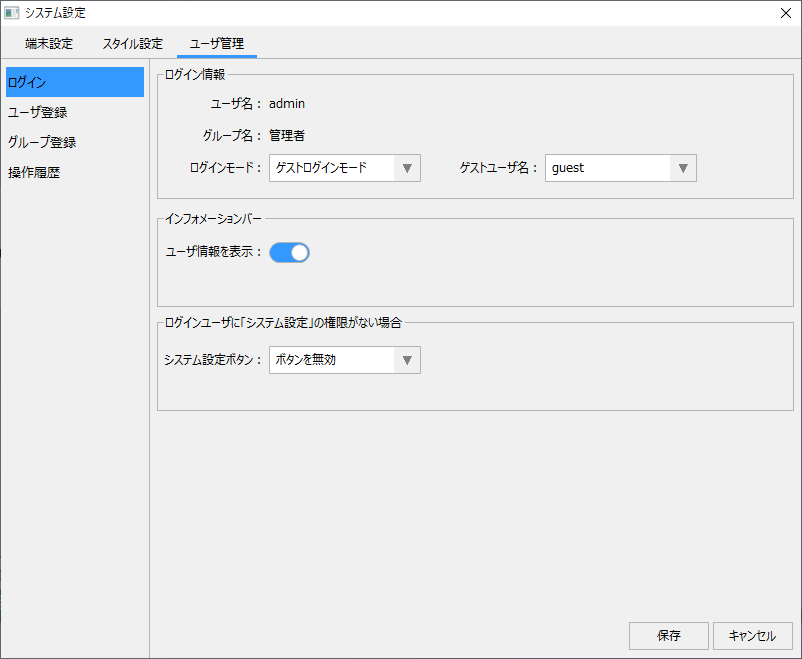
In addition, the system settings screen must be displayed from the client screen of the standard project. Therefore, to display the system settings screen, both Panel Server and Panel Browser must be running online.
For details about the user management settings screen, please refer to "User management settings registration".