About setting and registering related information
Standard related information is automatically generated internally based on the definitions of each function registered in the project. However, related information can be manually registered by the user during operation, and users can freely register their own unique related information that is not automatically identified in the system's initial state.
The following explains how to register and edit related information.
•Newly added related information
•Edit existing related information
This section explains how to register related information, using the example of calling up the demand monitoring screen from tag related information. In this example, we assume that you are logging and tallying tags that capture the counter value of the amount of power received, while at the same time monitoring power demand based on these tags.
Related information can be added via the information bar.
|
In the example on the left, the tag "Samples.F04.SD0007" is selected. This tag is used to import the counter value of the amount of power received, and is referenced by the demand monitoring function.
|
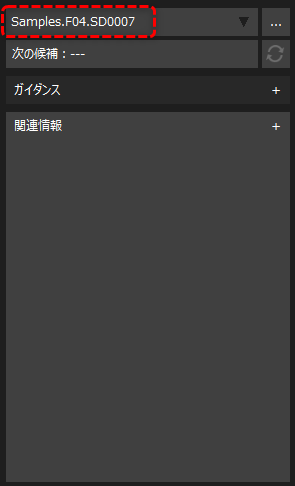
|
To add related information, click the "+" button under Related Information.
The following selection dialog will then be displayed, so select "Add new related information."
|
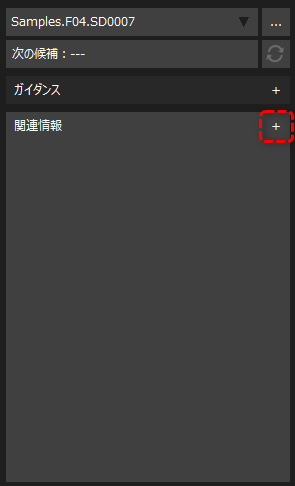
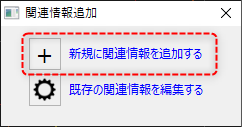
This will bring up the Related Information Settings dialog.
(Related Information Settings Dialog)
|
Related information can be added from this screen.
First, enter a title. This title will be displayed as related information in the information bar, so make it easy to understand. Here, we will use "Demand Monitoring" as an example.
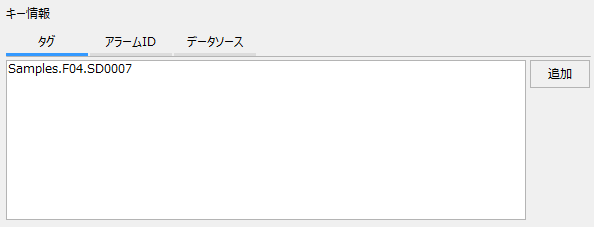
Next, set the key information. You can set the tag, alarm ID, and data source in the key information. If a tag is selected in the caller, the key information will open with the tag path of the selected tag preset. If you want to add another tag or associate an alarm ID or data source, select the target tab and add a key using the "Add" button. We will use it as is in this example.
|
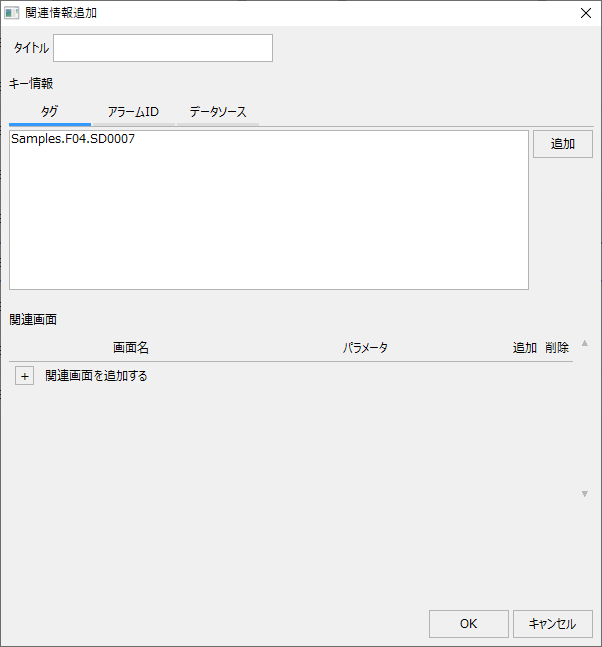

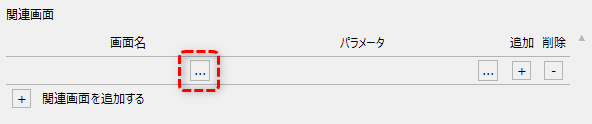
Next, specify the related screen. The screen specified here will be the destination screen for the related information. You can add a row for a related screen by clicking the "+" button next to "Add related screen."
|
|

The following shows the new line added:
|
Clicking the selection button on the left allows you to select the screen to be called from the screen selection dialog.
|
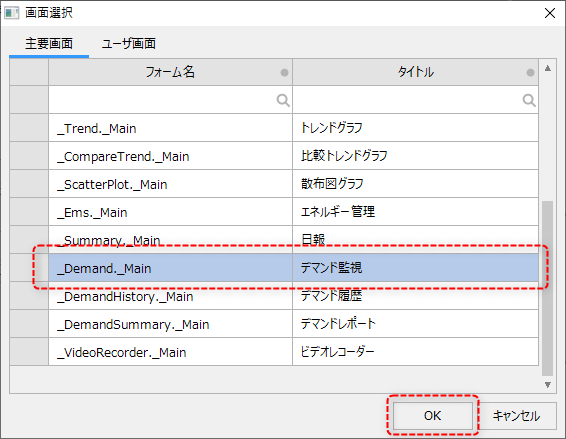
Below is the screen selection dialog.
|
You can select the destination screen from the dialog shown on the left.
In this example, select "Demand Monitoring".
|
Demand monitoring has been added.
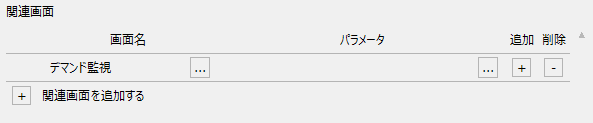
You can specify open parameters for the parameters. By specifying parameters appropriately, you can open a screen with the target information automatically opened, or specify the operation mode and appearance of the screen to be displayed. The parameters that can be specified vary depending on the type of destination screen. The open parameters of the screen library are described in "About the open parameters of the screen library" in the library reference.
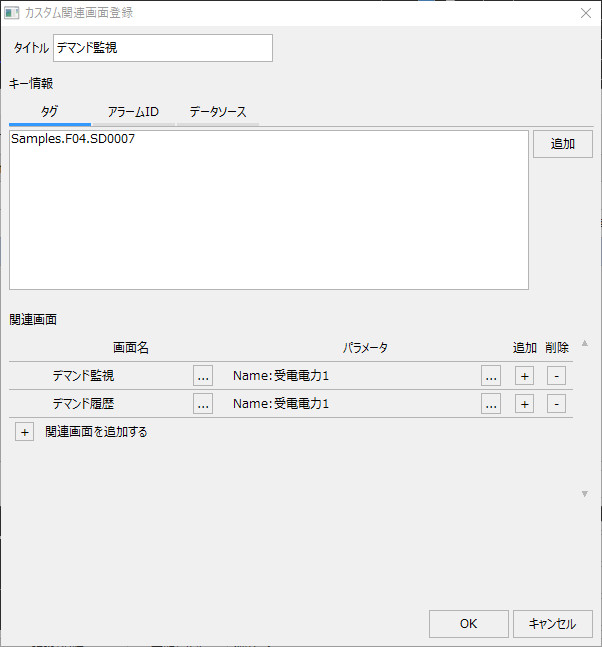
Below is an example configuration.
|
Example configuration: ❖The title is "Demand Monitoring." ❖The key information is set to the tag path "Samples.F04.SD0007". ❖Two related screens are registered: "Demand monitoring" and "Demand history." ❖The parameter specifies the demand name to be displayed by default (in this case, "Receiving Power 1").
Click the "OK" button to save your settings.
|
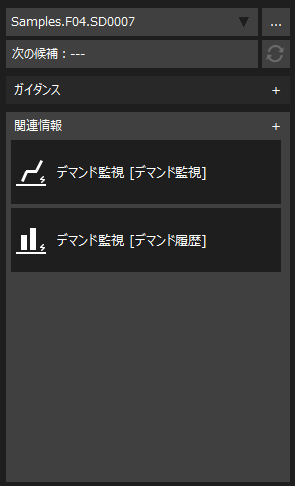
If you look at the related information in the information bar, you will see that the "Demand monitoring" and "Demand history" settings you just made have been newly added.
|
Clicking on the related information will display the demand monitoring screen and the demand history screen.
|
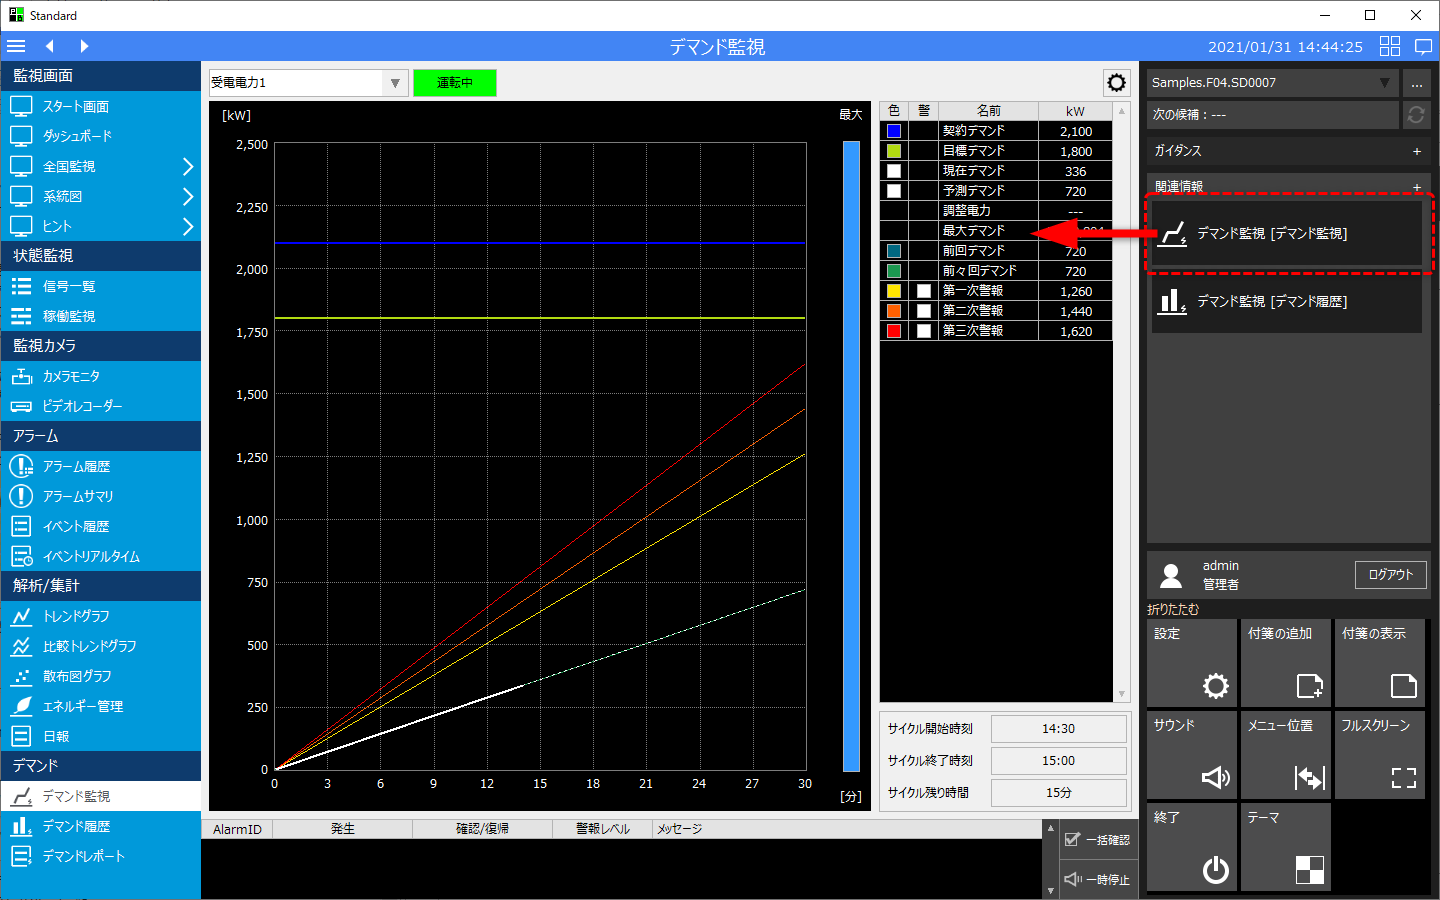
Editing existing related information
You can freely edit related information that has already been registered. For example, if you have registered a specific pen group to be displayed in a trend graph from an alarm ID as related information, and you want to open the same trend group from a different alarm ID, you can do so by editing the related information and adding the target alarm ID.
As an example, this section explains how to manually add an alarm ID to related information that has already been registered.
|
First, click the "+" button for related information in the information bar. This operation does not matter whether related information is selected or not, even if some information is selected.
The following confirmation dialog will then be displayed, so select "Edit existing related information".
|
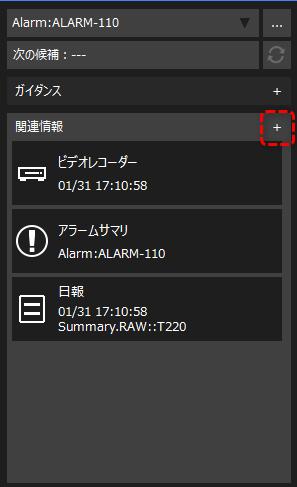
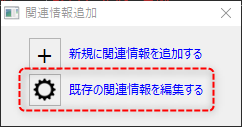
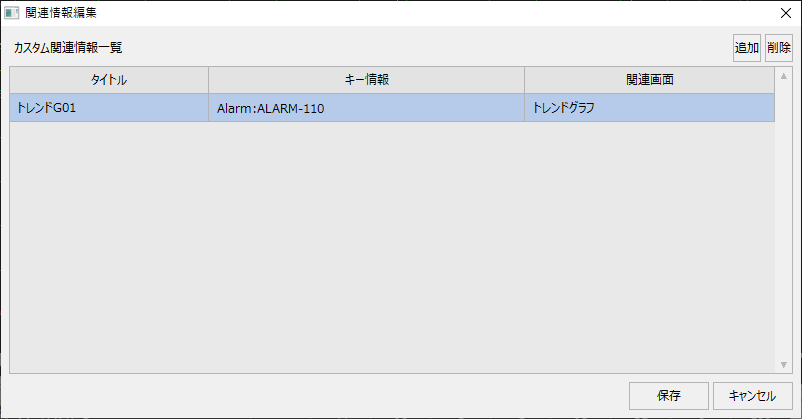
A list of related information will then be displayed. Double-click the related information you want to edit from the list to display the editing screen.
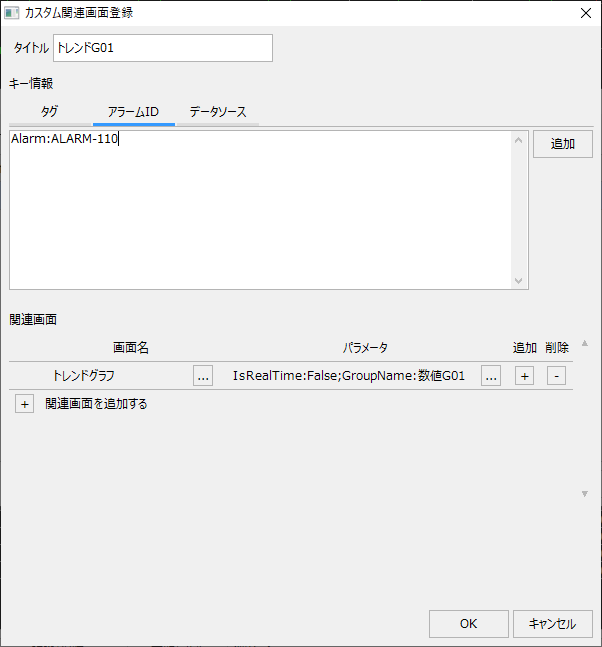
Select the desired tab in the key information of related information. If you want to add an alarm ID, select the alarm ID tab.
|
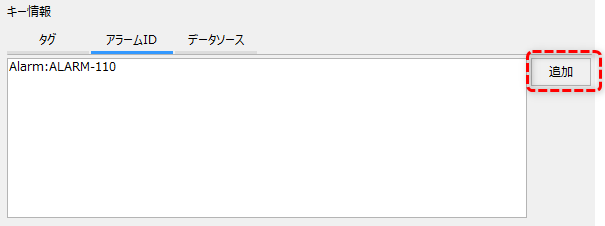
Below is the state when the alarm ID "ALARM-110" is registered.
Click the Add button on this screen.
|
The alarm ID list screen will then be displayed. Select the target action name and alarm ID from the list and click OK. In this example, select "ALARM-111".
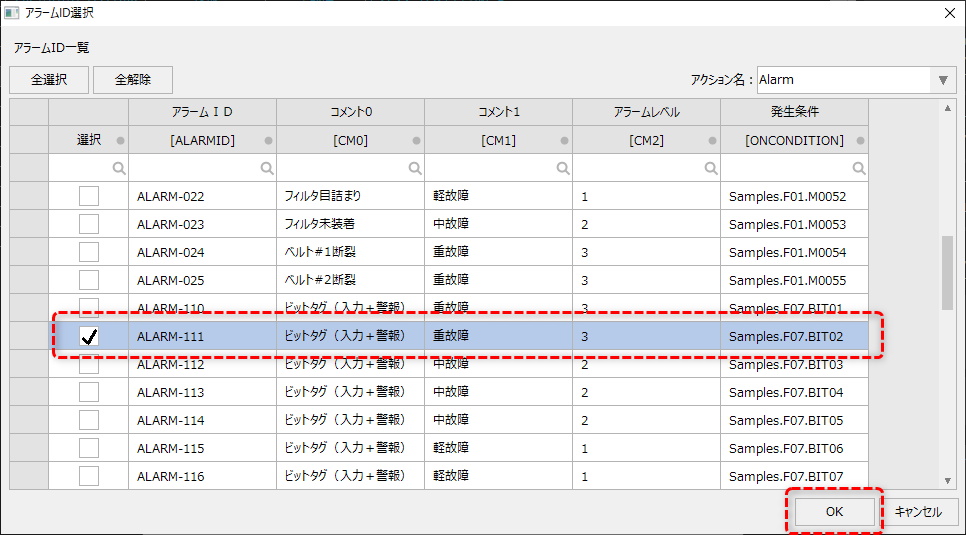
The alarm ID will then be added to the related information. Once you have completed the settings, click the OK button to save the settings.
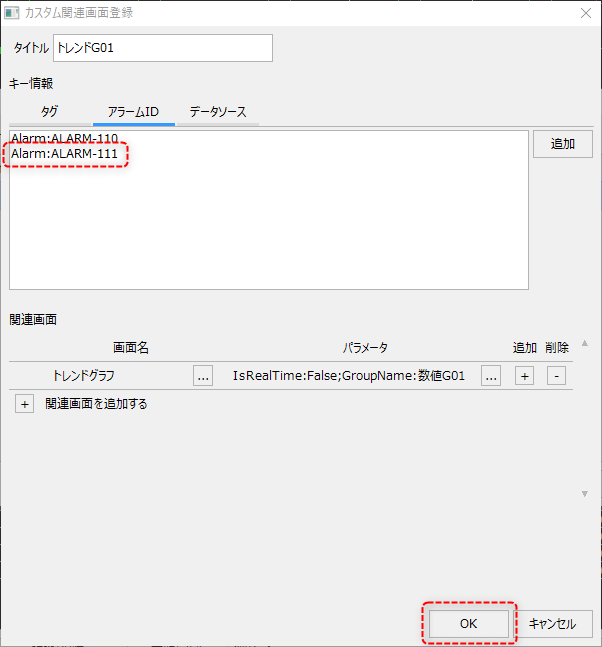
In this way, you can freely add tags, alarm IDs, data sources, etc. to the related information settings that are already registered.