Video player screen operations
This section explains how to operate the video player screen. Click the links below to jump to the relevant section of this page.
•Title bar operation (move/maximize)
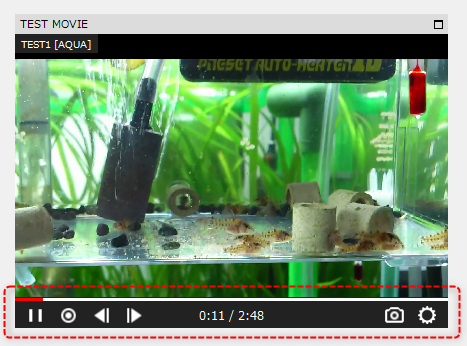
A video controller can be displayed at the bottom of the video player.
|
The video controller will display various icons. The types of icons displayed will vary depending on the camera type and playback method.
|

name |
icon |
explanation |
Play/Pause |
|
Play/Pause. If "Display play button in center" is set in the operation settings, the play button will be displayed in the center of the display area when you pause.
|
Frame Rewind |
|
Rewind the video frame by frame. |
Frame forward |
|
Advances the video frame by frame. |
Recording |
|
The video being displayed on the video player (live video or recorded video being played back) can be recorded separately as a video file in MP4 format. This recording function is built into the video player and is separate from the video recorder's recording function.
This icon can be selected while viewing live footage from a camera or playing a video.
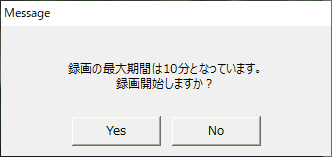
When you click the record icon, the following confirmation dialog will appear.
Click the Yes button to start recording the video currently displayed in the video player. The icon will turn red while recording. The maximum recording time per recording process is 10 minutes by default.
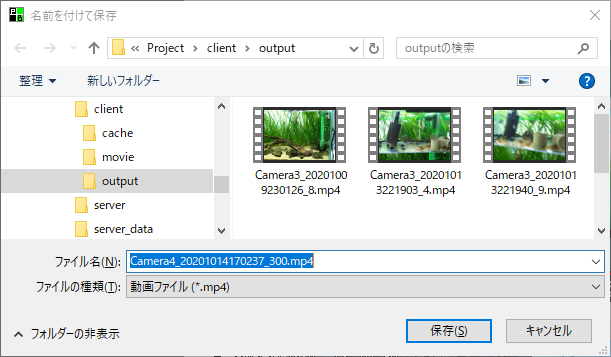
Clicking the icon again will bring up a dialog box for saving the recording. You can select a destination folder from the dialog box and save the file. By default, the file will be saved in the "output" folder directly under the client's current folder (where client.xml and other files are stored).
|
Capture |
|
This will capture an image of the video currently being displayed on the video player. The captured snapshot will be saved in the "output" folder directly under the client's current folder with the extension "jpg". |
Volume Control |
|
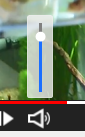
This icon is displayed when playing a video using a playback method that supports audio (DirectShow). When you click this icon, a slider like the one shown below will appear at the top of the icon, allowing you to control the volume.
|
download |
|
You can download the currently playing recording data file to your client PC and save it under a new name. By default, it is saved in the "output" folder directly under the client's current folder. Downloading is enabled when playing back a recording made with the video recorder function or when playing back a recording made with "Nekaroku". The downloaded file is saved in the "mp4" format.
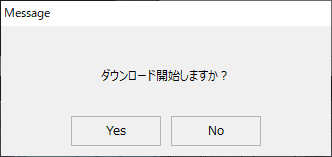
When you click the download icon, the following confirmation dialog will be displayed. Click the "Yes" button to start the download process.
The icon will turn red while downloading.
When the processing is complete, a dialog box will appear asking you to confirm the save destination, just like the recording process. By default, the file will be saved in the "output" folder directly under the client's current folder.
|
setting |
|
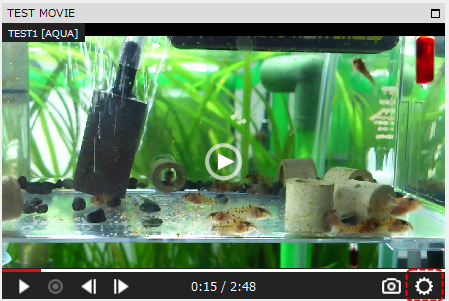
Opens the settings menu of your video player.
The settings menu is usually closed. To open the settings menu, click the settings icon (bottom right) below.
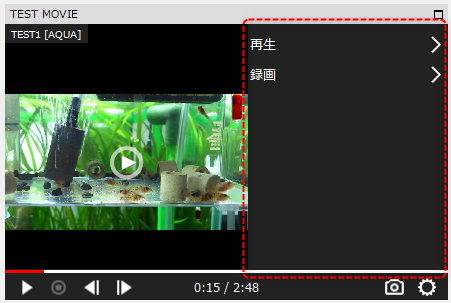
This will open the settings menu on the right.
The menu contents and operations vary depending on the camera type and playback method. For details, see "Video Player Settings Menu" below.
|
 or




 Red: Recording



 Red: Downloading

Clicking the settings icon on the video controller will display the video player settings menu. From this menu, you can perform various operations on the video player.
■ Setting change operations
When you change settings from the menu, a new menu item called "Apply Settings" will appear. Clicking this item will apply the changes.
|
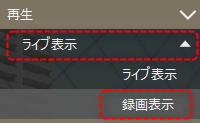
The example on the left shows the live display.
Select "View Recording" from the menu.
|
|
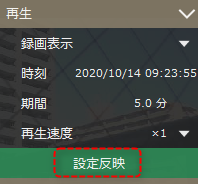
The menu display will then change as shown on the left, and "Settings reflected" will be displayed at the bottom.
To apply the changes, click Apply Settings.
|
|
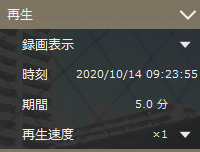
The changes will then be confirmed and "Reflect Settings" will disappear from the menu.
|
■ Menu display items
The items displayed in the menu vary depending on the camera type and playback method.
group |
Menu Items |
Display example |
explanation |
||
reproduction |
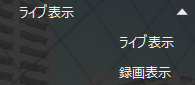
Switch between live and recorded display |
|
Switch between live and recorded view of the camera. Recorded view can be selected when the camera type is a network camera or network recording.
|
||
|
Recording display/time |
|
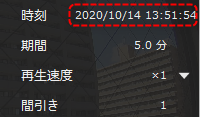
When viewing a recording, specifies the current playback start date and time.
■ When displaying recordings using the recorder function
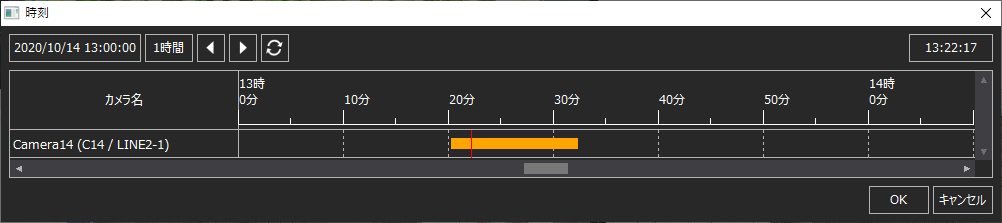
Clicking on the date and time on the left will display the following time selection dialog: In the dialog, bars are displayed where recorded data exists, and you can select the date and time you want to start playback from the bar chart.
(Time Selection Dialog: Recorder)
■ When viewing a recording of Nekaroku
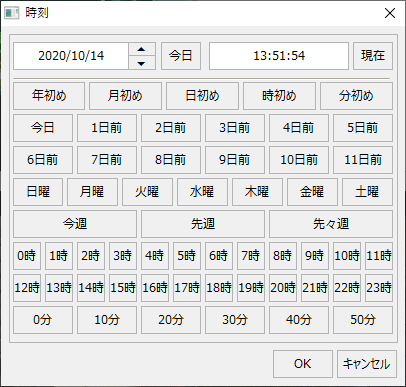
Clicking on the date and time on the left will display the following time selection dialog. You can specify the desired date and time from the dialog.
(Time selection dialog: Nekaroku)
|
||
|
Recording display/period |
|
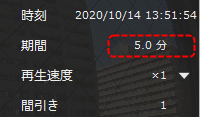
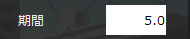
When viewing a recording, specify the duration in minutes for playback. Set how many minutes to play from the playback start date and time. Clicking on the numerical value will make it editable as shown below.
|
||
|
Recording display/playback speed |
|
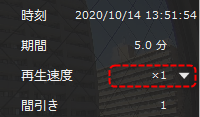
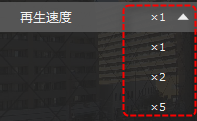
Specifies the playback speed ratio when viewing a recording.
The playback speed is a combo box, and clicking the arrow displays a list as shown below, allowing you to select the desired magnification. Note that the types of magnification displayed vary depending on the camera type.
|
||
|
Recording display/thinning |
|
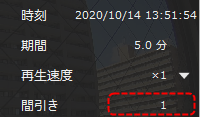
When viewing a recorded video, you can skip frames during playback. This function is only available for Necarok. Specify the number of frames to skip during playback (up to 30).
Clicking on a number makes it editable.
|
||
download |
Frame rate |
|
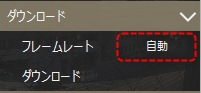
When playing back a video, you can specify the frame rate for the video file that is saved by executing the download process. This function is only available for Necarok.
If you select "Automatic", it will be automatically calculated from the data actually recorded in the Necarok. If you know the frame rate on the Necarok side, please specify the number. Clicking on the "Automatic" part on the left will make it editable.
|
||
|
download |
|
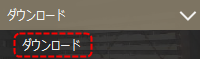
When playing back recorded data, a download process for the recorded data is performed. In the case of a network camera, the video data recorded using the video recorder function can be downloaded. In the case of Necarok, the video data recorded on Necarok is downloaded. In either case, the downloaded file will be saved in the "mp4" format.
When you click "Download" on the left, the following confirmation dialog will be displayed. Clicking the "Yes" button will start the download process.
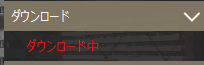
While downloading, the menu items change as follows:
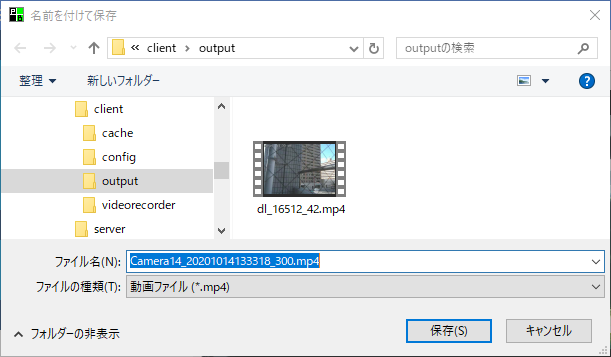
When the process is complete, the following dialog will be displayed. By default, the file will be saved in the "output" folder under the client's current folder (where client.xml etc. are stored).
|
||
Recording |
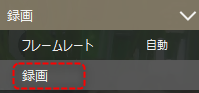
Recording |
|
The video currently being displayed in the video player (live video or recorded video being played back) will be recorded separately as a video file in MP4 format. This recording function is built into the video player and is separate from the video recorder's recording function.
When you click "Record", the following confirmation dialog will appear.
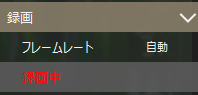
Clicking the Yes button will start recording the video currently displayed in the video player. While recording, the menu item will say "Recording" and turn red. The maximum recording time per recording process is 10 minutes by default.
Clicking "Recording" will stop recording, and a dialog box will appear to confirm whether to save the file, just like when downloading. You can select a destination folder from the dialog box and save the file. The default save location is the "output" folder directly under the client's current folder.
|
||
|
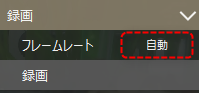
Frame rate |
|
You can set the frame rate for the above recording process. When set to "Automatic", 2fps is used.
Click on the "Auto" part on the left to make it editable.
|




Title bar operations (move/maximize)
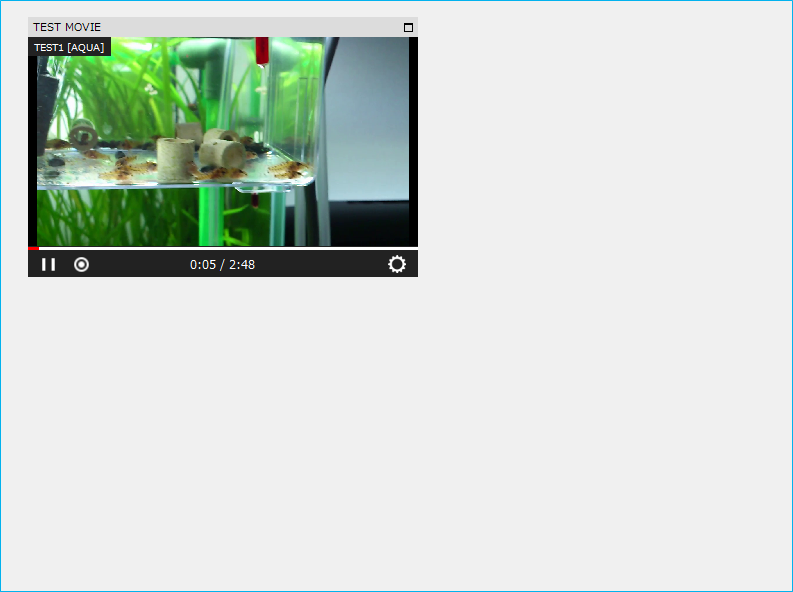
Below is an example of a form with a video player positioned in the top left corner.
|
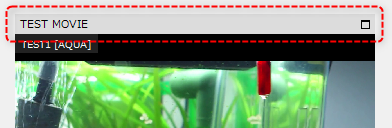
In this example, the video player's view is set to have a title bar displayed at the top.
|
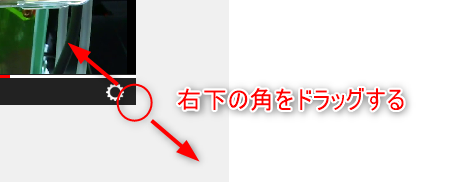
If "Allow resizing" is enabled in the view settings, you can freely change the display size by dragging the handle in the lower right corner of the display frame with the mouse.
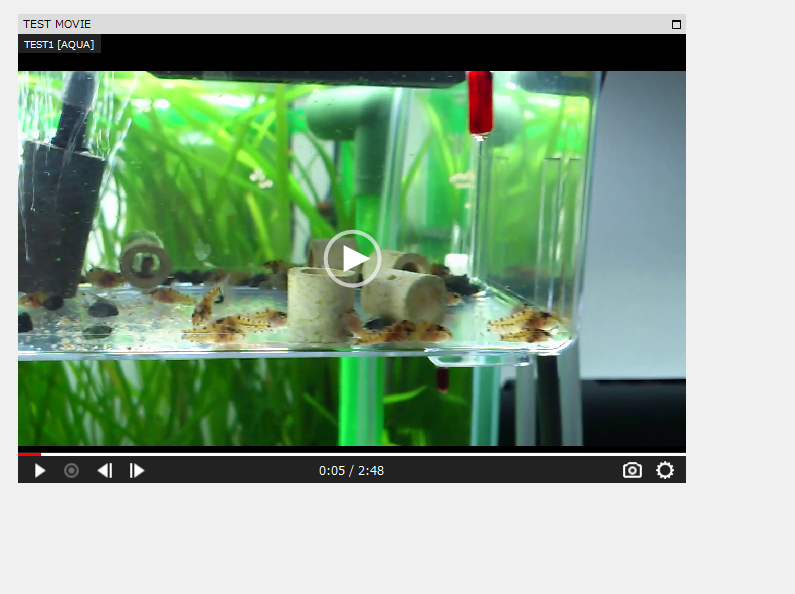
Below is an example of an enlarged size.
If "Allow moving" is enabled in the view settings, you can move the video player anywhere on the form by dragging the title bar with the mouse.
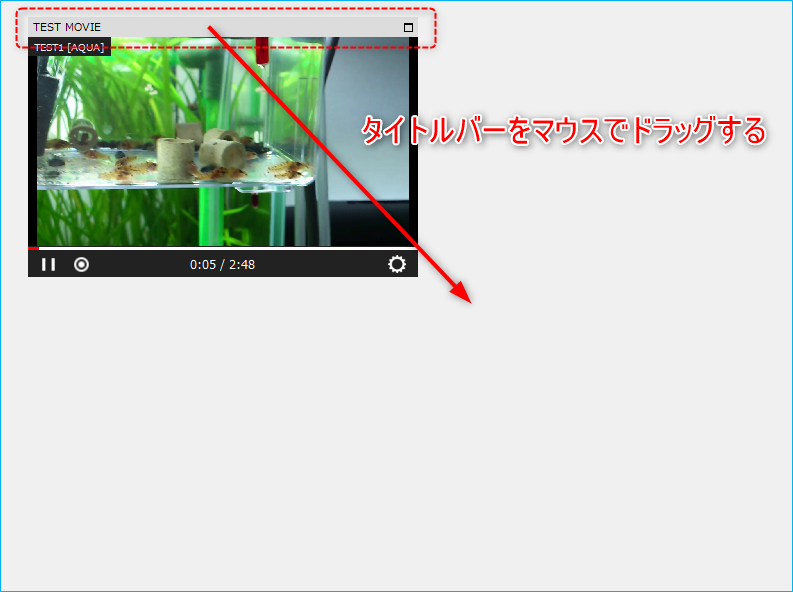
Here is an example of moving the video player to the bottom right.
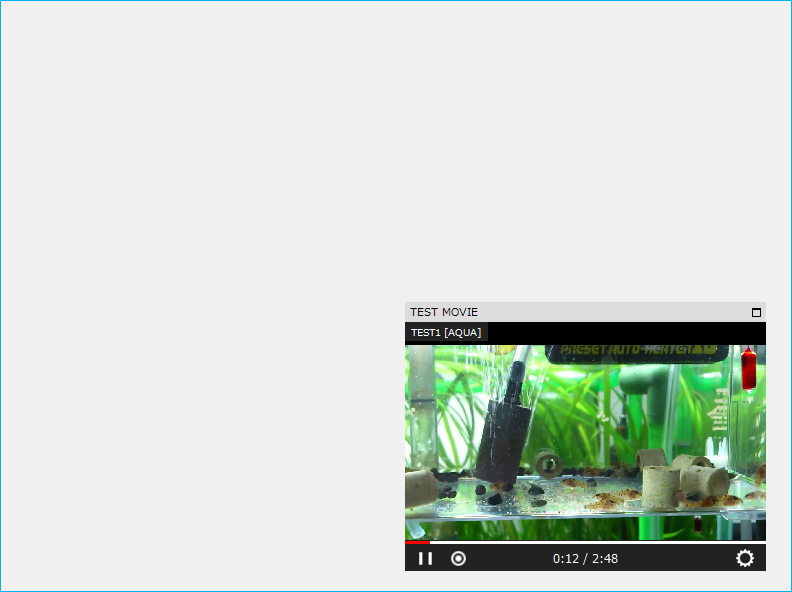
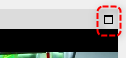
If the view's settings have "Show maximize button" enabled, a maximize button will be displayed to the right of the title bar.
Clicking the maximize button or double-clicking the title bar will maximize the video player to fill the form.
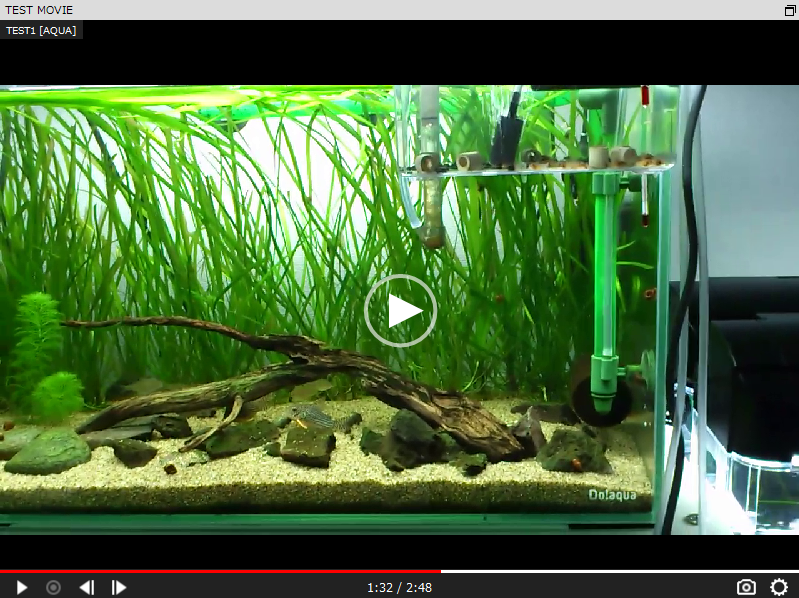
When the window is maximized, you can return it to its original size by clicking the button below in the upper right corner, or by double-clicking the title bar.