Importing Screen Library Server Settings
Most screen libraries work in conjunction with server-side functions such as actions and events on the Panel Server side. The easiest way to import the server settings of a screen library into your own project is to copy the server settings of the sample program included with the screen library and import them as the Panel Server settings of your own project. Note that the server-side settings (actions, events, etc.) can also be manually configured by the user, and should be configured flexibly according to the type of monitoring system to be built. For example, there are various patterns, such as connecting from the functions of multiple screen libraries to a common action (such as a summary action) and connecting to the same historical data to display them. Therefore, importing server settings from a screen library should be done as necessary.
The following example shows how to import the "Trend Graph" form from the Screen Library into your own project, and then copy and import the required actions and events from the sample program in the Screen Library.
■ Procedure for importing server settings for trend graph screen library (example)
1.In the workspace view of Panel Editor, right-click "Server" and click "Open Server".
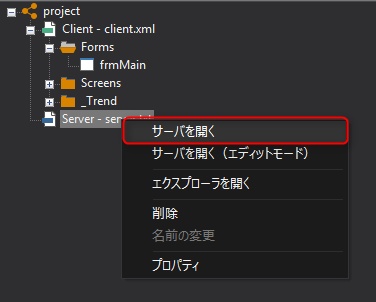
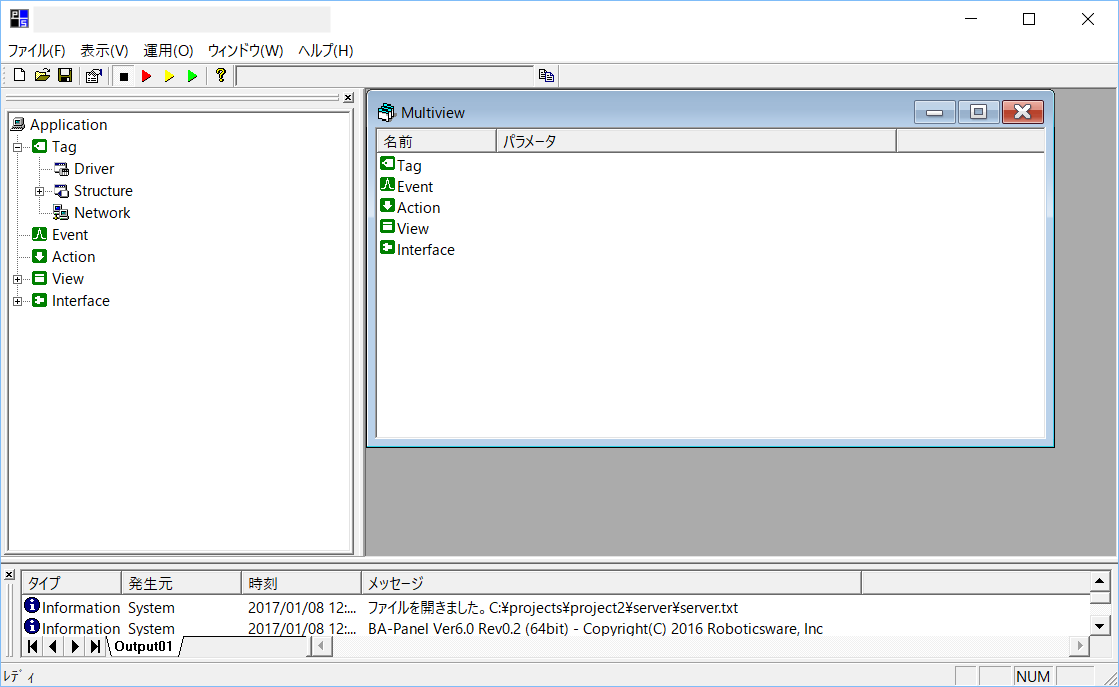
This will start Panel Server with your project's server configuration file open.
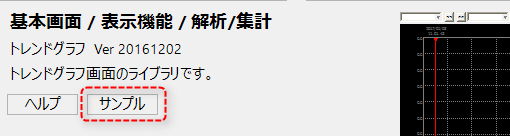
2.Next, select the Library tab in Panel Editor to display the library selection screen, and select the "Trend" screen library using the same procedure as when you added the screen library.

Clicking the "Sample" button below will launch a new Panel Editor with a sample trend screen library open, separate from the Panel Editor you are currently working on.
3.Next, in the workspace view of Panel Editor on the trend screen sample side, right-click "Server" and click "Open Server (Edit Mode)".
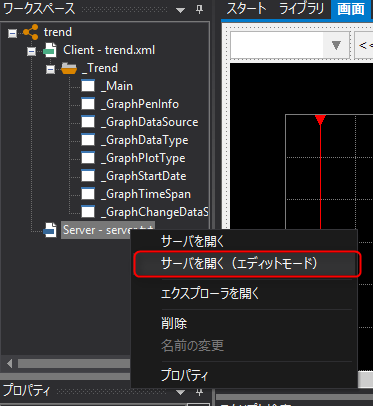
Then, a new Panel Server will be started in addition to the Panel Server that was already running, with the trend sample server setting file open in "edit mode."
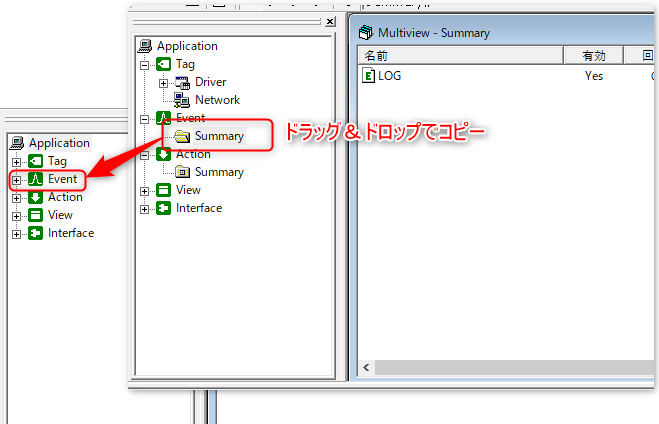
You can copy actions and events between these two Panel Servers by drag and drop.Please note that copying between two Panel Servers can only be done by drag and drop. Please note that copying and pasting by right-clicking is not possible.
|
Edit mode on Panel Server is a mode in which only editing is permitted. |

4.Copy the required actions and events by dragging and dropping them from the sample Panel Server to your project's Panel Server.
First, copy the "Summary" registered in the sample Event to "Event" by dragging and dropping the entire folder.
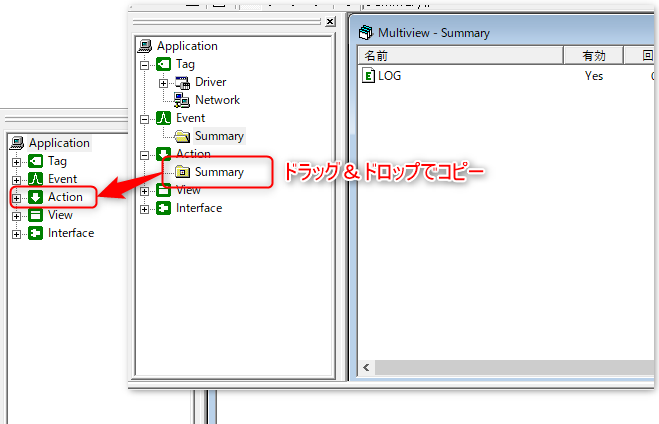
Similarly, copy the action "Summary" from the sample side by dragging and dropping it.
Please note that you cannot drag and drop multiple actions at once. Please make sure to do so for each action individually.
5.Next, manually copy the configuration files required for the summary action in Explorer.
In addition, in the workspace view of Panel Editor, you can open the folder in which the target configuration file is stored in Explorer.
So, in the workspace view of Panel Editor on the trend sample side, right-click on "Server" and click "Open Explorer".
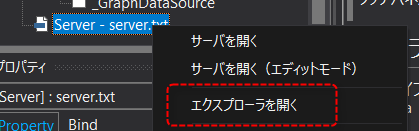
From Explorer, copy the "summary" folder in the "server" folder of the sample program to the "server" folder of your project.
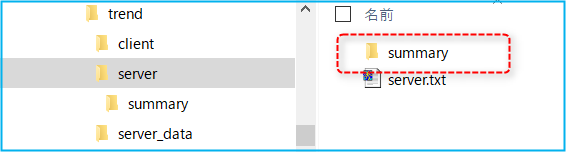
This completes the import of the trend graph server settings.
|
The action and event settings on the Panel Server side differ depending on the type of screen library. For specific construction methods for each screen library used, please refer to "Construction of major functions" in the Monitoring System Construction Guide. |
|
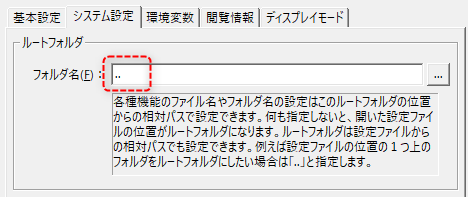
The settings for each action imported from the sample are defined with a relative path. This setting assumes that the root folder of the application settings is set as follows. If you do not specify a root folder, such as when importing a screen library into your own project, adjust the settings so that the relative path reference positions match, or redefine the reference destination of each file with an absolute path, depending on the project environment. For details, see "System Settings" in the Panel Server application settings.
(system settings root folder)
|
|
The reference manual for the screen library is described in "Screen Library Reference". The screen library reference can also be viewed from the "Help" button on the library selection screen of Panel Editor.
|