Split display setting operations
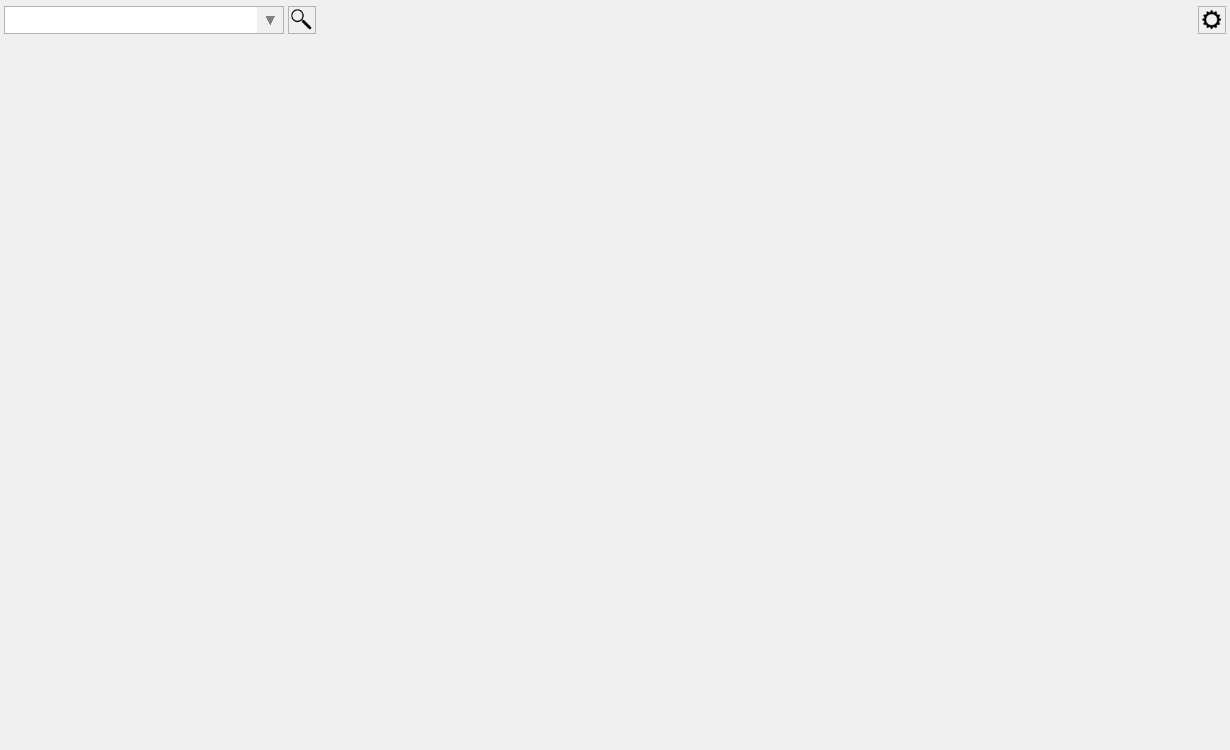
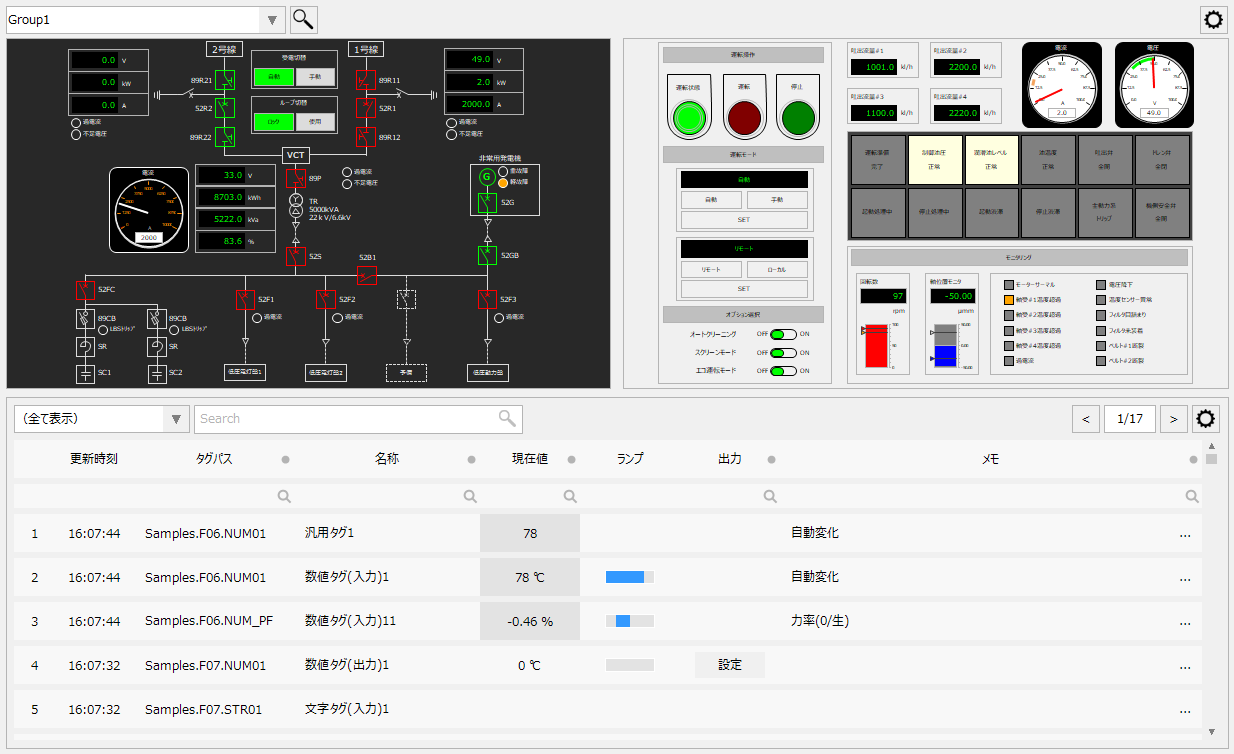
Below is what the split screen looks like without any configuration done yet.
■ Displaying the setting registration screen and basic settings
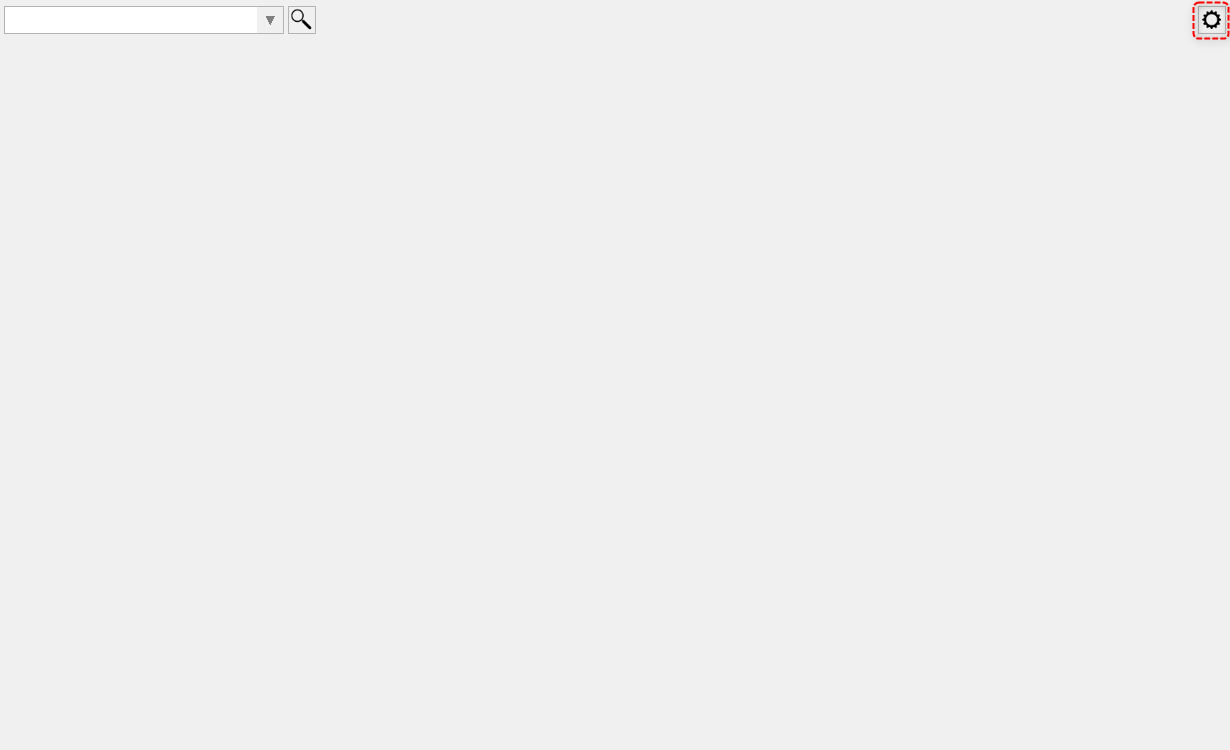
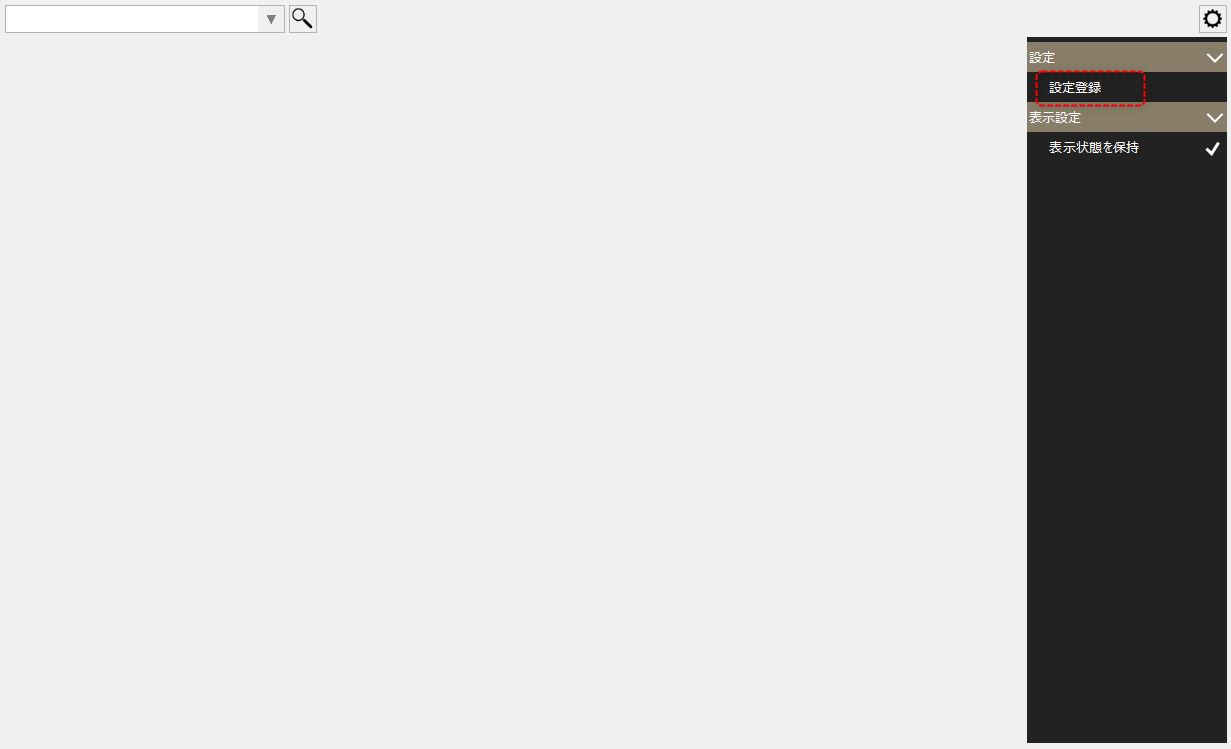
Click the settings button (gear icon) in the top right of the screen and a menu will appear on the right side of the screen.
From the menu that appears, select "Register Settings."
The setting registration screen (layout setting screen) is displayed.
|
First, click the "Add" button to the right of the group name to add a new group.
|
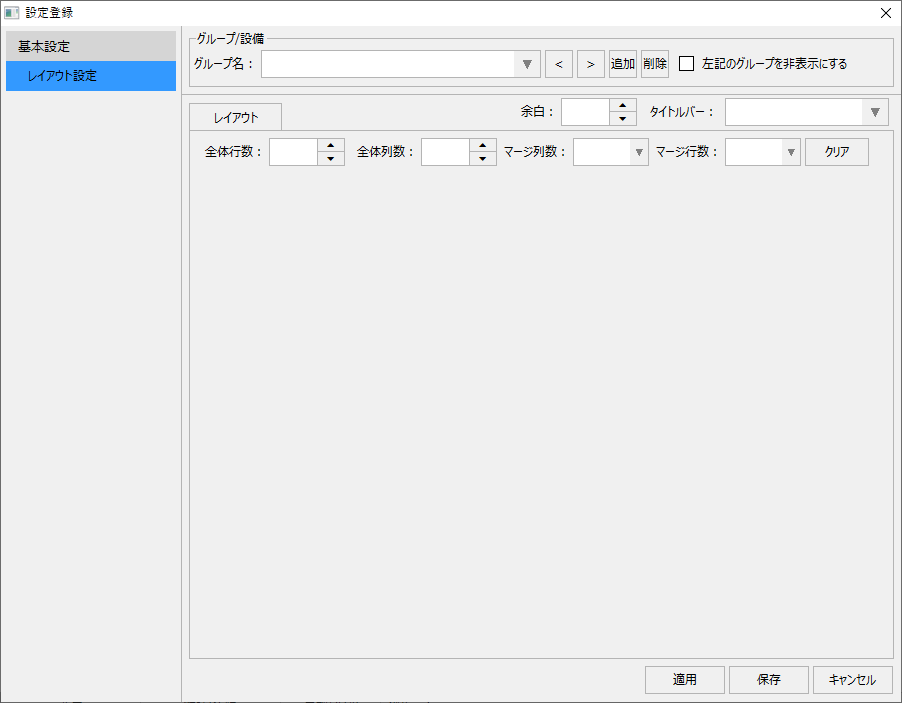

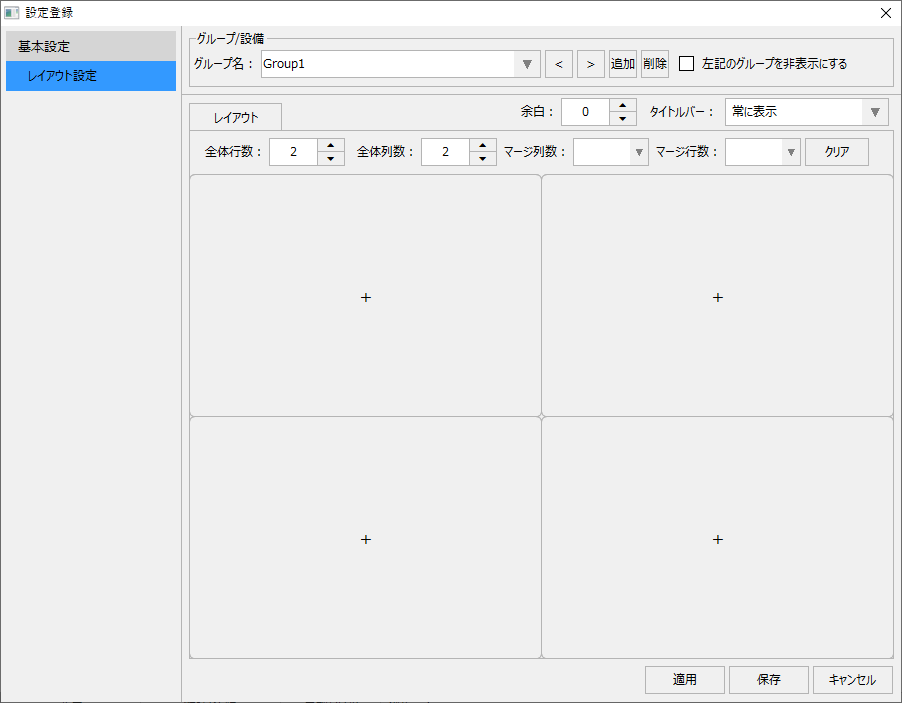
This will create a new group called "Group1". You can change this name as you like.
|
In the newly added group, the total number of rows and columns is 2. This is the number of divisions of the screen.
This setting can be changed (up to a maximum of 10) by the following settings:
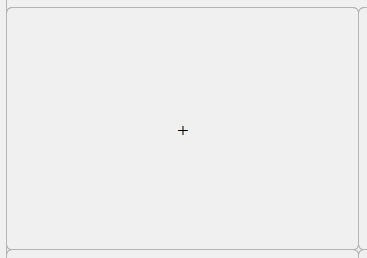
In addition, the screen has blank frames (views) as shown below. You can assign any screen to each display frame and display them simultaneously.
(Unallocated blank frame)
|

You can set margins for the display frame by changing the following parameters in the upper right corner of the layout setting screen. If you want to display the screen with some space between them, specify an integer value in pixels.

In addition, the following parameters allow you to set the display state of the title bar of each display frame in the group.
|
|

■ Allocating a screen to a display frame
Next, assign the screen to the display frame.
|
When you click on the display frame, the "Display List" dialog box will pop up as shown below.
|
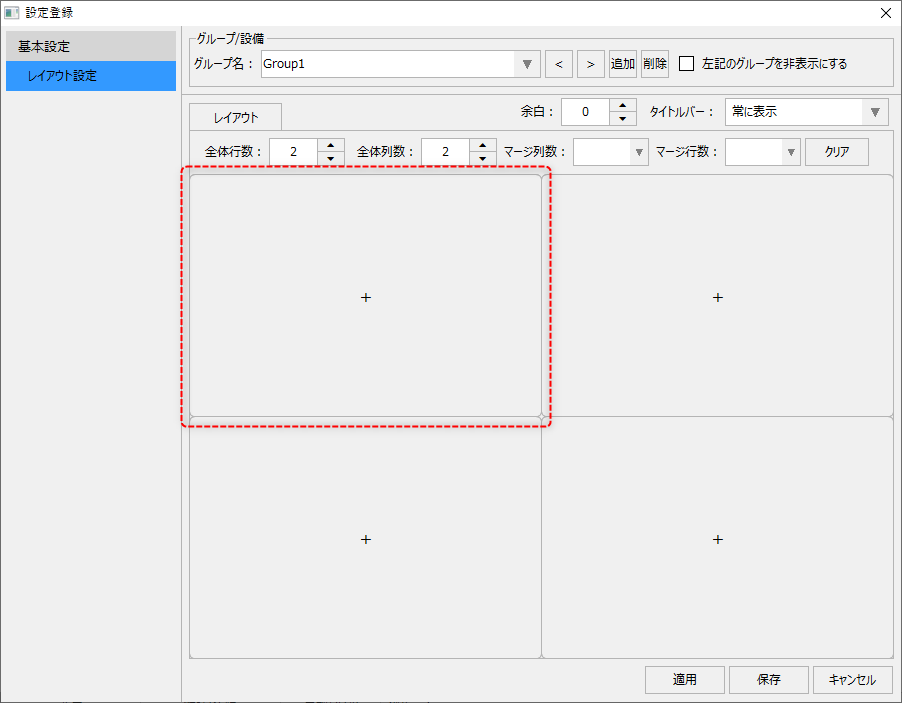
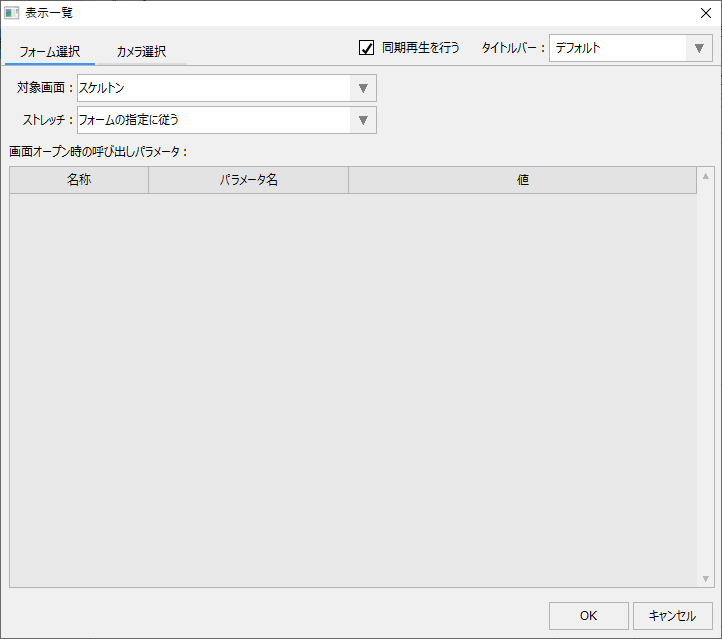
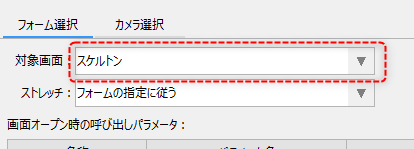
Select the target screen from the "Target Screen" combo box on the selection screen. In this example, we have selected the skeleton screen.
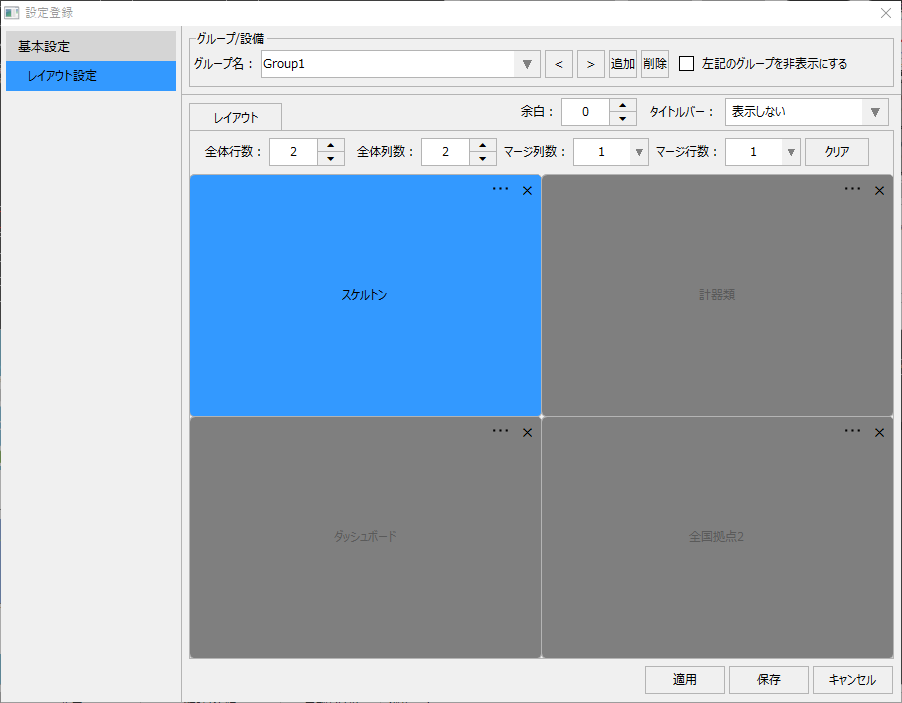
Then, the skeleton screen was assigned to the display frame as shown below.
|
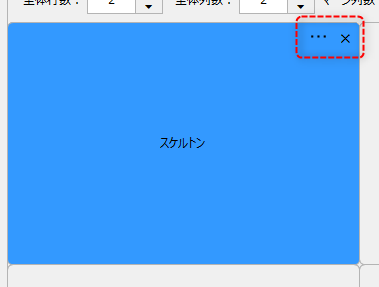
Furthermore, once a screen has been assigned to a display frame, you can click the selection button "..." in the upper right corner of the frame to display the selection screen again and change the target. You can also click the "X" button to remove the screen that was assigned to the frame.
|
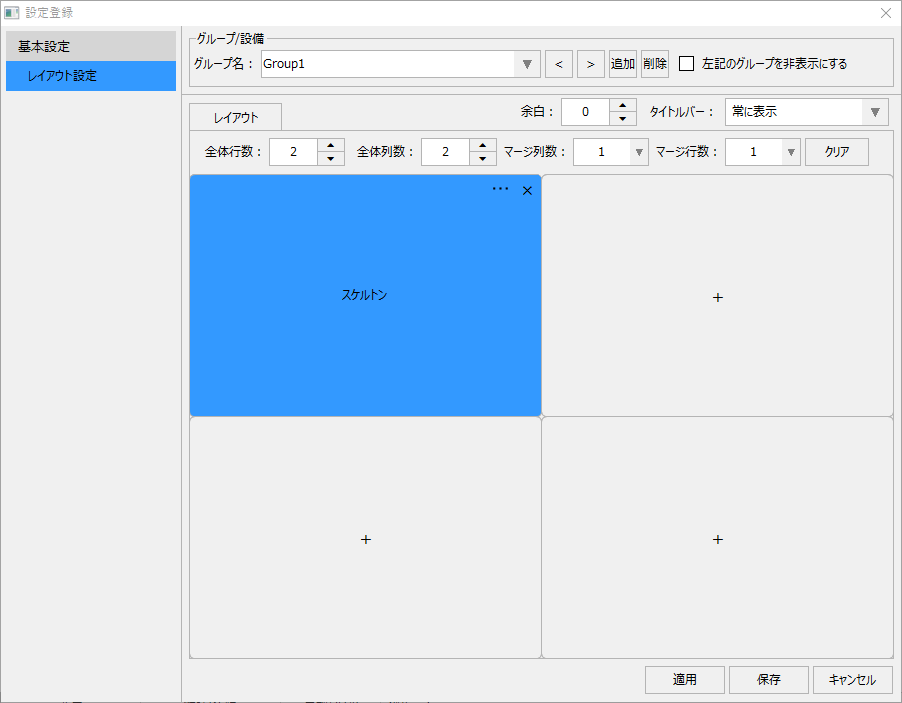
Allocate the screen for the other display frames in the same manner as above. Once you have finished allocating, click the "Save" button to save the settings.
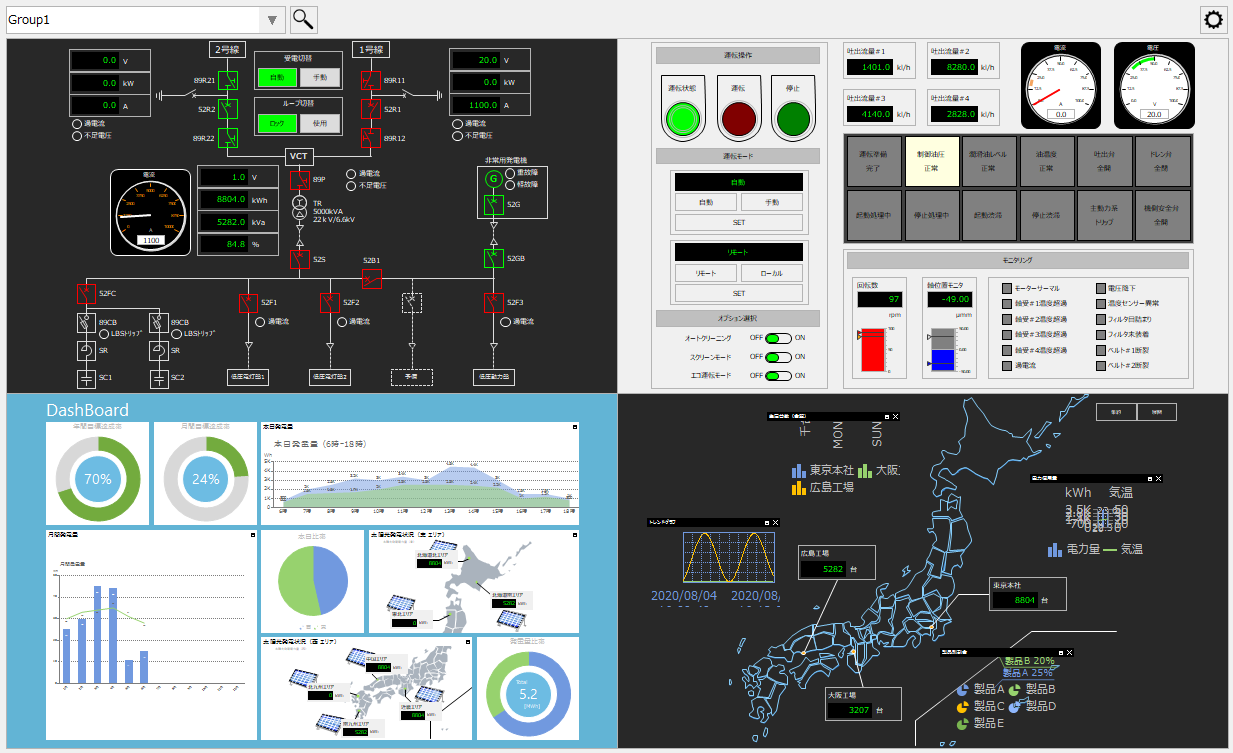
The split display has been done according to the above settings.
|
The list of target screens in the selection screen displays only forms that have been set as menu display targets (forms whose MenuCandidate property is set to True). For details, see "Adding a form to a standard project". |

|
You can also assign a camera to the display frame of the split display. For details on how to assign a camera, see "Assigning a camera to the split display". |
■ Split display merge settings
Display frames can be merged. Below is an example of a 2-row, 2-column display frame with screens assigned to the top left, top right, and bottom left.
|
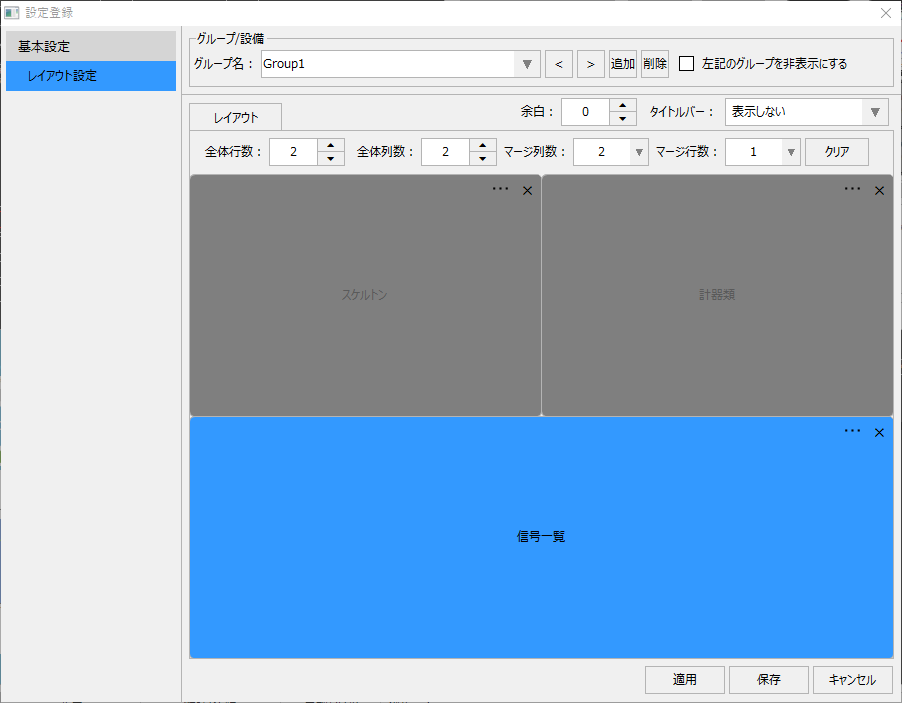
With the "Signal List" frame on the left selected, change the number of merge columns to "2".
|
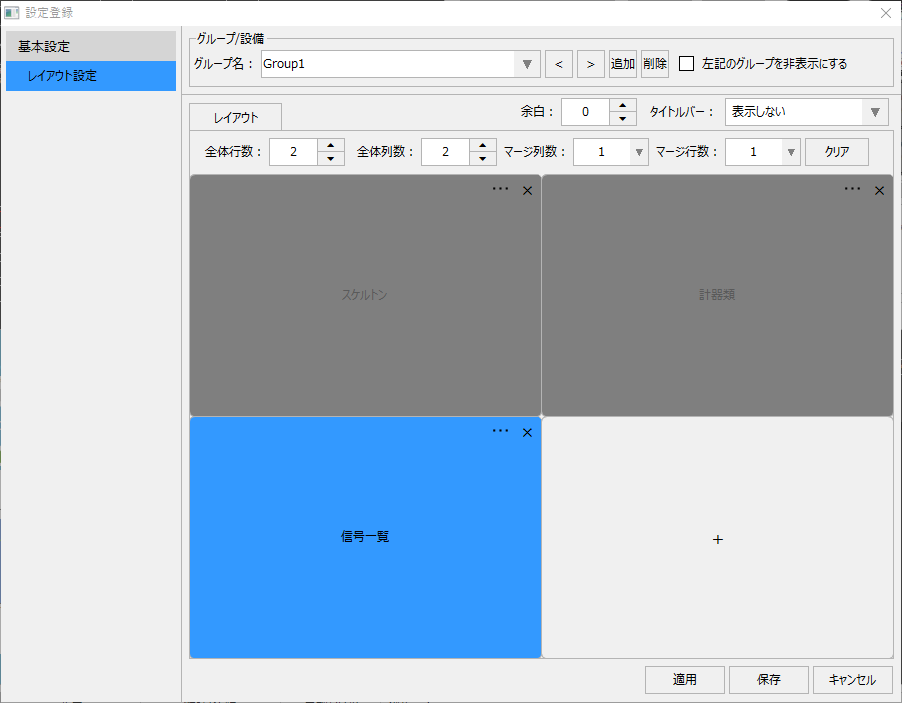

The columns were then merged as shown below:
|
In this state, click the "Save" button to save the settings.
|
The lower half of the split screen was then merged and displayed in three parts.
■ Rearrange the display frame
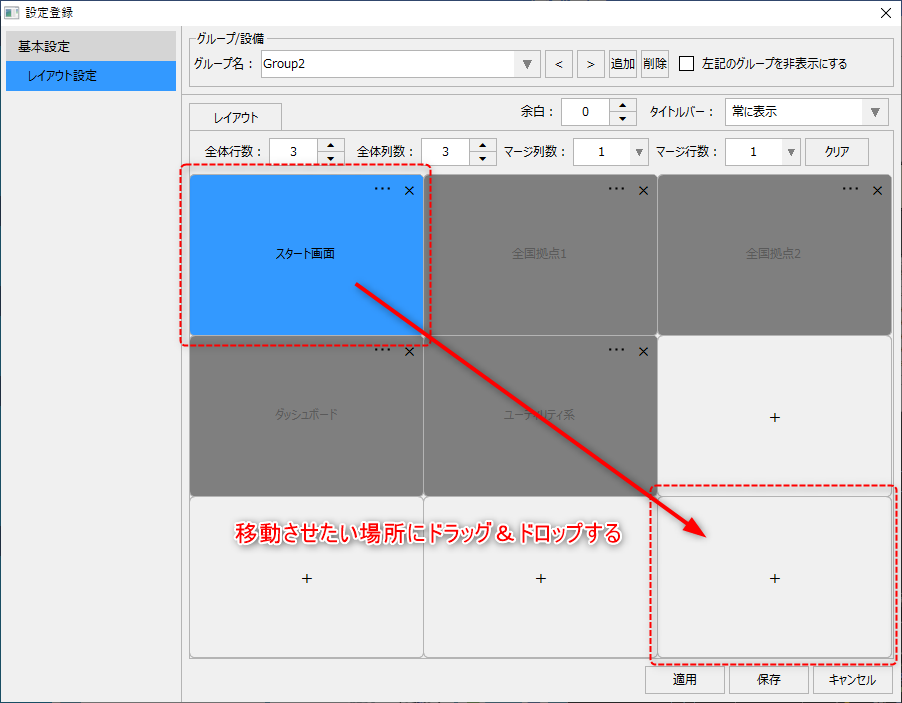
To move a display frame to which a screen is assigned, select the display frame you want to move, then drag and drop it onto the frame you want to move.
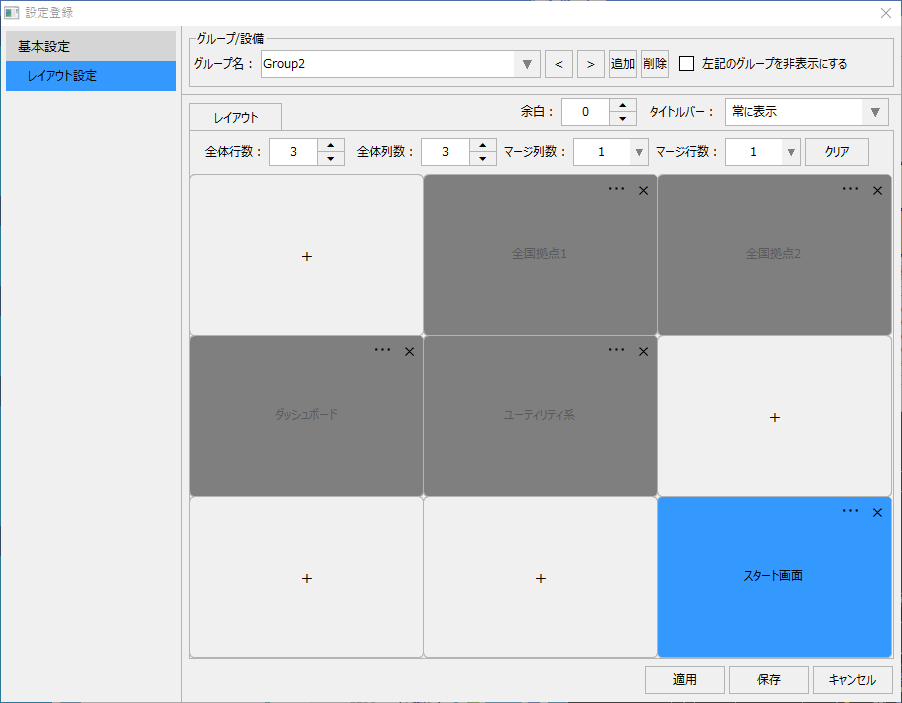
As an example, select the display frame in the upper left corner and drag and drop it to the lower right corner.
The display frame has moved.
Furthermore, if you drag and drop it onto a display frame that already has a screen assigned to it, you can swap the content displayed.
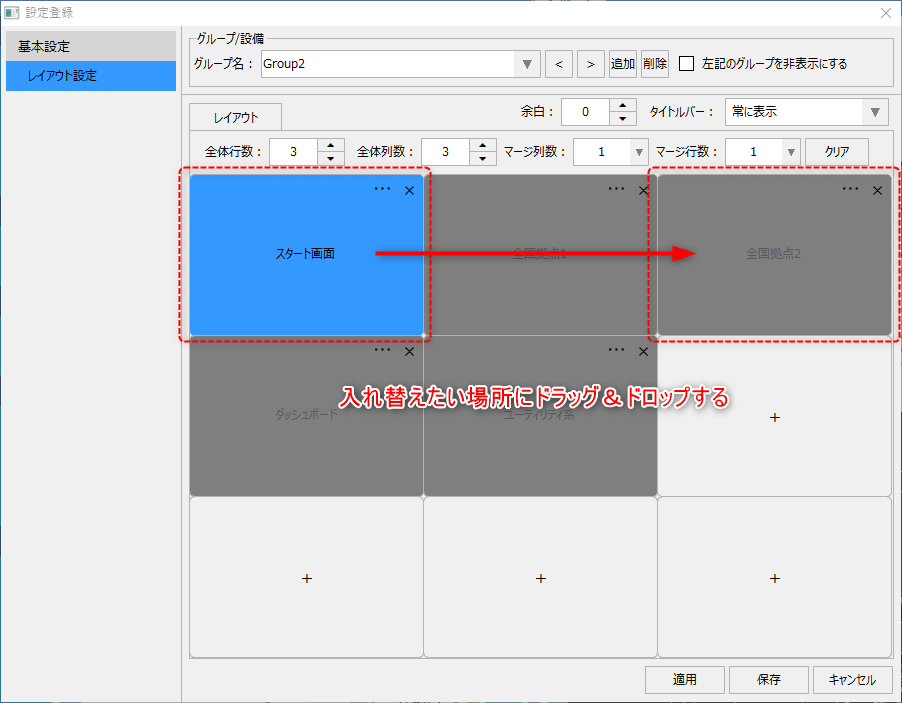
The equipment assigned to the display frame has been swapped. Note that in order to perform this operation, the size of the destination and source display frames must be the same.
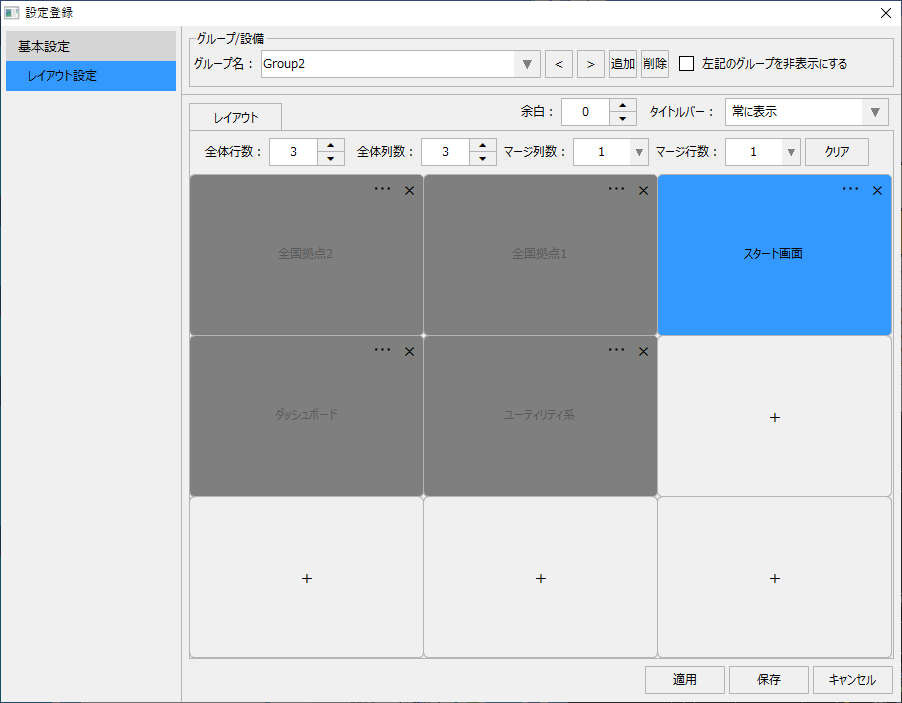
■ Set open parameters for the screen displayed in the display frame
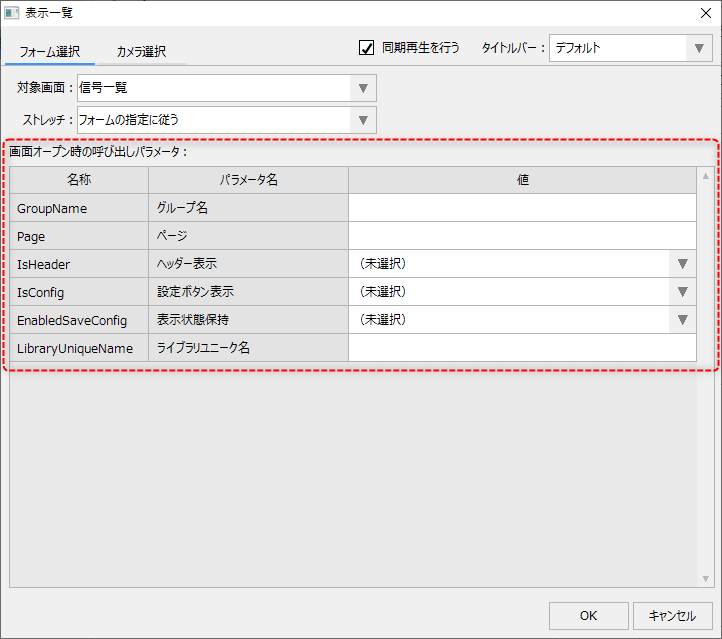
You can pass open parameters to the form you specify for the split display. When specifying open parameters, specify the parameters at the bottom of the screen in the "Form Selection" tab when assigning a form to the split display.
|
The example on the left shows the open parameter settings for the signal list.
The specifications of the open parameters differ depending on the type of screen library to be displayed. For example, in the signal list, you can hide the header and setting buttons, or specify the group name you want to initially display on the screen.
For a breakdown of open parameters for each screen library, see "About open parameters for screen libraries" in the Library Reference.
|