Registering and editing camera settings
The camera settings are common to both the viewing and recording tabs and can be configured in the same way from either tab.
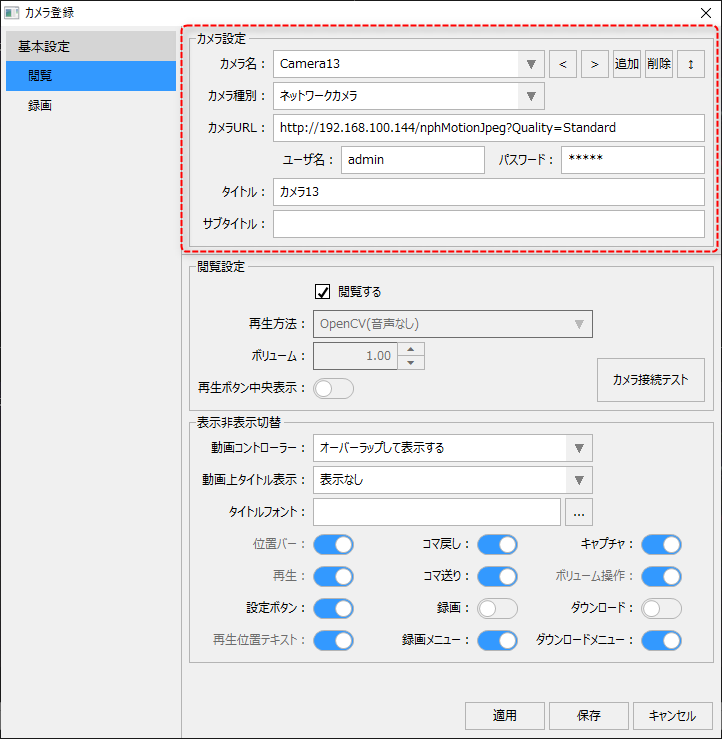
The procedure for registering camera settings is explained below.
■ Adding and editing cameras
Below is the state where no cameras have been registered yet. To add a camera, click the "Add" button to the right of the camera name.
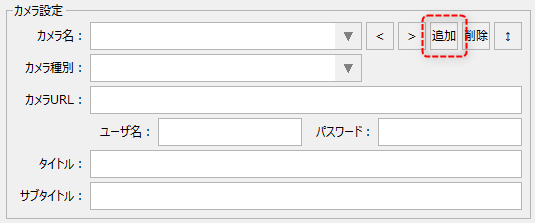
The camera name "Camera1" will be automatically assigned and a new camera will be added. If you want to change the camera name, you can edit it directly from the combo box.
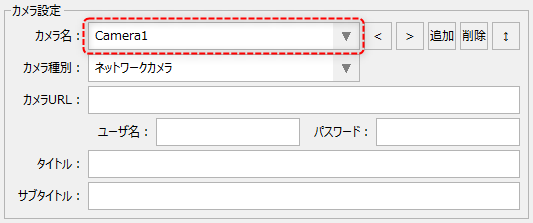
If you want to switch the camera to be edited, you can select the desired camera from the combo box, or use the "<" and ">" buttons to switch the currently selected camera.
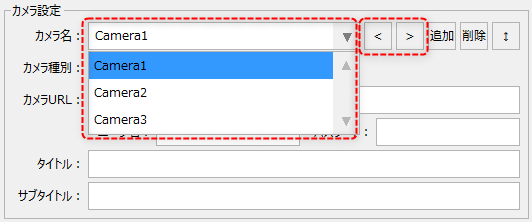
You can delete the currently selected camera by clicking the "Delete" button.

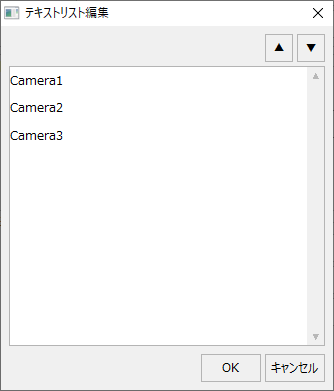
You can also click the button below to display the Text List Editing dialog box, where you can edit the camera display order.

(Text List Editing Dialog)
|
To change the display order of the cameras, select the target camera name and click the "▲" or "▼" button.
|
■Select camera type
When you add a camera, select the camera type.
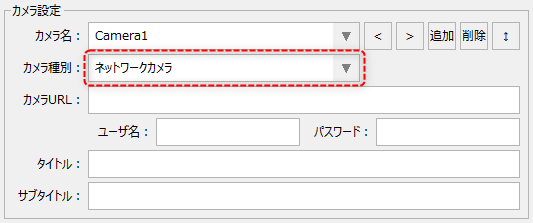
You can select the camera type from the following:
Camera Type |
Contents |
||
Network Camera
|
Specify this for network cameras. "MJPEG" or ""H.264" image compression formatYou can connect to a network camera and view live video from the camera using the video player or record it using the video recorder function.
|
||
Video files
|
If you select a video file, you can specify the video file and play it.
|
||
Image files
|
When you select an image file, you can view the image data.The image formats that can be used are "JPEG format", "GIF format", "BMP format" and "PNG format". However, "GIF format" animations are not supported.
|
||
Nekaroku
|
Specify this when connecting to Nekaroku to view the video from the camera connected to Nekaroku or play the recorded data on Nekaroku. For details, see "Linking with Mitsubishi Electric's "Nekaroku"".
|


■ Setting the camera URL (for network cameras)
If you select a network camera as the camera type, specify the URL, user name, and password.
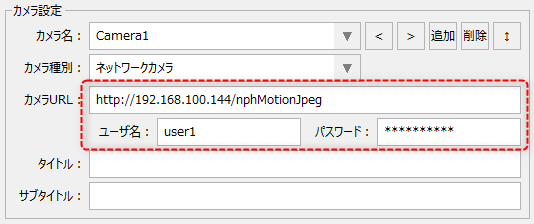
Depending on the settings of the network camera you are connecting to, you may need to specify a user name and password to log in to the connected device. You may also need to specify a port number, if necessary.
For general network cameras, the user name, password, IP address, and port number can be specified by including them in the URL in the following format:
URI scheme://username:password@IP address:port number/command etc...
If the URL specifications of the camera you want to connect to conform to the above format, you can specify the following in the user name and password edit boxes on the setting screen.
(Example of URL) http://user1:Ks4g97dT12@192.168.100.144/nphMotionJpeg
(Screen setting example 1)
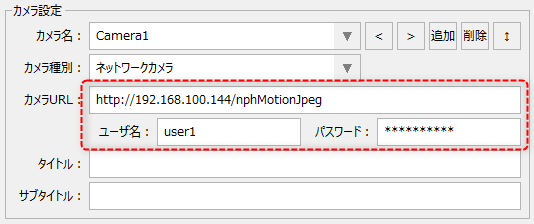
Or, you can get the same result by specifying the user name and password directly in the camera URL without using the edit boxes for the user name and password on the settings screen. For example, if the URL format for the user name and password of a camera does not conform to the above specifications, do not use the user name and password on the settings screen, but specify them directly in the camera URL.
(Example of URL) http://user1:Ks4g97dT12@192.168.100.144/nphMotionJpeg
(Screen setting example 2)
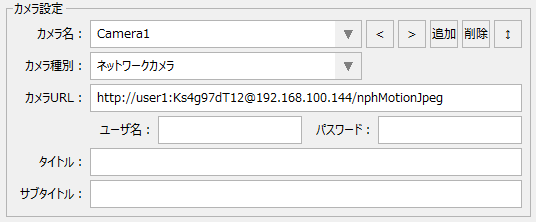
Regarding the port number, if the port number set on the camera side is a commonly used number, in most cases it may work even if it is omitted (for example, when port 80 is set in http). Depending on the camera model and settings, it may be necessary to specify the port number. If you want to specify the port number, specify it after the IP address in URL as ":port number".
(Example of URL) rtsp://user1:Ks4g97dT12@192.168.100.160:42712/ipcam_h264.sdp
(Screen setting example 3)
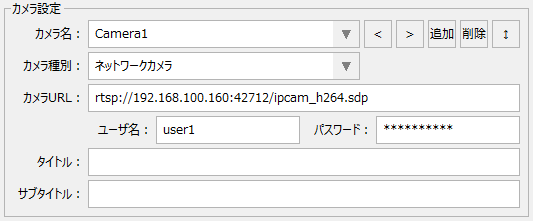
|
If you are unable to connect to the network camera, please check that the format specified for the camera URL is correct. For details on the URL format for connecting to the target camera (URI scheme names such as "http" and "rtsp", the format of camera-specific commands, etc.), refer to the manual for the network camera you want to connect to.
■ When connecting with mjpeg
For mjpeg, in most cases the scheme of the camera URL specified when registering the camera is "http".
Example: When connecting to a Panasonic network camera (BB-SP104W) using mjpeg http://Username:Password@IP address/nphMotionJpeg
■ When connecting with H.264
For H.264, in most cases, the camera URL scheme is "rtsp".
Example: When connecting to a Panasonic network camera (BB-SP104W) using H.264 rtsp://Username:Password@IPAddress/MediaInput/h264
|
|
Appendix "Network Camera Connection URL Setting Examples" contains examples of URL format settings for each camera that we have actually verified for connection. Please refer to this when connecting to a network camera. |
■Connection settings with Nekarok (when Nekarok is selected as the camera type)
If you select Nekaroku as the camera type, specify the connection information with Nekaroku (IP address, format ("mjpeg" or "liveget_h264"), unit number, camera number).
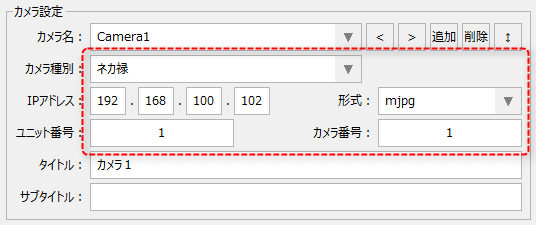
■ File settings (for video files/image files)
If you specified a video file or image file as the camera type, specify the reference file.
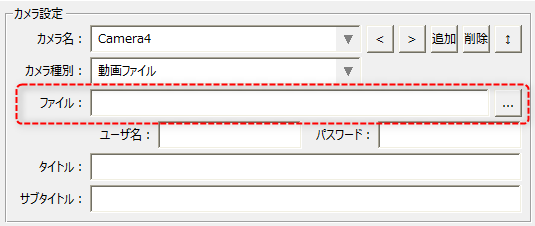
● Import video files into the resource folder
In the file settings, you can import the video and image files you want to display into the system resource folder so that they can be used commonly throughout the system.
If you want to import the target file into the resource folder and use it, click the Settings button below.
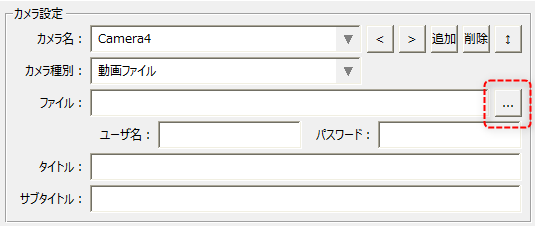
A file selection dialog will then pop up. In the file selection dialog, you can select any file on your PC and import the desired file into the system's resource folder. The resource folder itself is the "resource" folder directly under the folder defined in the public folder "server_data_cnf" set on the server side. Each file selected in the file selection dialog will be copied under that folder, and will be able to be commonly referenced by other functions that use the resource folder.
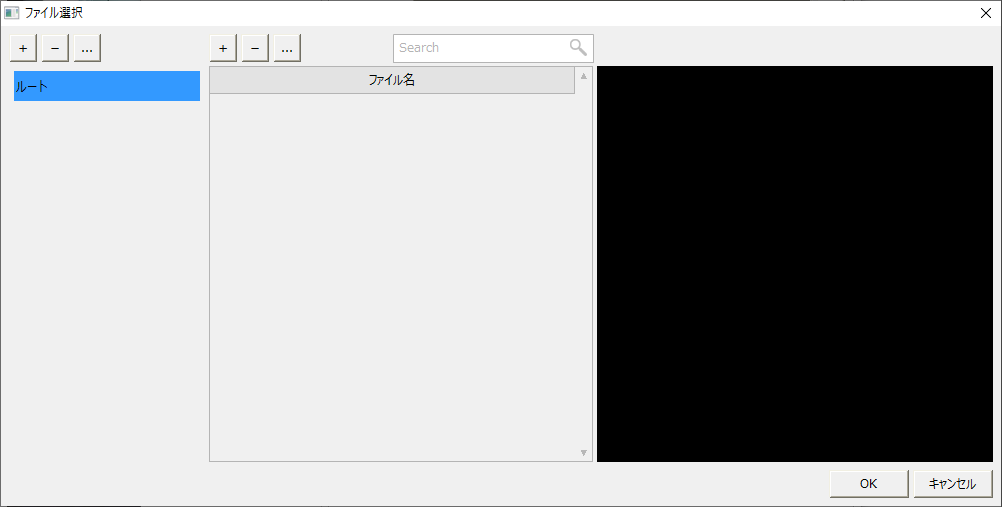
Below is the file selection dialog.
(File selection dialog)
|
You can add subfolders to the resource folder. To add a subfolder, click the "+" button in the upper left corner of the screen.
You can also delete the selected folder by clicking the "-" button. You can change the selected folder by clicking the "..." button. |
To add a video file to the resources folder, click the button below.
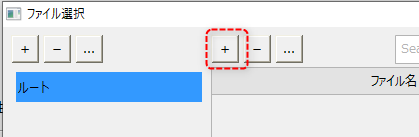
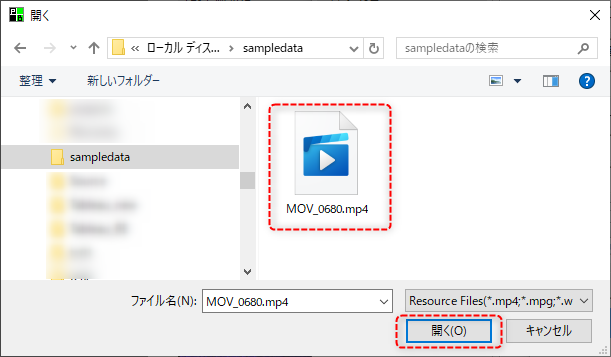
The following selection dialog will then be displayed, so select the file you want to import and click the "Open" button.
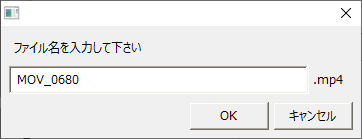
A dialog box for specifying the file name will then be displayed. If you want to change the file name before importing, change it to the desired name here. If you want to import with the file name as is, just click the OK button.
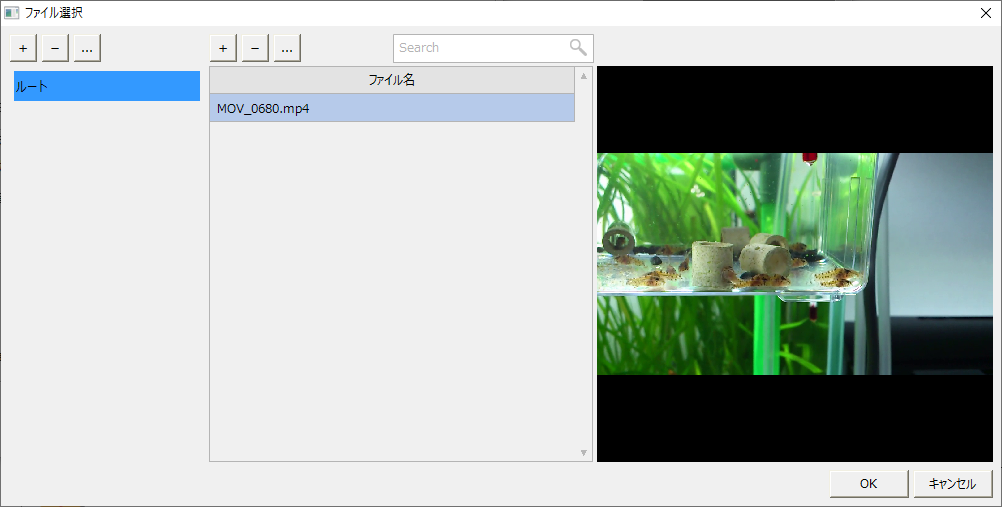
The file will be imported and its file name will be displayed in the list in the center of the screen. When you select a file from the list, the image will be displayed in the preview area on the right of the screen.
|
You can also delete the selected file by clicking the "-" button at the top of the list.
You can also rename the file name by clicking the "..." button at the top of the list.
|
|
When importing a large file, it may take some time to import the file and display a preview. |
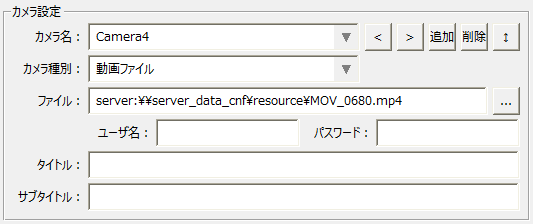
When you select a file from the list above and click the OK button, the target file will be selected and the file name in the camera settings will be displayed as follows:
|
If you select a file that you have imported into the resource folder, the file name will be displayed in the following format:
server:\\server_data_cnf\resource\(file name)
"server:\\server_data_cnf" is the format that refers to the public folder set on the server side, and in the above example, the "resource" folder under the public folder is the referenced folder. In this format, the public folder name is specified after "\\", and the public folder "server_data_cnf" is used by default. If you want to use a different public folder, add a separate public folder to the server and specify the public folder name after "\\".
|
● Specify the location of the video file by path (if you do not use the resource folder)
If you do not want to use the resource folder to specify the file name, you can specify the file name using an absolute or relative path. In this case, do not use the file selection dialog, but enter the path name directly in the file name input box.
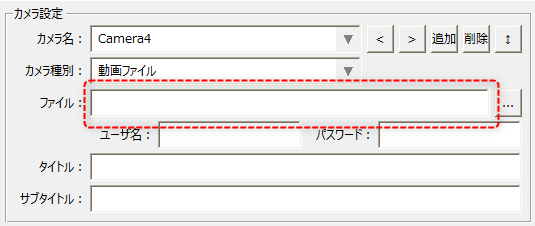
For example, if you specify the following, the file will be referenced and displayed using the specified absolute path.

Also, if you specify a relative path as shown below, the folder containing the client configuration file (such as client.xml) executed at runtime will be treated as the current folder, and the file will be displayed using a relative path reference from there.

■ Setting the camera title/subtitle
You can set the camera title and subtitle. These settings are optional. Please give it an easy-to-understand name to identify the camera.
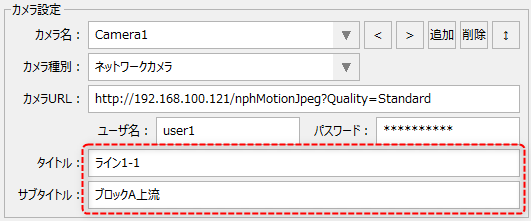
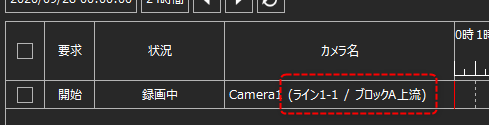
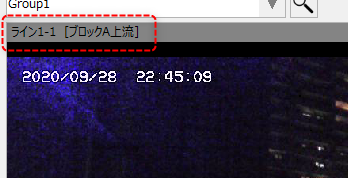
When you set a title, it will be displayed in various places, such as as the title on the camera monitor, attached to the camera name on the recorder, etc. Also, if you specify a subtitle, the subtitle will be displayed together with the title.
(Example of split-screen camera monitor)
(Example of the video recorder's recording status tab)