What is Nekaroku?
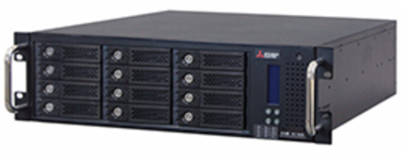
Nekaroku is a product of Mitsubishi Electric Information Network, and is a network camera recording and distribution server. Nekaroku can simultaneously connect multiple general-purpose network cameras from various companies, and the camera footage can be recorded on the Nekaroku side.
(From the left, Nekaroku "NS-850", "NS-1860", "NS-3850", and "NS-5850")
|
|
|
|
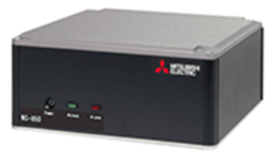
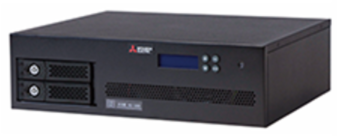
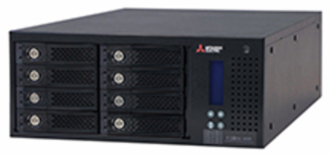
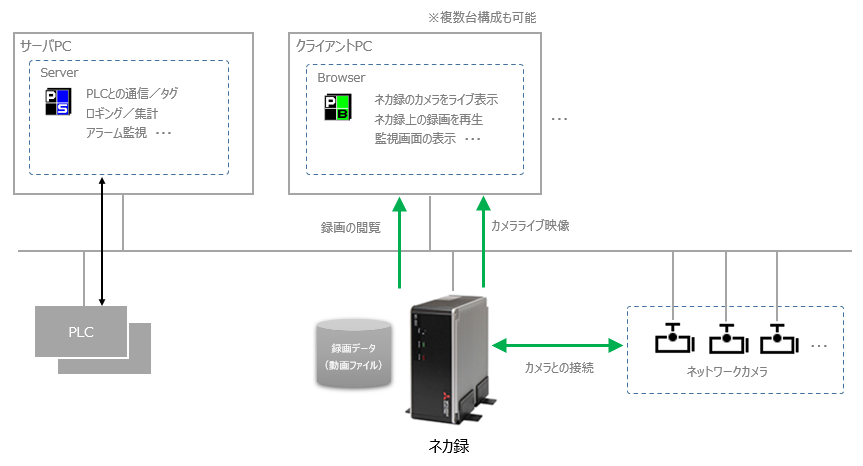
FA-Panel can be linked with "Nekaroku". You can display live images from network cameras connected to Nekaroku, and play back recorded data on the Nekaroku side. If you want to record from network cameras on a separate dedicated hardware in addition to recording using FA-Panel's video recorder, you can achieve this by linking it with Nekaroku.
|
Nekaroku is a product of Mitsubishi Electric Information Network. For details on the specifications of Nekaroku, such as the model, functions, and models of cameras that can be connected, please refer to the manufacturer's website or product manual. |

|
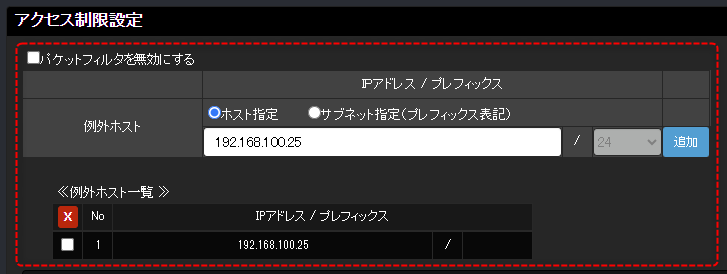
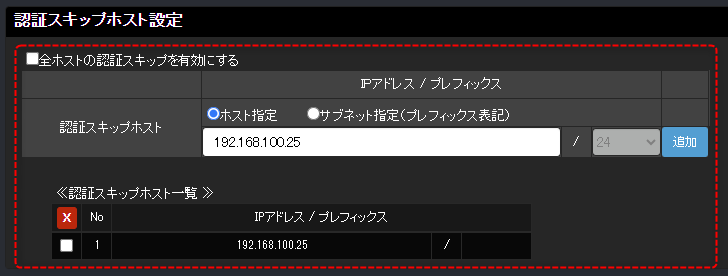
In order to connect to Nekaroku from our product, you need to register the IP address of the PC connecting to Nekaroku in the security settings of Nekaroku as an exception host in "Access Control Settings" and as an authentication skip host in "Authentication Skip Host Settings". For details on setting up Nekaroku, please refer to the manufacturer's website or product manual.
(An example of security settings for Nekaroku)
|

System configuration example
This is an example of connection using Nekaroku.
Model used
item |
Model etc. |
Nekaroku |
NS-850 |
Network Camera |
AXIS M1065-L |
Panasonic BB-ST162A*2 units |
Setting contents
item |
|
Setting items |
Configuration Example |
||
PC |
Server PC |
IP address |
192.168.100.10 |
||
Client PC |
IP address |
192.168.100.25 |
|||
Nekaroku |
NS-850 |
IP address |
192.168.100.102 |
||
Camera number 1 |
Set it to connect to "AXIS M1065-L" below. |
||||
Camera Number 2 |
Set it to connect to the first "Panasonic BB-ST162A" below. |
||||
Camera number 3 |
Set it to connect to the second "Panasonic BB-ST162A" below. |
||||
others |
To configure Nekaroku, log in to the Nekaroku main application using your Web browser and configure the settings from the Nekaroku administration screen. ❖Login user and password settings ❖Security Settings ❖Camera connection settings ❖Frame rate of the connected camera ❖Recording Settings
|
||||
Network Camera |
AXIS M1065-L |
IP address |
192.168.100.140 |
||
others |
To configure the camera, log in to the camera using a browser such as Web and access the management screen provided with each camera. ❖Login user and password settings ❖Camera image quality and frame rate |
||||
Panasonic BB-ST162A |
IP address |
192.168.100.141 |
|||
others |
To configure the camera, log in to the camera using a browser such as Web and access the management screen provided with each camera. ❖Login user and password settings ❖Camera image quality and frame rate |
||||
Panasonic BB-ST162A |
IP address |
192.168.100.142 |
|||
others |
To configure the camera, log in to the camera using a browser such as Web and access the management screen provided with each camera. ❖Login user and password settings ❖Camera image quality and frame rate |
Camera settings for FA-Panel
The connection settings for the camera connected to Nekaroku are done from the camera registration screen. For details on the settings on the camera registration screen, please refer to "Nekaroku camera registration".
(Camera registration screen/Nekaroku camera registration)
|
When registering a camera, select "Nekaroku" from the camera type and you can easily connect by simply specifying the Nekaroku's IP address, model, unit number, camera number, etc.
|
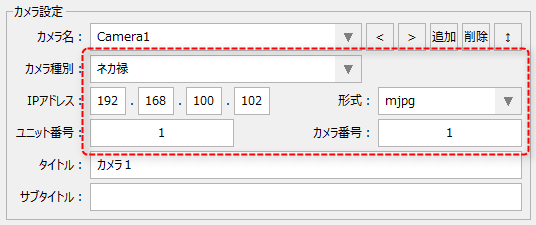
For the camera URL, specify the IP address of the Necarok, the unit number, the camera number, etc.
Cameras to be connected |
Camera name for camera registration (example) |
IP address |
format |
Unit Number |
Camera Number |
AXIS M1065-L |
Camera1 |
192.168.100.102 |
mjpeg |
1 |
1 |
Panasonic BB-ST162A |
Camera2 |
192.168.100.102 |
mjpeg |
1 |
2 |
Panasonic BB-ST162A |
Camera3 |
192.168.100.102 |
mjpeg |
1 |
3 |
Screen image of Nekaroku link
Below are some specific examples of collaboration with Nekaroku.
(Video Player)
|
FA-PanelThe video player part and split display (camera monitor) allow you to display live footage from network cameras connected to Necarok, and play back recorded data stored on Necarok, just like with a regular network camera.
The image on the left is an example of a video player part pasted onto a form. Users can freely embed and display camera images on forms (monitoring screens) they create.
|
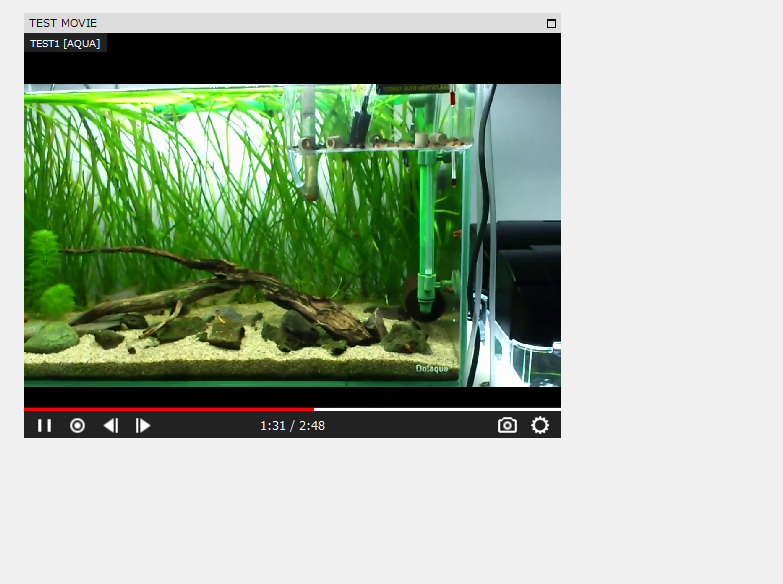
(Video player/live display)
|
If you select live viewing from the video player menu, it will display live footage from the camera connected to NECAROK.
|
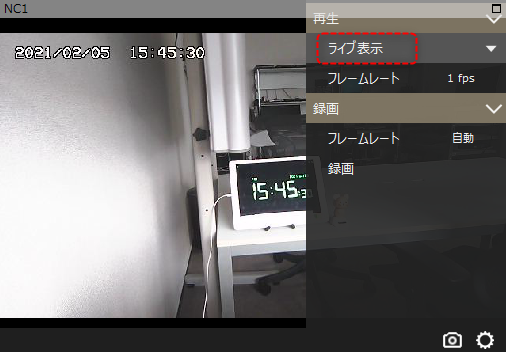
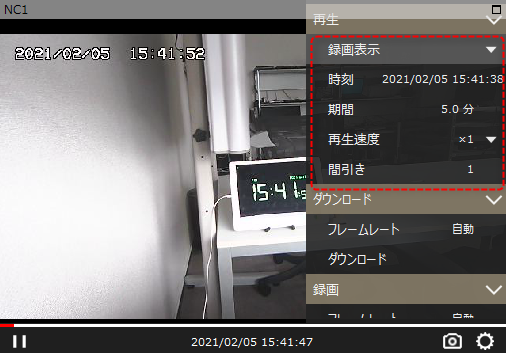
(Video player/recording display)
|
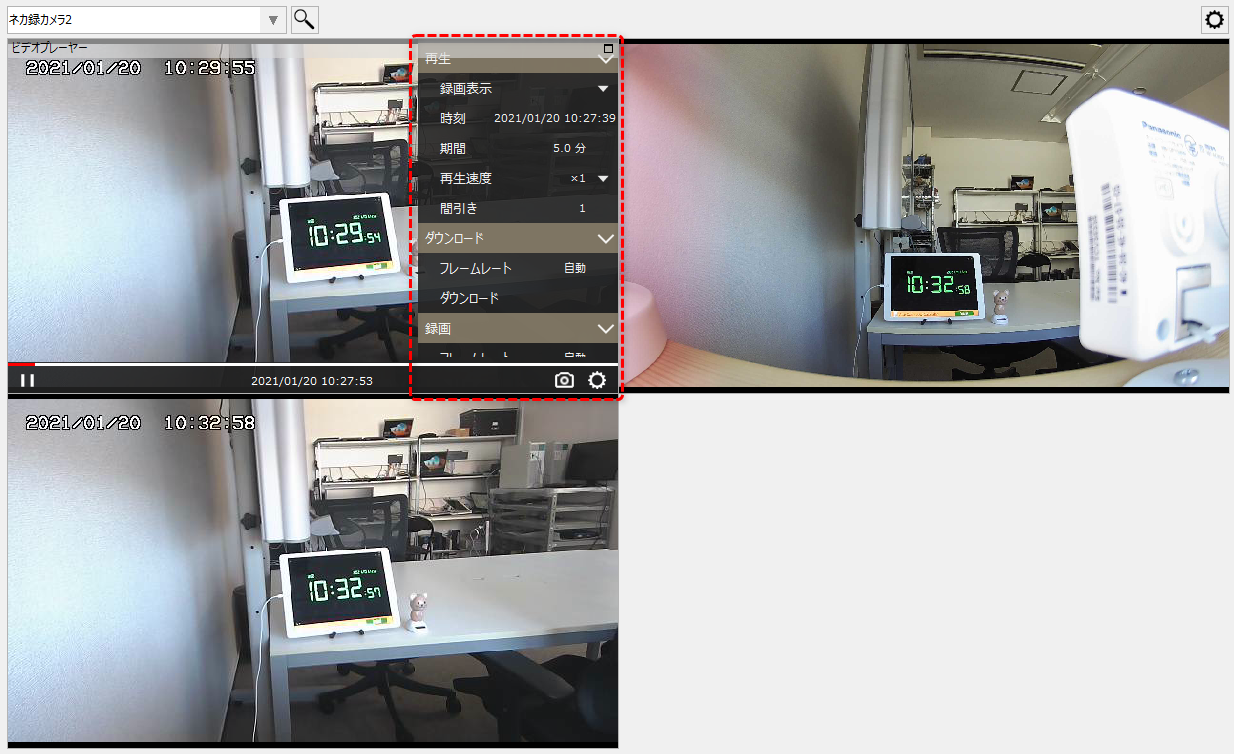
By selecting the recording display from the video player menu, you can play and display the recorded data stored on Necarok. From the menu, you can specify the time and playback speed of the recorded video, as well as Necarok's unique parameters such as thinning settings.
In the menu on the left, you can download the recording data saved on the NECAROK to your PC, or record the video being played on the screen as a separate recording data and save it on your PC. For details on how to operate the video player, please refer to "Video Player Screen Operations".
|
(Split screen showing Nekaroku cameras side by side)
|
On the split display screen (camera monitor), you can display multiple Nekaroku cameras side by side, just like regular network cameras.The split screen display allows you to play back recorded data by displaying a menu similar to that of a video player.
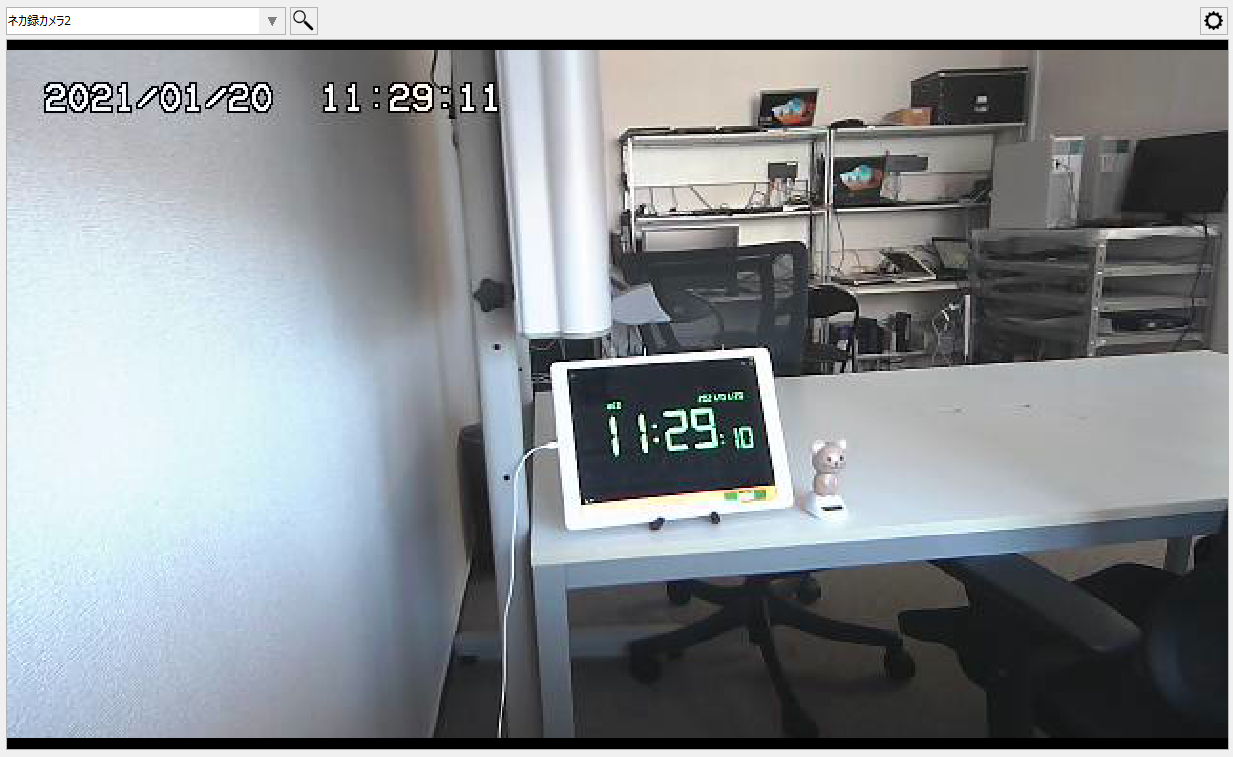
Furthermore, each camera image in the split display can easily be switched between maximum display and split display.
(Example of maximum display)
For more information about split display, please refer to "Split Display (Camera Monitor)".
|
(Synchronize playback of Nekaroku recording data)
|
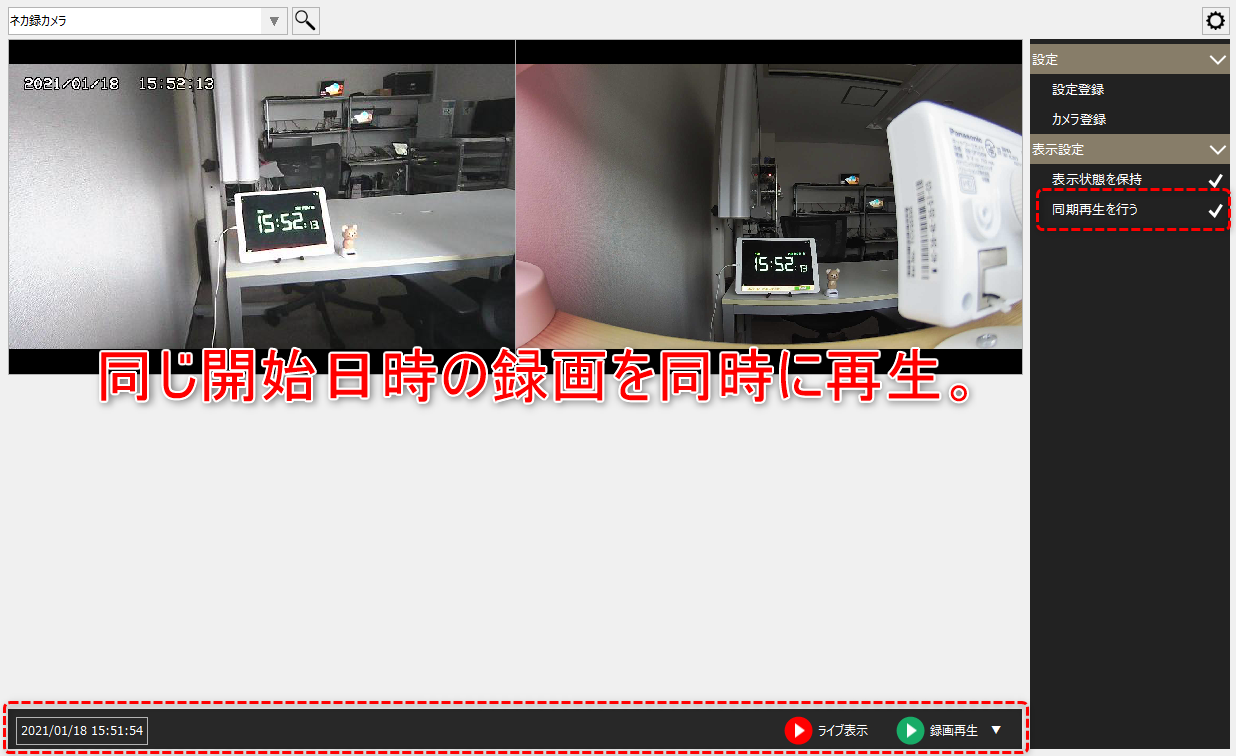
The split screen (camera monitor) has a synchronous playback function. For multiple recordings recorded on Necarok, you can play back the recordings of the same time side by side at the same time.
For information on synchronous playback, please refer to "Synchronized playback of multiple cameras".
|
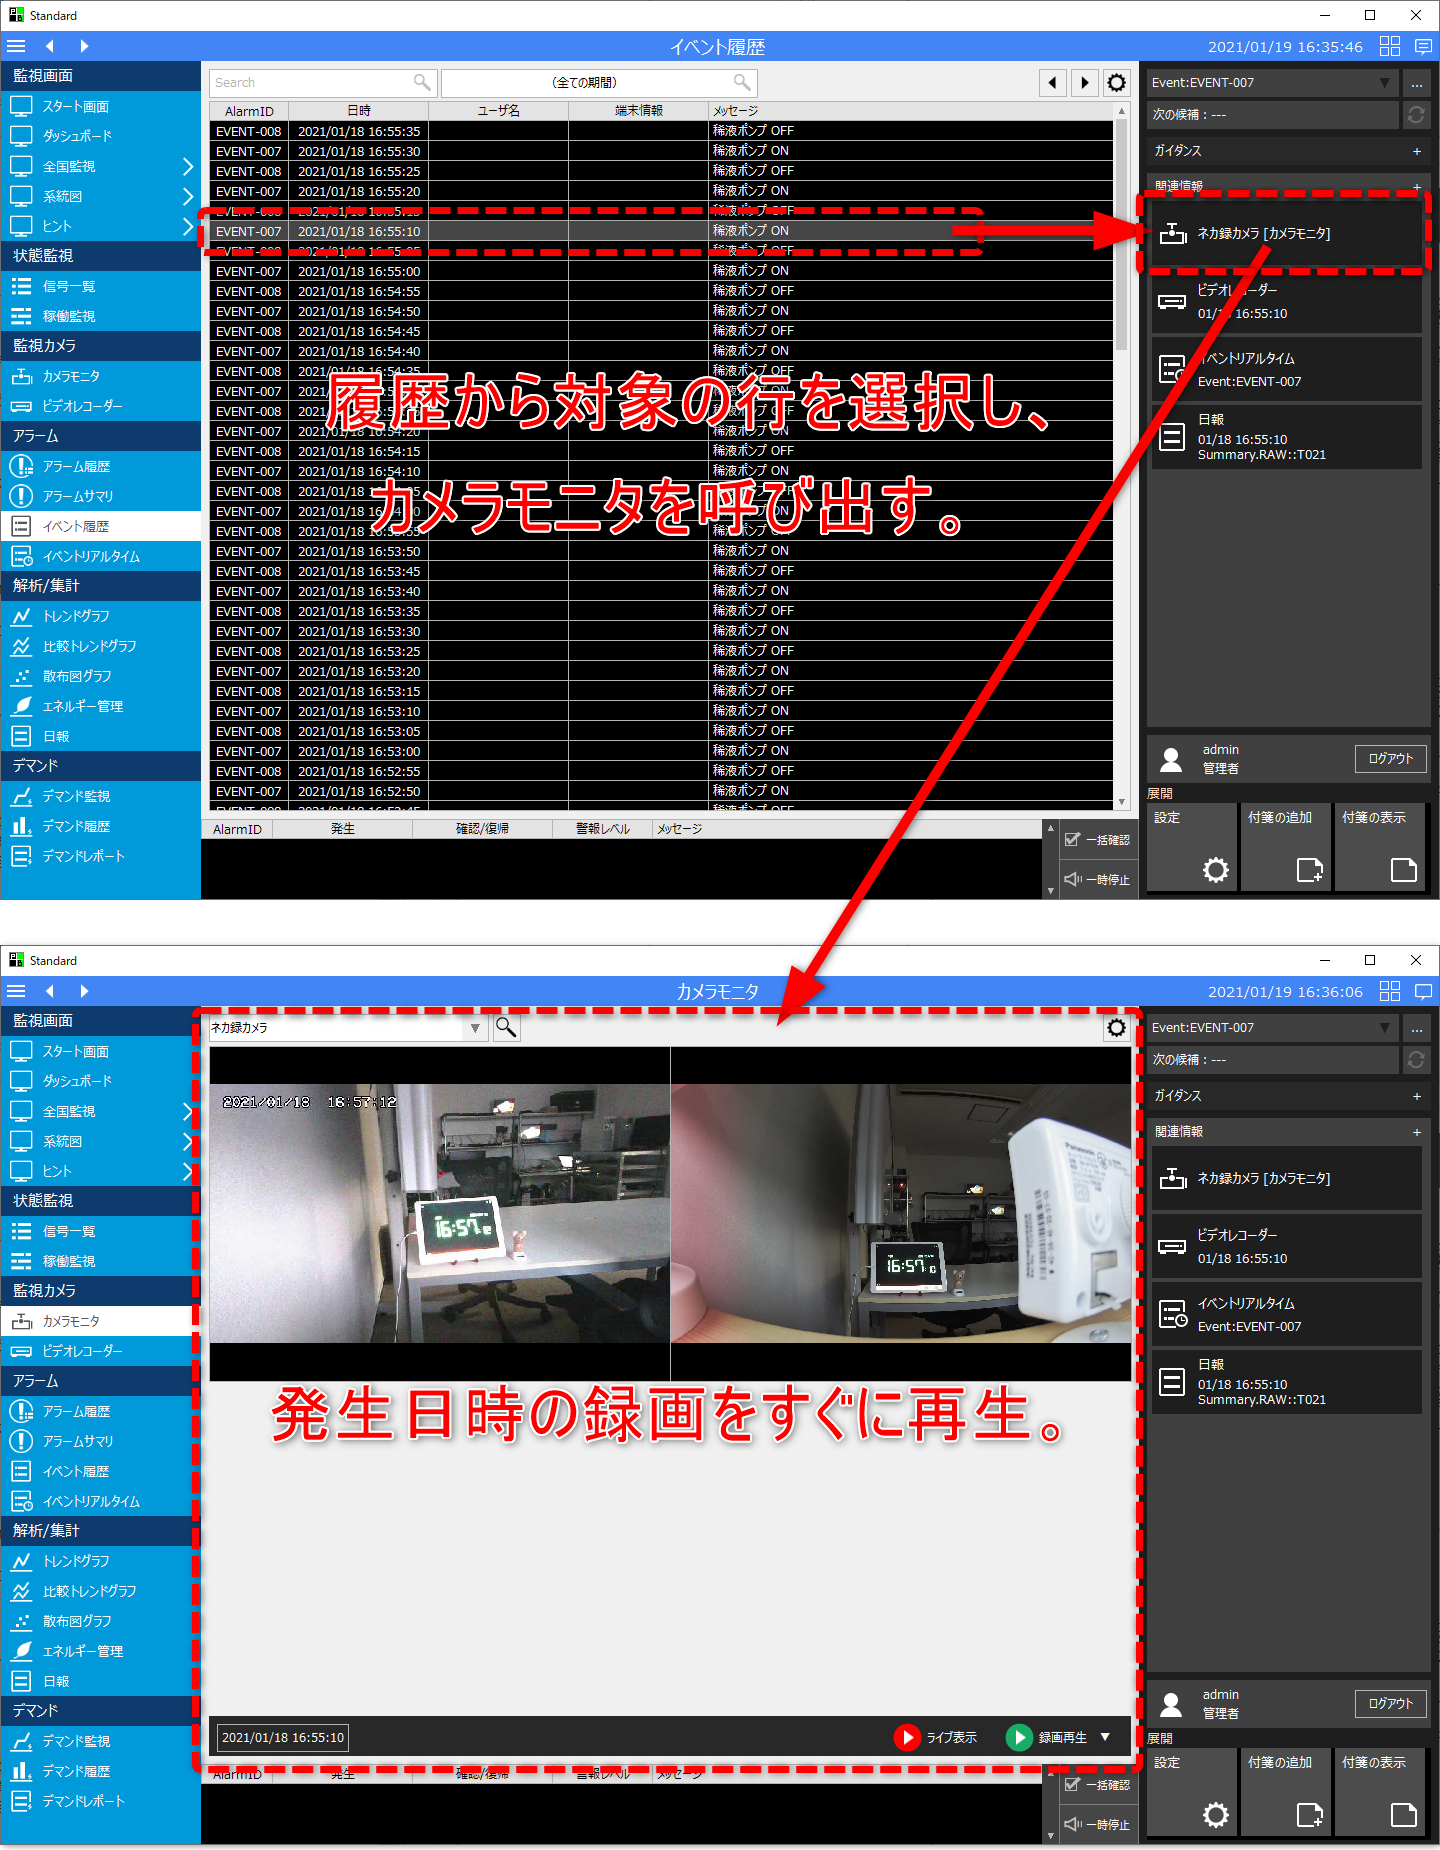
(Play back recorded data from alarm history at the time of occurrence)
|
You can call up the split display (camera monitor) from related information on the history screen for alarms, events, etc., and immediately play back the recording data from the time the alarm occurred.
For information on how to set up the camera monitor from related information, see "Playing back camera recordings from alarm/event history".
|