|
The customization examples shown on this page are old content written based on the specifications of the standard framework before VER6 REV11. The procedure below describes how to add your own form to the menu when using the old standard framework. For how to add a form to the standard framework, see "Adding a form" and "Calling a form from a menu". |

overview
The event function mainly records the history of operation of monitored equipment. In the standard event function, events are monitored based on the occurrence conditions for tags defined in the alarm master and recorded as log data, but there are also cases where you want to include operation details from the monitoring screen in the log data. For example, if you want to record the operation of buttons placed on the monitoring screen, you can write ON/OFF to the event recording tag according to the operation of each button, and register these tags in the alarm master to record them as an operation log. However, this method requires you to take the trouble of preparing tags just to record screen operations, which makes the work of building the system cumbersome.
Therefore, here we will introduce a customization example for the standard event function, which uses a script to record event logs of screen operations.
Customization details
•Editing the alarm master (Event)
•Paste the "Remote Alarm Client" into the background form
•Write a script to record events
Download the sample
The creation examples shown on this page are provided with samples.
The sample can be downloaded from below.
Procedure
■Editing the alarm master
1.Open the Alarm Master for the event
Open "master.csv" in the following folder of the target project.
(Project folder)\server\event\master.csv
Below is an example of an alarm master before the change.
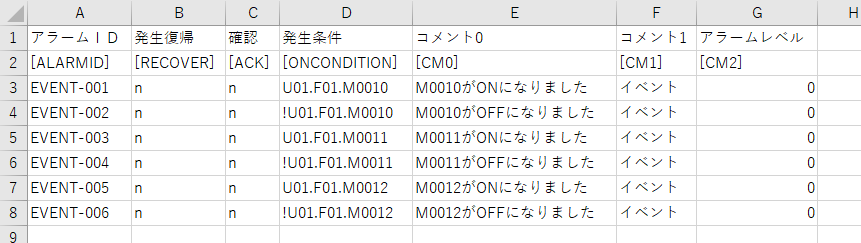
2.Editing an Alarm Master
In the above, insert a new line on the third line and write the line as follows:
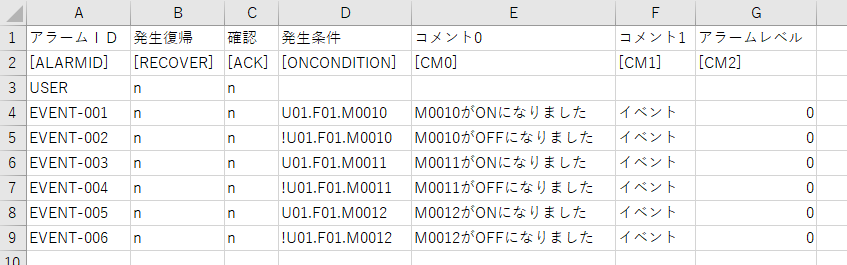
•Alarm ID: USER
•Occurrence recovery: n
•Confirmation: n
•Other settings: Blank (do not enter anything)
When editing the alarm master in Excel, save it in CSV format.
Below is an example edited in Notepad.
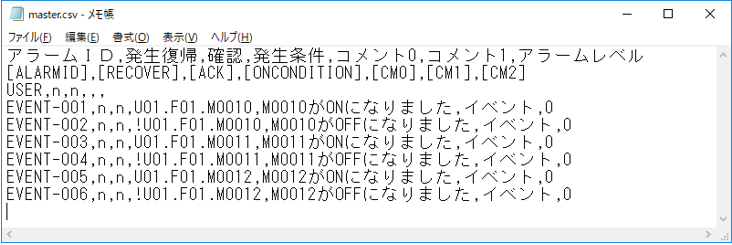
If you edit in Notepad, make sure to set it so that the number of commas is the same as the other lines.
USER, n , n, , ,
■ Adding saved items
Next, set the “Save item” for the Alarm server action for the event.
1.Alarm serverOpen the action settings screen
Select Event under Action from the tree on the left of Panel Server and right-click to open its properties.
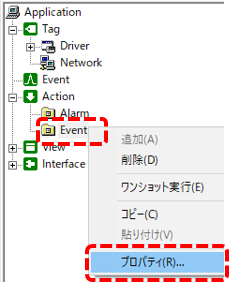
Set the save items from the settings dialog.
|
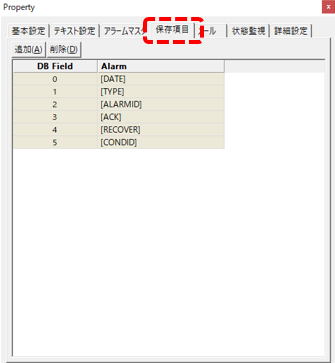
Click the "Saved Items" tab at the top of the screen.
|
|
Click the "Add" button on the screen three times.
Then, with each click, a new line will be added, and "[CM0]", "[CM1]", and "[CM2]" will automatically be displayed, as shown on the left. In this example, the comments that need to be added to the saved items are CM0, CM1, and CM2, so we will use the automatically added content as is.
Check the displayed information and click the OK button.
|
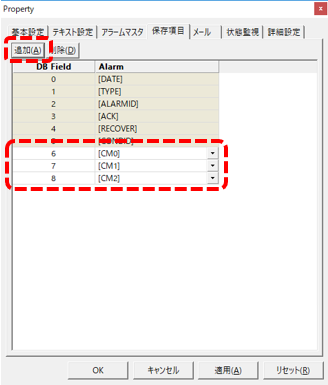
With this setting, the CM0, CM1, and CM2 values will be included and saved in the alarm log data.
|
When displaying alarm history, event history, and other screens, if CM0, CM1, and CM2 are not included in the saved items, the display will be based on the alarm master definition. However, in this customization, CM0, CM1, and CM2 are all blank in the alarm master definition for the newly added alarm ID "USER", so there will be no values to reference when displaying the event history. By adding CM0, CM1, and CM2 from the saved item settings screen above, the contents of these comments will be included and saved in the alarm data, and the event history will be displayed correctly. |

■Paste a remote alarm client
Next, prepare a remote alarm client to connect to the Alarm server that is monitoring the events.
Normally, the "Remote Alarm Grid" control, which is a tabular component, is used to display screens such as alarm summaries. The "Remote Alarm Client" control used here is a control that omits the tabular display function from the Remote Alarm Grid. It is suitable for cases like this one where you do not want to display alarms, but rather want to monitor the alarm status in the background or connect to Alarm server to call functions.
This mechanism must be prepared on a form that is always present while the system is running. In this example, we will use the "hidden" form.
1.Select the "hidden" form
From the Panel Editor workspace tree, select "hidden" under the Logics folder.
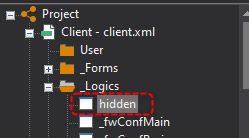
The hidden form has been selected.
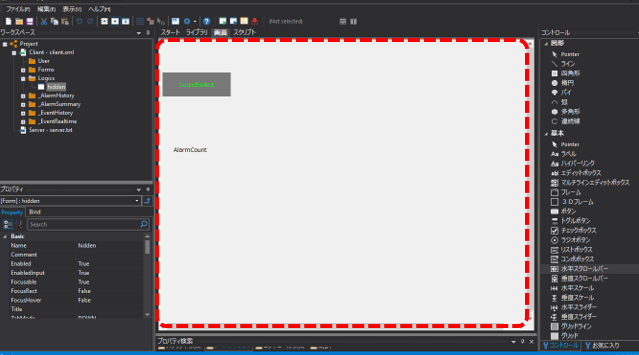
This form is one of the forms that is provided with the standard framework and runs in the background whenever the system is running.
|
Furthermore, if you look at the "HiddenForm" property of this form, you will see that it is set to "True" as shown on the left.
A form with this property set to True will automatically be placed into the background.
|
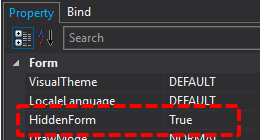
2.Paste the remote alarm client into the hidden form
Select "Remote Alarm Client" from the Panel Editor control and paste it into the hidden form.
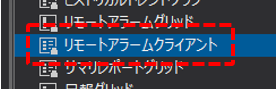
was attached to the form.
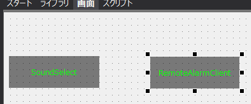
3.Remote Alarm Client Property Settings
Please set the following properties for the remote alarm client pasted into the hidden form.
|
Name (Name property): Event
Destination (AlarmServer property): Event
|
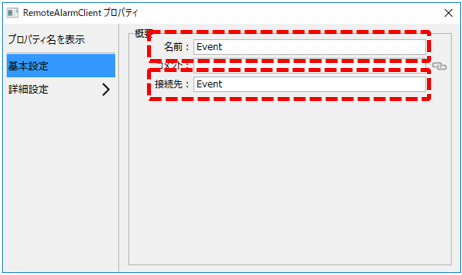
In addition, for the "destination" set above, specify the name of the Alarm server action for event monitoring registered on the Panel Server side.
The remote alarm client will connect for the action specified above.
4.Scripting remote alarm clients
With the Remote Alarm Client selected, open the Script page.
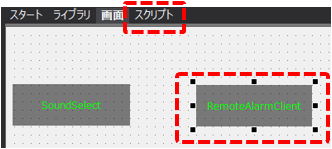
Open the event combo box in the top left of the script page and select "Oninitialize".
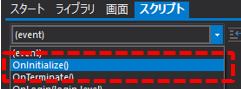
Then, the OnInitialize event was added.
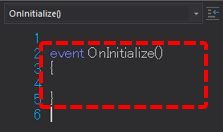
Please write the following code in the OnInitialize event.
(Description)
event OnInitialize() { this.Connect(); } |
❖The code goes between "{" and "}" in the event.
❖All characters should be written in half-width characters.
❖The white space at the beginning of this is called "indentation." To indent, press the Tab key (you can enter a few half-width spaces, but do not enter full-width spaces).
Furthermore, by calling Connect as shown above, a connection will be made to the Alarm server action specified in the AlarmServer property.
■ Record screen operation events
Next, edit the form.
1.Add Form01 form in Panel Editor
Add a new form from the workspace tree in Panel Editor. In the following explanation, we will assume that a form called "Form01" has been added.
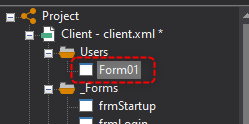
You also need to make Form01 available for calling from the menu. Below is an example of setting the root _MenuConf property.
(_MenuConf setting example)
[graphic] Graphic,User.Form01,Graphic1,,sys:display_24.png,T
[alarm] Alarm,_AlarmSummary._Main,Alarm Summary,,sys:alarmsummary_24.png,T Alarm,_AlarmHistory._Main,Alarm History,,sys:alarmhistory_24.png,T Alarm,_EventHistory._Main,Event History,,sys:eventhistory_24.png,T Alarm,_EventRealtime._Main,EventRealtime,,sys:eventrealtime_24.png,T
[setting] Settings, [visualtheme], Visual Theme, ,sys:visualtheme_24.png ;Settings,[closeBrowser],Exit,,sys:close_24.png |
2.Form01Placing buttons on the form and writing the process
Paste one Button control into the Form01 form.
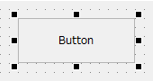
Display the script page of the pasted button and add the "OnMouseUp" event from the event combo box.
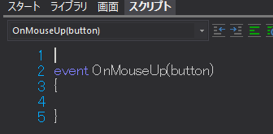
Please write the code for the OnMouseUp event using the following as a reference.
Note that this event is called when the button is clicked with the mouse (actually, when the mouse button is clicked and released).

(Description)
event OnMouseUp(button) { ::hidden.Event.FireAlarm("USER", 1, c(0,1,2), c(" button operated", "event",0)); } |
The above code calls the "FireAlarm" method of the remote alarm client. When this code is executed, the message specified in the code is logged as an event.
Operation check
Now let's check how it works.
Click Online (yellow arrow) at the top of the Panel Server screen.
Next, click the browser run icon (green arrow) at the top of the Panel Editor screen to call up Panel Browser.
Once Panel Browser is up and running, view the event history.
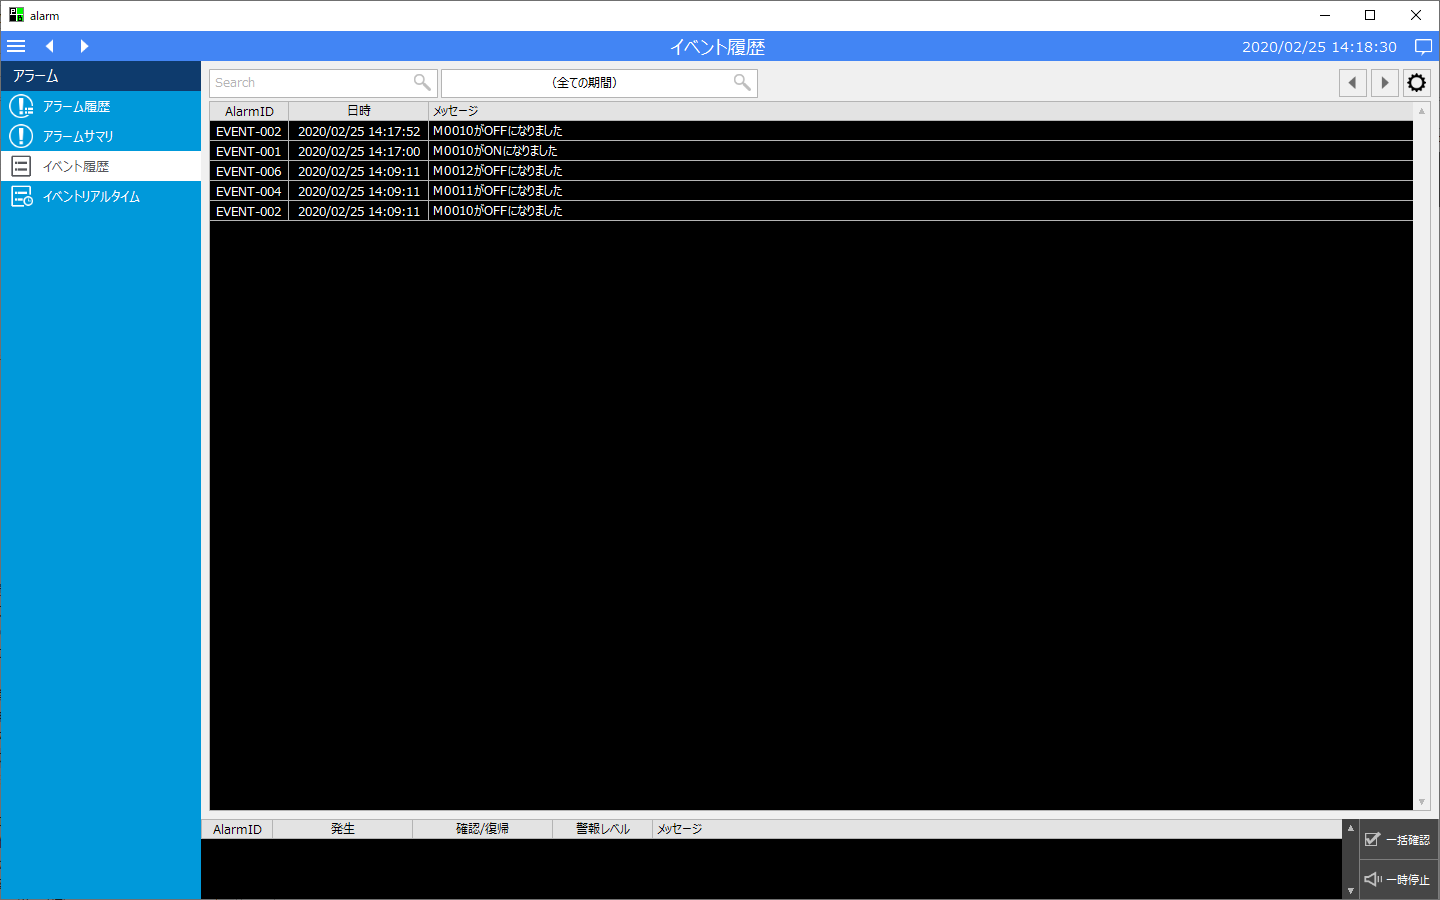
Now let's see how the button we created works.
Select "Graphic 1" from the menu to display Form01, and click the button on the displayed form once.
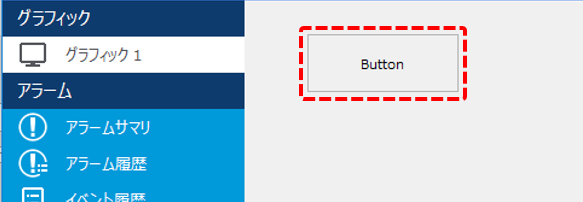
After clicking the button, display the event history screen and verify that the message displayed corresponds to the button click.

Next, go back to Form01 and try clicking the button multiple times.
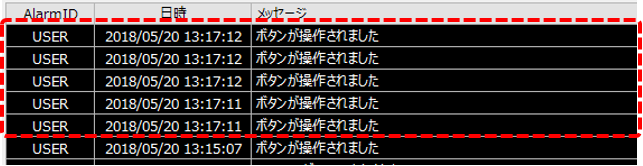
A new event history was then generated for each time the button was clicked.
In this way, by executing script processes, you can record logs in the event history at any time.
supplementary explanation
■About the FireAlarm method
The Remote Alarm Client (and Remote Alarm Grid) allows you to fire an alarm from a script by calling the FireAlarm method.
When using FireAlarm, first define a line for the alarm ID for FireAlarm in the alarm master.
In this example, we use the alarm ID "USER".
In this definition line, enter Alarm ID, Occurrence/Recovery: n, Acknowledge: n, and leave all other columns blank (only commas).

Any alarms will then be logged by invoking the FireAlarm method via a remote alarm client (or remote alarm grid) that is connected to the desired Alarm server.
event OnMouseUp(button) { ::hidden.Event.FireAlarm("USER", 1, c(0,1,2), c(" button operated", "event",0)); } |
In the above example, by writing "::hidden.Event.FireAlarm()", the FireAlarm method of the remote alarm client (Event) placed on the hidden form will be called.
|
Details about the FireAlarm method, including the meaning of its arguments, are described in "FireAlarm". |
|
Scripts can be written smarter by using user-defined functions. For example, you can create a function for writing events in the route or hidden form script, and then call that function from the part of the process where you want to write the event.
For more information about user-defined functions, see "User-defined functions".
■ Example of extension using user-defined functions
(Define a user-defined function in the route script)
(The button script calls a user-defined function.)
|