overview
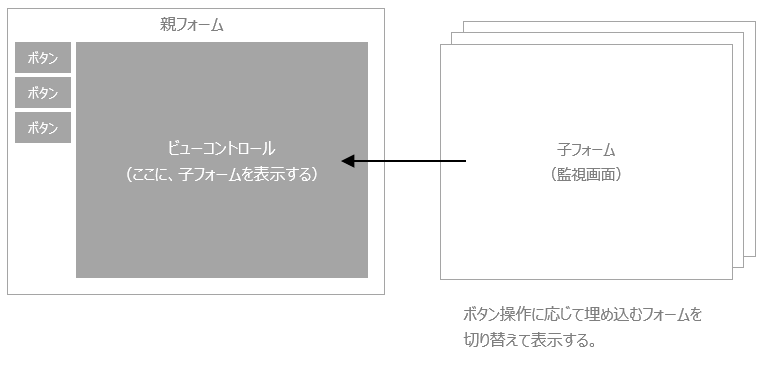
This section explains how to build screen transitions using View control.
With this method, you create one parent form and place "View control" on it, then embed and display the forms for each monitoring screen in View control.
This topic includes the following sections:
•View control placement and settings
•Implementation of screen call button
|
When actually building the site, you need to design the layout, such as the screen size, and properly set the form display size, stretch mode, etc. For more information on layout design, please also refer to the description in "Layout design for your own project". |

Forms must be created under a folder. For example, create two folders, "Forms" and "Screens", and add the form under them.
■ Work procedure
1.Add a folder
You can add and edit folders from the workspace in the top left of the Panel Editor screen.
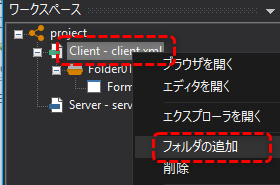
Right-click on "Client" from the workspace and select "Add Folder" from the menu that appears.
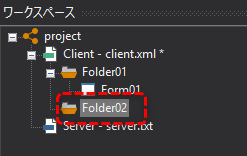
Then, in addition to the default "Folder01", a new "Folder02" was added.
2.Renaming a Folder
Next, change the name of the folder. To change the name, you can either change it in the folder properties or edit it directly in the workspace tree in the upper left of the screen.
As an example, we will change it from the folder properties dialog.
Right-click on the folder you want to rename and select "Properties" from the menu.
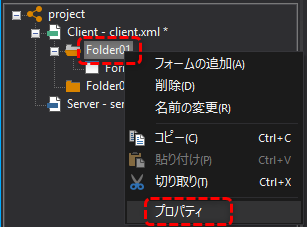
This will bring up the Folder Properties dialog.
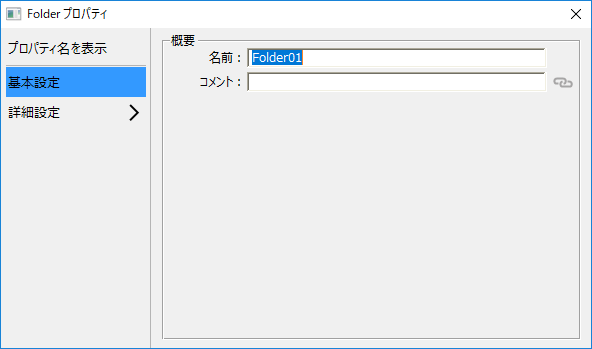
You can freely change the name of the folder by changing the "Name" above.
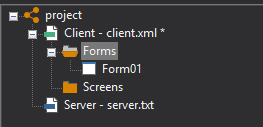
Here, change "Folder01" to "Forms" and "Folder02" to "Screens".
(Image after change)
3.Adding a Form
Next, add forms. For example, add two forms under the Screens folder.
Right-click "Screens" to display the menu and select Add Form.
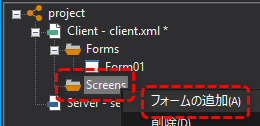
Then, a new form "Form01" was added under Screens.
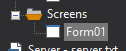
In the same way, add another form under Screens.
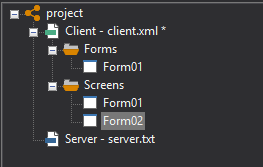
4.Rename a form
Next, change the name of the form. You can change the name by displaying the form's properties dialog and changing the name, or by changing the name directly in the workspace.
For example, change the name as follows:
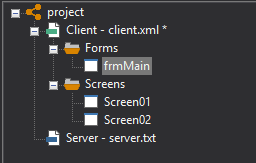
•Forms.Form01 → Forms.frmMain
•Screens.Form01 → Screens.Screen01
•Screens.Form02 → Screens.Screen02
(Image after change)
|
In the following steps, the "frmMain" form will be constructed as the parent form, and "Screen01" and "Screen02" will be constructed as child forms. |
5.Editing a Child Form
As an example, we will place a label on the form to check whether the embedded child form is working correctly.
Place a label on the "Screen01" form and set the Text property to "Screen 1".
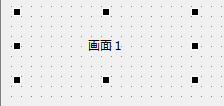
Similarly, place a label on the "Screen02" form and set the Text property to "Screen 2".
Placement and configuration of View control
On the "frmMain" form that you want to use as the parent form, place "View control" to embed the child form.
■ Work procedure
1.Place View control
With the "frmMain" form displayed in Panel Editor, select "View" from the control view on the right side of the screen.
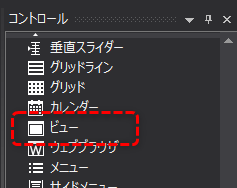
With the above selected, paste it onto the "frmMain" form.
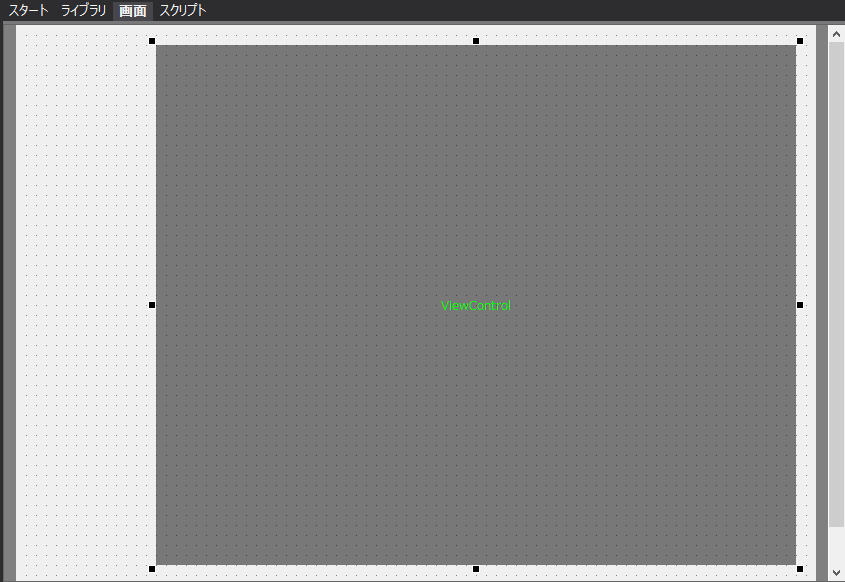
2.Set the View control property
Display the properties of View control from the property page at the bottom left of the screen and set the following properties.
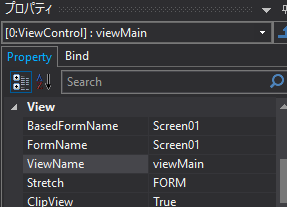
Property Name |
Setting contents |
explanation |
name |
viewMain |
Rename View control. |
Target form |
Screen01 |
Specify the name of the form to be displayed initially. |
Form Name |
Screen01 |
Specify the name of the form after embedding. For example, specify it as shown on the left. |
View Name |
viewMain |
Specify the view name that will be referenced when the screen is displayed. In this case, specify "viewMain" as shown on the left. |
size |
FORM |
Specifies how to stretch the display size of the embedded form. Here, set "FORM" (following the specification of the embedded form). |
3.Setting route properties
Next, view the properties of the route and set the properties you want.
To edit the properties of a route, click the following arrow icons on the properties page:
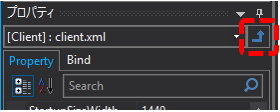
Alternatively, you can display it by clicking "client.xml" in the workspace at the top left of the Panel Editor screen.
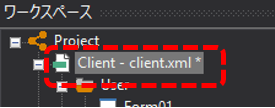
The route properties will then be displayed on the properties page in the bottom left of the screen.
From the Properties page, edit the following properties:
Property Name |
Setting contents |
explanation |
Initial screen |
frmMain |
Specify the name of the form that will be displayed initially when Panel Browser is launched. In this example, specify "frmMain" as the form name for the parent screen.
|
Default View Name |
viewMain |
Specify the default view name. Here, specify "viewMain", which is the view name given to View control pasted on the parent form. With this setting, the view name on the left will be used when the target view is set to "Default view" in the screen call component. |
Implementing a screen call button (calling a form to be displayed in a view)
Next, we will implement the screen call button.
In this example, we will use a screen call button from the parts library.
■ Work procedure
1.Placing a screen call button
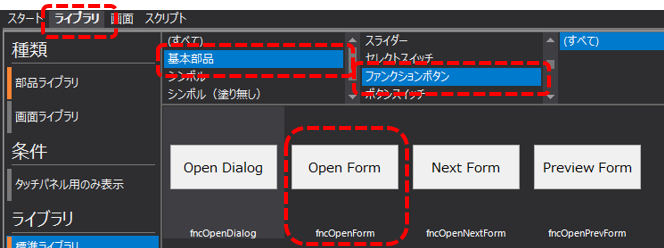
From the Panel Editor library tab, narrow down your search to "Basic Parts" and "Function Buttons", select the button part labeled "OpenForm" (fncOpenForm), and paste it into the form where you want to place the part.
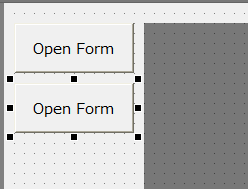
In addition, paste two parts here to call up two forms.
(Image after pasting)
|
For information on how to use the part library, please refer to the description in "Using the Part Library". |
2.Setting the screen call button
Open the screen call button settings dialog and set each button as follows.
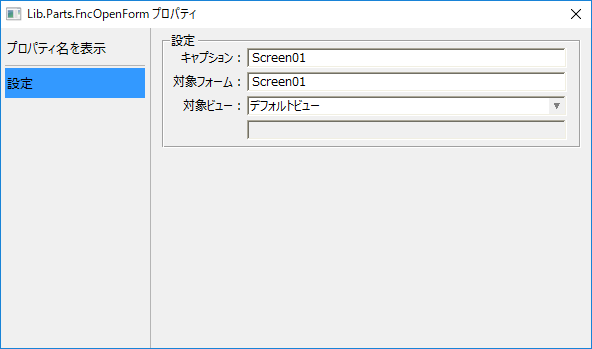
subject |
Property Name |
Setting contents |
Property Overview |
Screen01 Call button |
caption (_Text) |
Screen01 |
The title of the button. |
Target form |
Screen01 |
Specify the name of the form to be displayed. |
|
Target View |
Default View |
The form will be displayed in the view set in the root DefaultView. |
|
Screen02 Call button |
caption (_Text) |
Screen02 |
The title of the button. |
Target form |
Screen02 |
Specify the name of the form to be displayed. |
|
Target View |
Default View |
The form will be displayed in the view set in the root DefaultView. |
(Image after change)
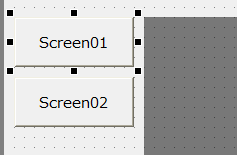
This completes the setup.
3.Operation check
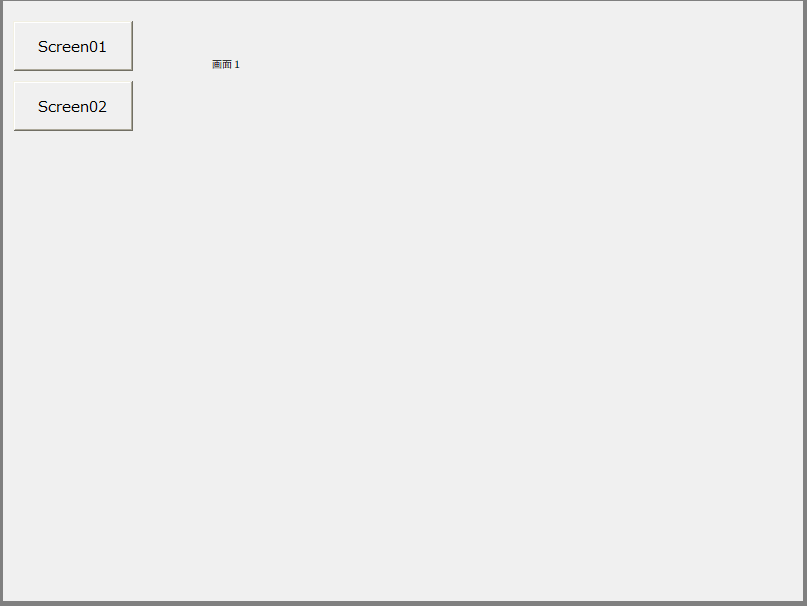
Run Panel Browser.
You will then see the following screen. Clicking the button will switch the form displayed in the view in the center of the screen.