Recording tab / Recording settings
|
The recording settings are configured when recording images from network cameras. If you do not need to record and you only want to view images from network cameras, there is no need to configure the recording settings. |

|
When using Nekaroku, the recording settings for Nekaroku must be configured on the Nekaroku side. Please note that the recording settings on this settings screen (such as checking "Record") and the recording timing settings are recording settings for the video recorder function and are not linked to the recording settings on the Nekaroku side. For details on linking with Nekaroku, please refer to "Linking with Mitsubishi Electric's "Nekaroku"". |

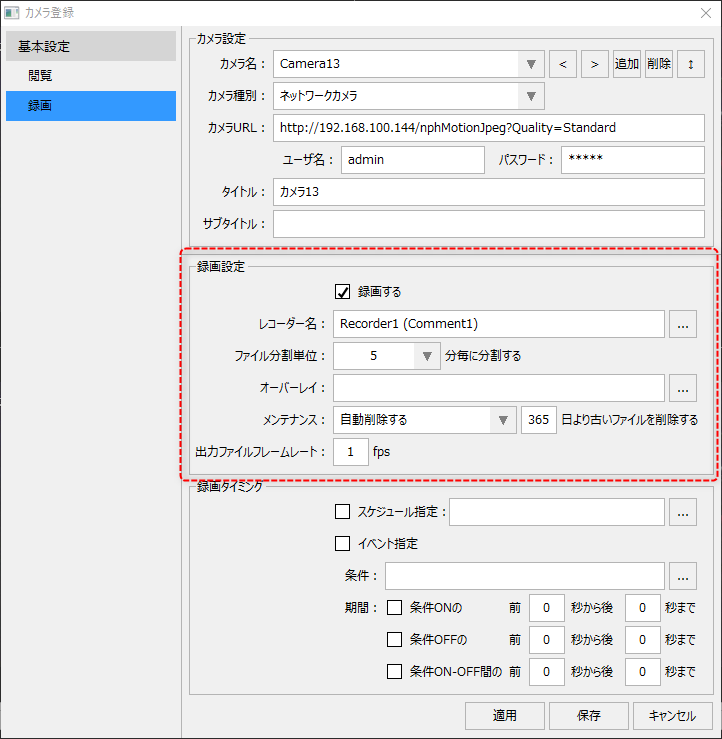
In the Recording Settings on the Recording tab, you can select the recorder to which the camera is assigned, set the frame rate and division unit of the recorded video file, the number of days to store, etc.
|
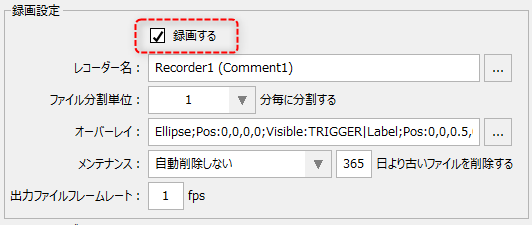
To include this camera in the recording list, check "Record."
|
■ Recorder selection
|
There is an important concept of a "recorder" in recording. For more information about the concept of recorders, please refer to "About Recorders and Recorder Terminals" in the Surveillance System Construction Guide. |
In the recorder name setting, you register/select the recorder to perform recording. A "recorder" is a concept similar to a group that logically bundles together cameras in the recording process of a video recorder, and in the actual recording process, a PC that performs the process is assigned to each recorder, and the recording process of each camera belonging to the target recorder is performed on that PC. Therefore, a camera that records must belong to one of the recorders.
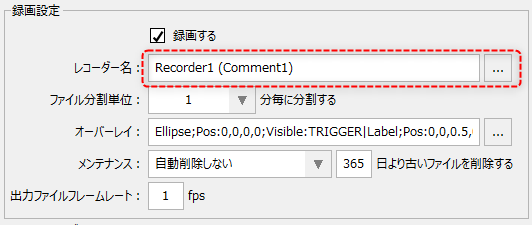
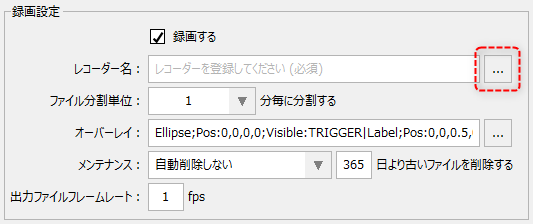
Click the Settings button to the right of the recorder name and the Recorder Registration dialog will pop up.
(Recorder registration dialog)
|
If a recorder is already registered, select the name of the recorder to which the camera you are configuring will belong and click the OK button.
To add a new recorder, click the Add button to register a new recorder. For instructions on how to register a new recorder, see "Recorder Registration" in the Video Recorder Settings.
|
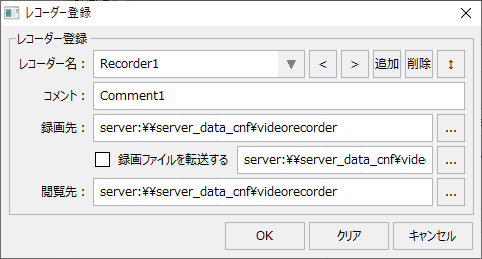
■ Setting the file division unit
The recording file will be split into files according to the minutes specified in the file split unit and saved.
|
The file will be divided and saved at the specified time (minutes). You can select "1", "5", or "10" from the combo box. You can also edit the value directly.
Furthermore, when viewing a recorded video, the most recent file that is currently being recorded cannot be opened and played.Therefore, please be careful not to set the number of divisions to a too large value (i.e., a long time), as this will result in a long period of time when the content cannot be viewed.
|
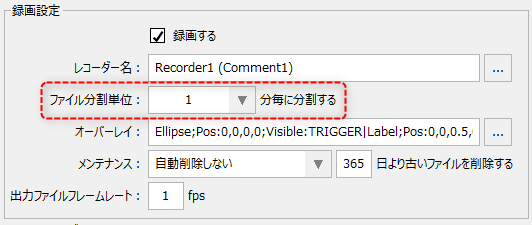
■ Overlay settings
By setting an overlay, you can overlay a lamp shape or any text on the video you are recording.
The text can be any string, and can also include tag values or the date and time of recording.
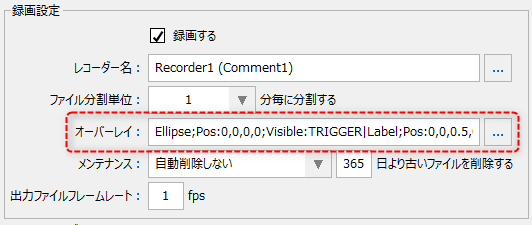
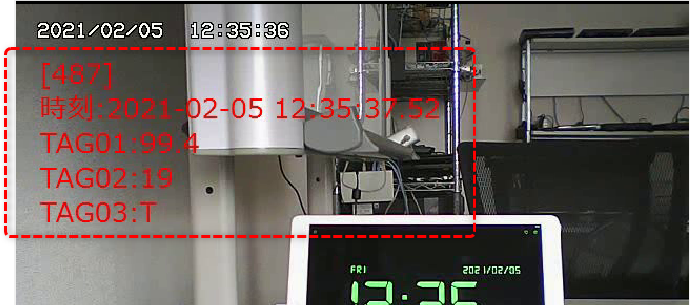
Below is an example of the text displayed:
|
In the example on the left, the counter is displayed on the first line and the time on the second line. In addition, the values of three tags are displayed from the third line onwards.
*Note: The date and time displayed in white at the top of the example on the left is displayed on the video by the network camera's own function and is not an overlay. |
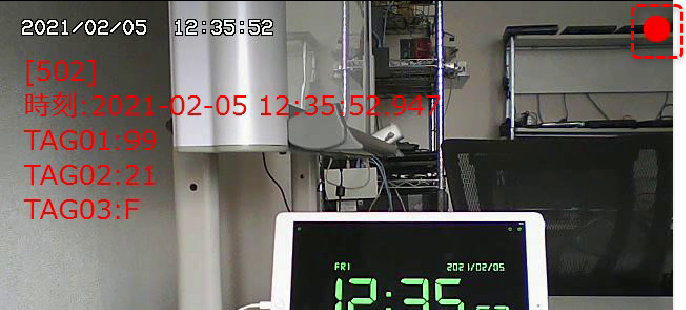
Below is an example of the trigger lamp being displayed.
|
In the example on the left, a lamp is displayed in the upper right corner of the video when a trigger occurs.
For example, if you set the event to record between the condition ON-OFF and the period to record 10 seconds before and after the condition occurs, the lamp will only be displayed on the recorded video while the condition ON is true (the lamp will not be displayed for 10 seconds before and after the condition is not true). This function is useful when you want to visually know when the condition was true when playing back and monitoring videos recorded with the event specification.
|
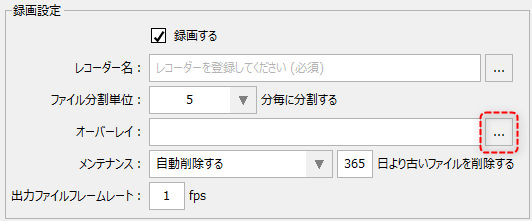
To configure the overlay, click the settings button below.
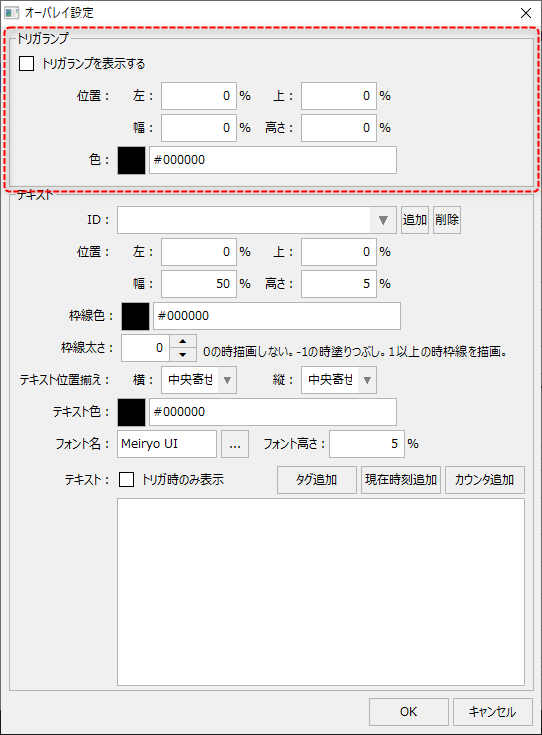
This will display the following settings dialog:
|
The trigger lamp display settings are made in the area shown on the left.
Below is an example of setting it to display in red in the upper right corner.
(Example of actual display)
|
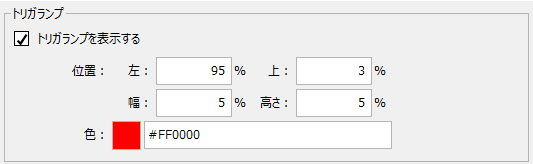
|
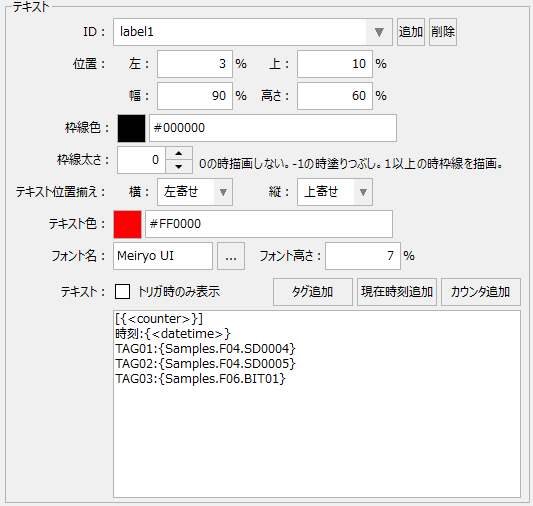
The text display settings are done in the area on the left.
|
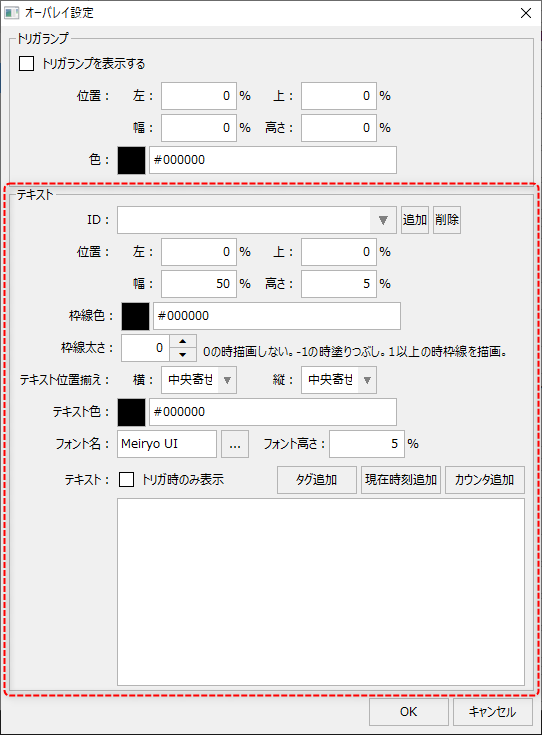


You can directly edit the text display format in the edit box at the bottom of the settings dialog.
|
The string entered here will be displayed as text. You can also break the text and display it on multiple lines.
|
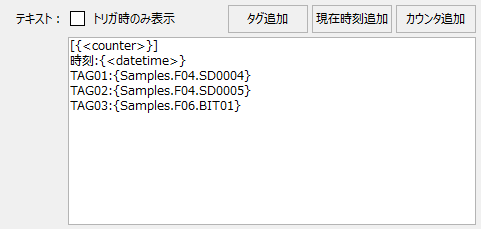
Using the buttons at the top of the edit box, you can embed the following information at the cursor position (formatting enclosed in curly brackets {} as shown below will be replaced and displayed at runtime).
|
Click the Add Counter button and add the format { The counter starts at 0 and increments by one every frame. |
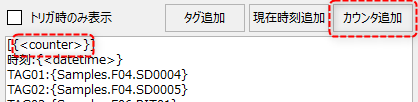
|
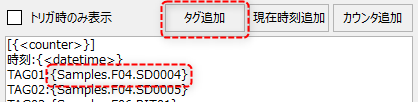
Clicking the Add Tag button will display the tag selection dialog. The tag selected in the dialog is added to the cursor position in the tag display format {tag path}. By defining it in this way, you can display the tag value embedded in the text. |
|
Clicking the Add Current Time button will add the format { |
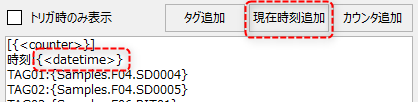
Below is an example of a text definition that displays the time, counter, and tag. In this example, the text is displayed in red.
|
When executed, text such as "Time:" and "TAG01:" will be displayed as is, and you will see that the tag path and datetime embedded above are dynamically replaced and displayed.
(Example of actual display)
|
■ Maintenance settings
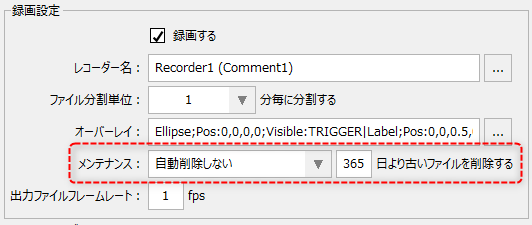
Maintenance settings are related to the automatic deletion of video files.
|
This setting can be selected from the following:
|
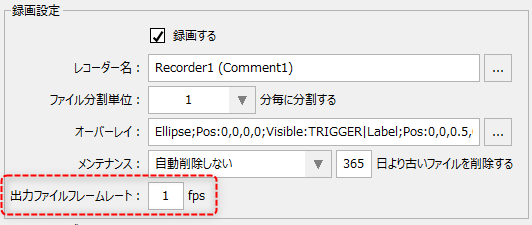
■ Output file frame rate setting
The output file frame rate setting determines the frame rate of the video you want to record (fps.Frames per second).
For example, 1fps means one frame will be recorded per second.
|
The minimum value that can be specified for recording fps is "0.5". If a value smaller than that is set, recording will be at 0.5 fps.
Please adjust the value specified for the recording fps based on the allowable file size and the performance of the camera itself (frame rate, etc.). For example, if the camera's playback frame rate is 1 fps (once per second), specifying a large value such as 25 for the frame rate will result in the file size becoming unnecessarily large by simply saving the same image repeatedly. |