Creating a new standard project
The following explains how to create a new project that includes the demand monitoring function by using the wizard function of the standard framework.
For detailed instructions on creating a standard project using the wizard, please refer to "Creating a Standard Project".
|
The standard project comes with samples, which you can open in Panel Editor. For more information on how to open the samples, see "Frame Library Help/About the Samples". |

■ Work procedure
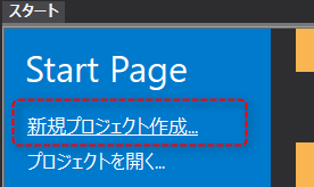
1.From the start page, select "Create a new project"
From the Panel Editor start page, click "Create New Project."
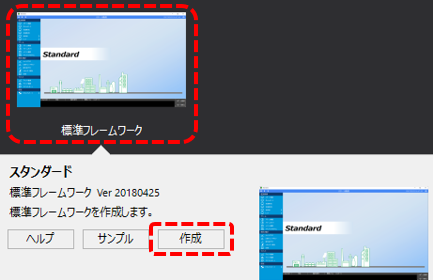
2.Select the standard framework and open "Create"
Click "Standard Framework" from the list displayed on the start page, and then click the "Create" button displayed at the bottom of the screen.
3.Setting the display style of the project's basic information and display frame
Follow the on-screen instructions to set basic project information (project name, project folder, etc.).
4.In the Select standard features to include in your project section, select the features you want.
You can select the features you want to include in your project from the selection screen below.
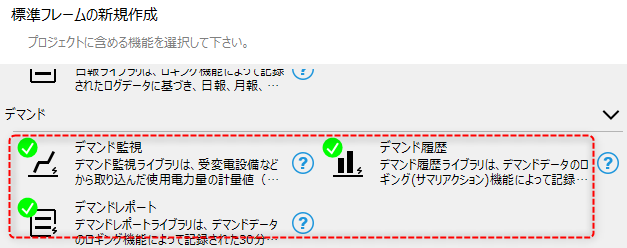
You can include features in your project by checking the features you want to include in your project.
(enabled state)
|
(Disabled state)
|
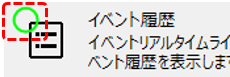
In this example, check "Demand Monitoring," "Demand History," and "Demand Report," then click the Finish button.
If you view the automatically generated project in the Panel Editor workspace tree, you can see that it contains the following folders:
|
_Demand...Demand monitoring screen _DemandHistory ・・・Demand history screen _DemandSummary...Demand report screen
|
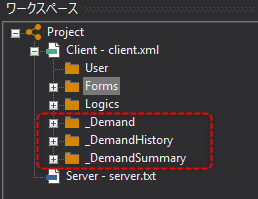
Server settings for standard projects
■ Demand function actions
The standard project generated by the above procedure has the following actions predefined:
|
Demand actions are pre-registered under the Demands folder of the action, as shown on the left. This action performs demand monitoring. |
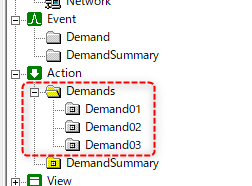
|
In addition, the "DemandSummary" summary action is registered. This action is a summary action registered for demand history and demand reports. It logs demand history and performs daily reports in 30-minute intervals. If you do not use demand history or demand reports, there is no need to register this action. |
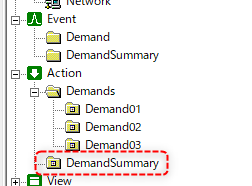
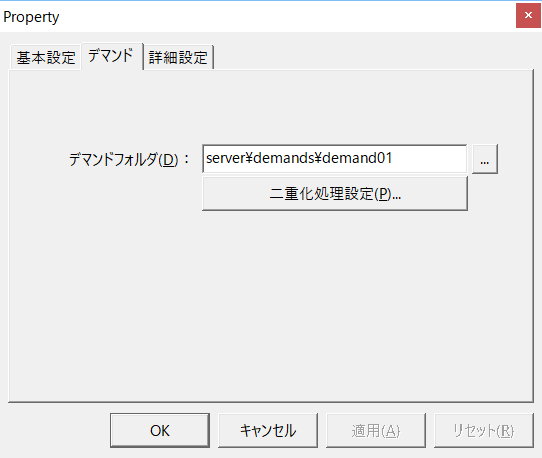
Furthermore, the configuration of the demand action itself is extremely simple; you just need to specify a "demand folder" to store the demand setting information.
Please prepare a dedicated demand folder for each demand action and do not mix it with other files.
(Demand action settings dialog)
■Events related to the demand function (Demand folder)
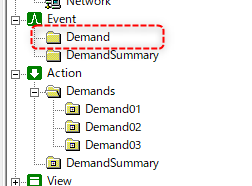
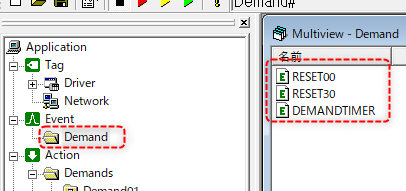
Under Events, events related to demand monitoring are registered together in the "Demand" folder.
First, three events are registered in the Demand folder: "DEMANDTIMER", "RESET00", and "RESET30".
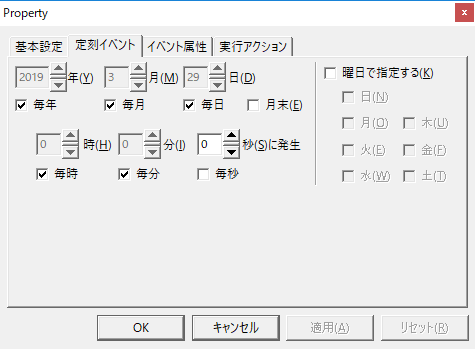
DEMANDTIMER is a Scheduled event set to occur at 0 seconds every minute.
The execution action of this event is set to call each demand action.
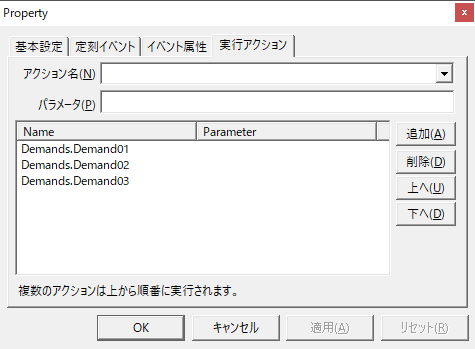
This Scheduled event is the update cycle of the demand graph. Therefore, by default, the update cycle is 1 minute, at 0 seconds per minute.
In addition, the event setting that serves as the update cycle for the demand action must be set to an appropriate cycle depending on how often the value of the counter tag of the measurement value to be monitored is updated.
For details about the update cycle, please refer to "About the update cycle of the demand graph".
And RESET00 and RESET30 are Scheduled event that occur at 0 minutes past the hour and 30 minutes past the hour. The execution action of this Scheduled event is set as follows:
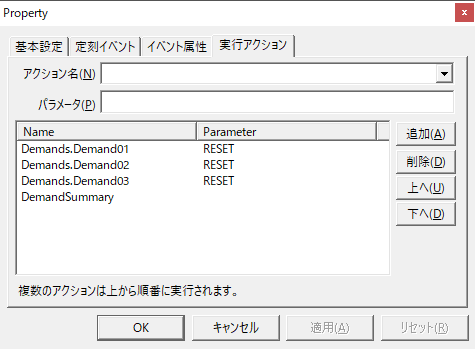
The demand cycle is reset by passing the "RESET" parameter to the demand action.
For details on the reset process, please refer to "About the demand cycle reset process".
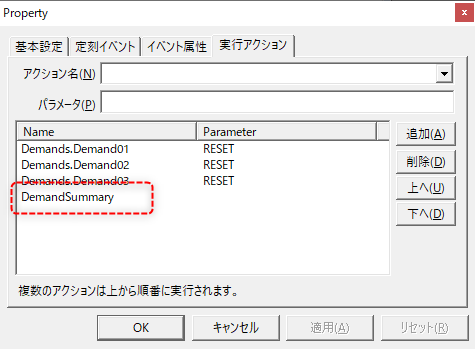
Also, after a reset, the summary action "DemandSummary" is set to be called. This summary action logs and aggregates the demand history.
|
The "RESET00" and "RESET30" events registered in the Demand event folder have the DemandSummary action call registered for use in demand history and demand reports.
If you do not use the demand history or demand report screen libraries, there is no need to call this DemandSummary. If you do not use this function, delete the DemandSummary action call from the execution action of the "RESET00" and "RESET30" events.
(Execution action for RESET00 and RESET30 events)
|
■Events related to the demand function (DemandSummary folder)
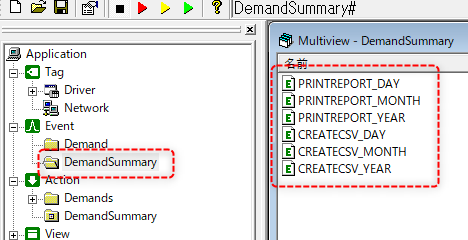
The following Scheduled event is registered in the "DemandSummary" folder.
These Scheduled event implement the automatic printing of demand reports and the automatic CSV output function.
What happens |
Scheduled event name |
Default setting date and time |
Automatic daily report printing |
PRINTREPORT_DAY |
Everyday at 00:05 |
Automatic monthly report printing |
PRINTREPORT_MONTH |
00:06 on the first day of every month |
Automatic printing of annual reports |
PRINTREPORT_YEAR |
Every year at 00:07 on January 1st |
Daily report CSV automatic output |
CREATECSV_DAY |
Everyday at 00:10 |
Monthly report CSV automatic output |
CREATECSV_MONTH |
1st of every month at 00:11 |
Automatic annual report CSV output |
CREATECSV_YEAR |
Every year at 00:12 on January 1st |
For details about the parameters for automatic printing and automatic CSV saving registered in the above events, see "Summary Action" in the Action Reference and "Demand Report" in the Library Reference.