overview
The easiest way to call graphic screens and standard functions in a standard project is to use a menu. However, if you do not want to use the standard menu for some reason, such as a user request, you can create a classic menu by placing common buttons at the top and bottom of the screen.
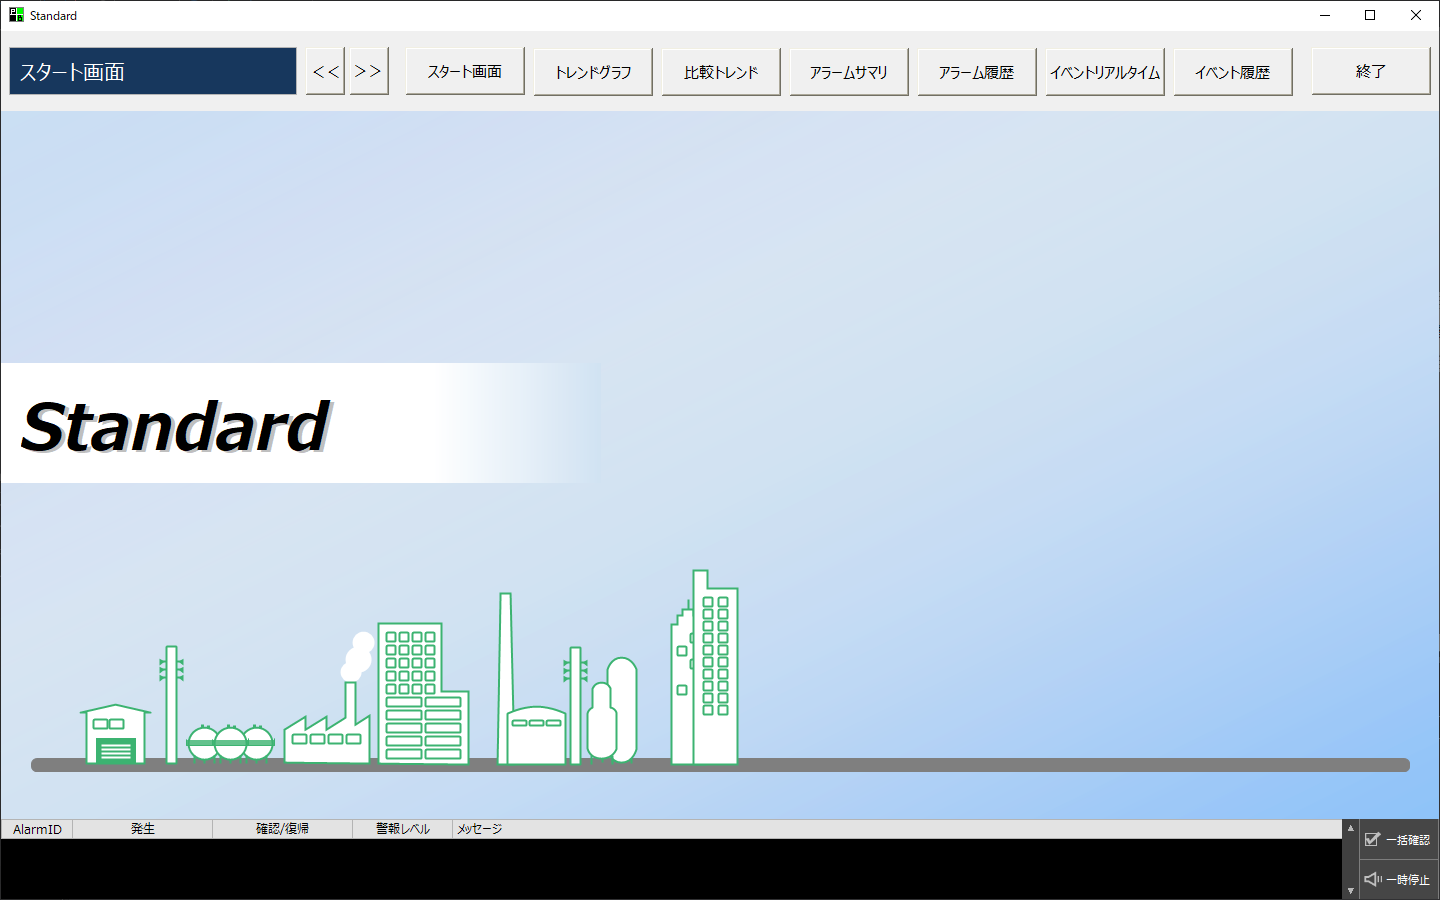
As an example, this section explains how to create a button-style menu like the one below by placing button components for screen display in the upper area.
(Example of placing the screen call button at the top of the screen)
Construction procedure (example)
Below is an example of the setup procedure.
■Settings example
1.Layout Settings
Ensure that Panel Server and Panel Browser are running online.
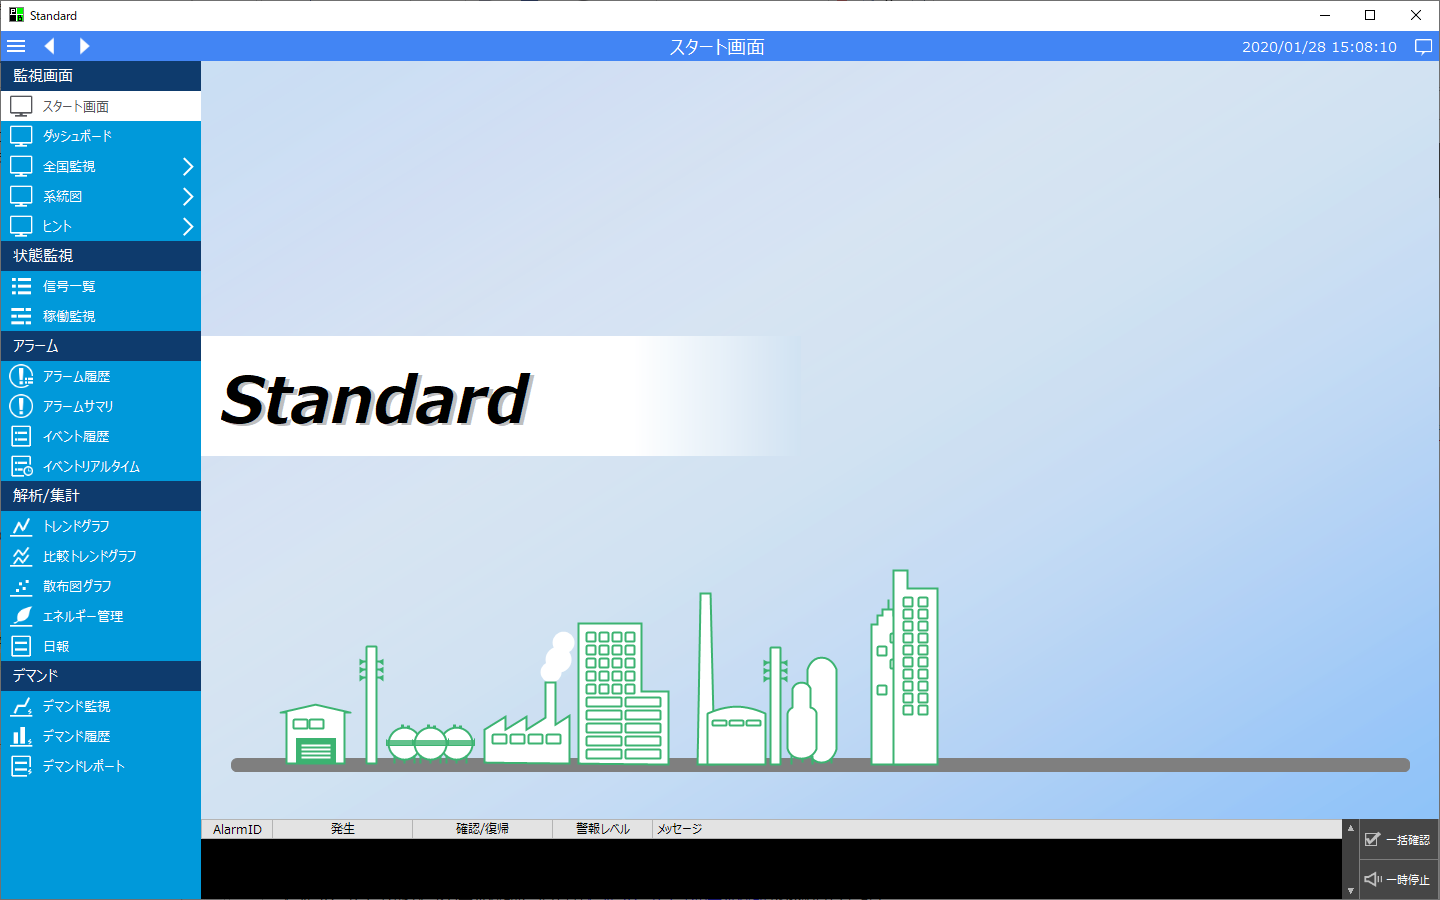
(Default state before layout change)
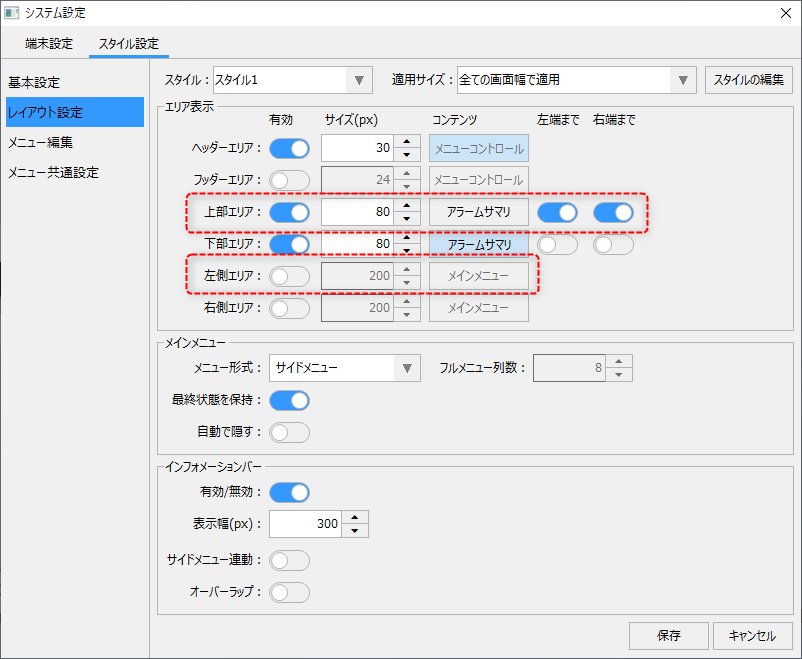
Display the system settings screen and change the "Area Display" layout settings as follows:
|
Setting contents
|
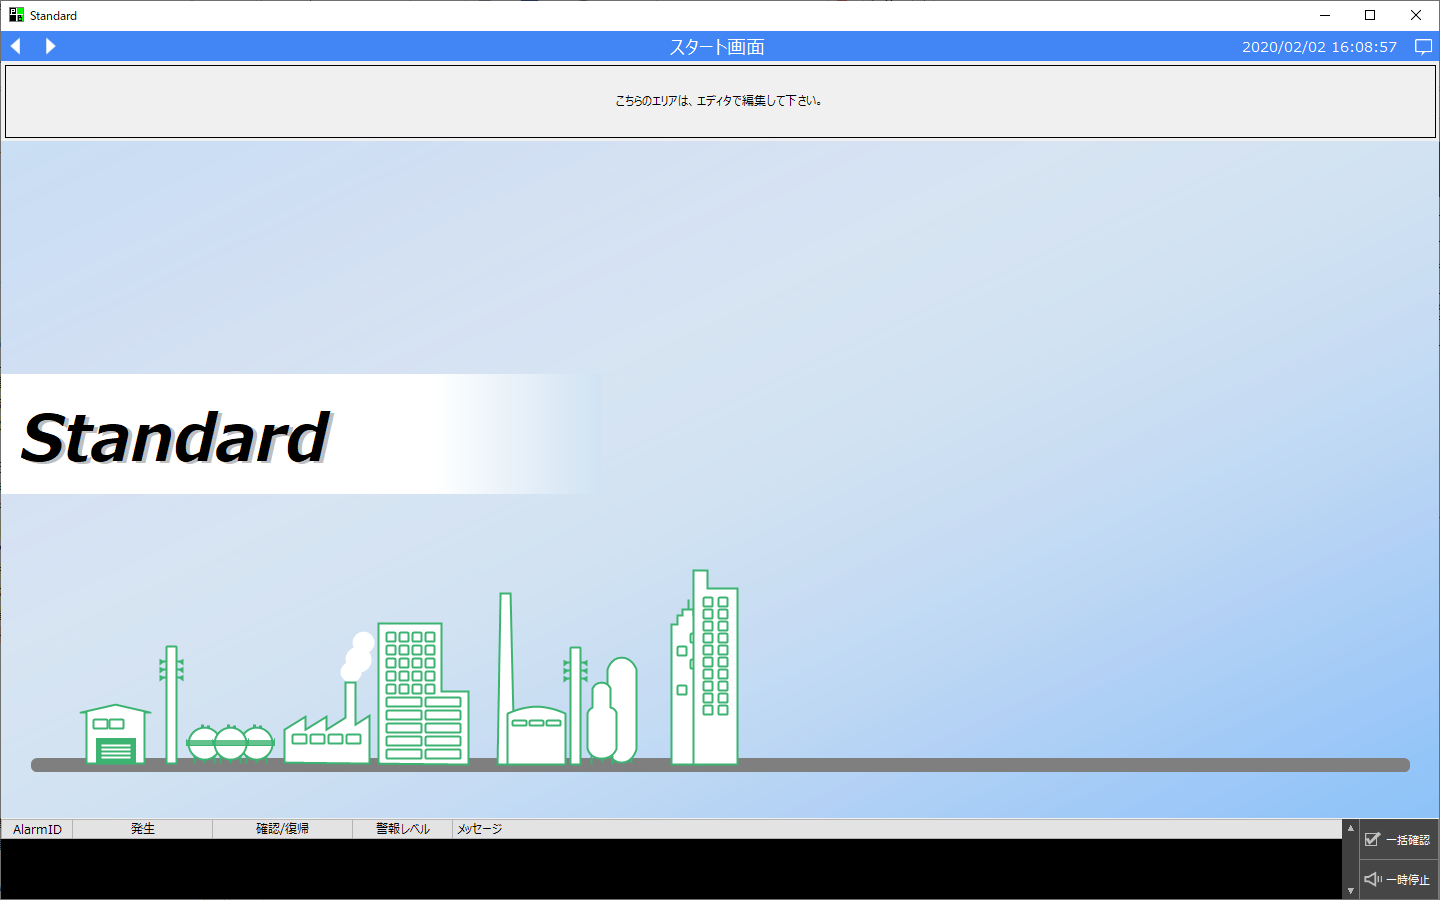
Then the screen display will change as follows:
(Example of display after change)
|
The menu icons in the header area and the menu on the left are hidden.
Also, a new area has been displayed between the header area and the main area. This area is the "upper area" that was previously hidden.
|
Please close Panel Browser for now.
2.Edit the actual form in the upper area
Next, edit the actual form in the upper area in Panel Editor and place a button to call up the screen.
From the left tree of Panel Editor, open the "_Forms" folder of client.xml and select the "frmTop" form.
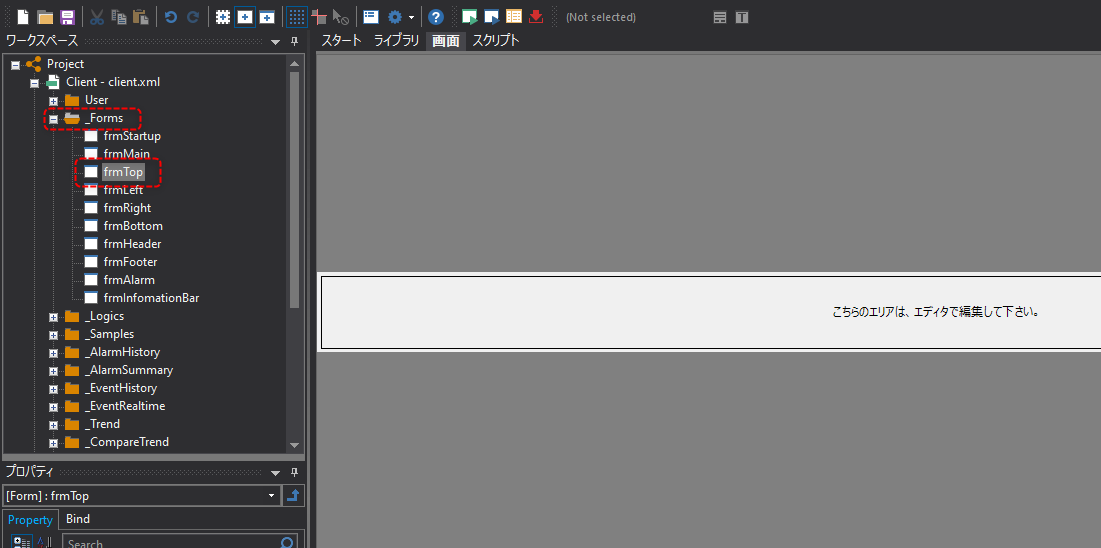
This "frmTop" form is the actual form that will be displayed in the top area. You can freely edit this form.
Paste a screen display part from the parts library onto this form and set it up to call up the screen. Note that the Rectangle control part in the center of the form that says "Please edit this area in the editor" is not necessary, so delete the rectangle before placing the button.
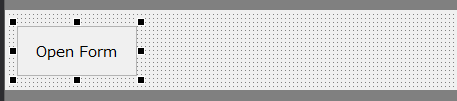
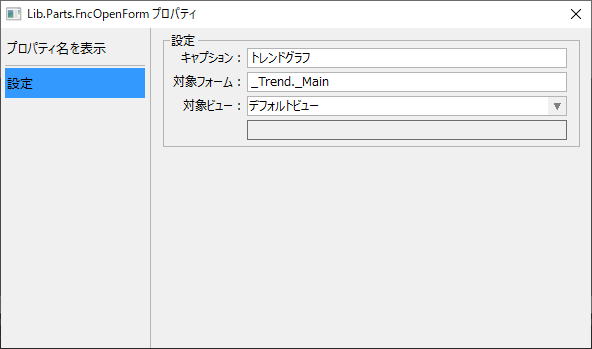
Below is an example of setting up a trend graph for a part.
Place screen display components as described above.
(Button layout example)

|
The following forms can be edited in the same way as above. For example, if you want to create your own menu on the left side of the screen, you can enable the display of the left area and create it by placing a screen call button, etc. in the "_Forms.frmLeft" form.
The above form size can also be changed to match the size of the actual form displayed during operation. When arranging buttons side by side in the upper or lower area, if the display width is insufficient compared to the actual display size, change it to match the actual size when displayed. For details, see "Match the form to the actual size of the main area" in the function explanation.
|

|
For details on how to call a screen library from a screen display component, see "Calling a Screen from a Screen Library" in the Screen Creation Guide. |
3.Operation check
Make sure Panel Server and Panel Browser are running online and verify that the edits you made above are reflected in the upper area.
(Display example)
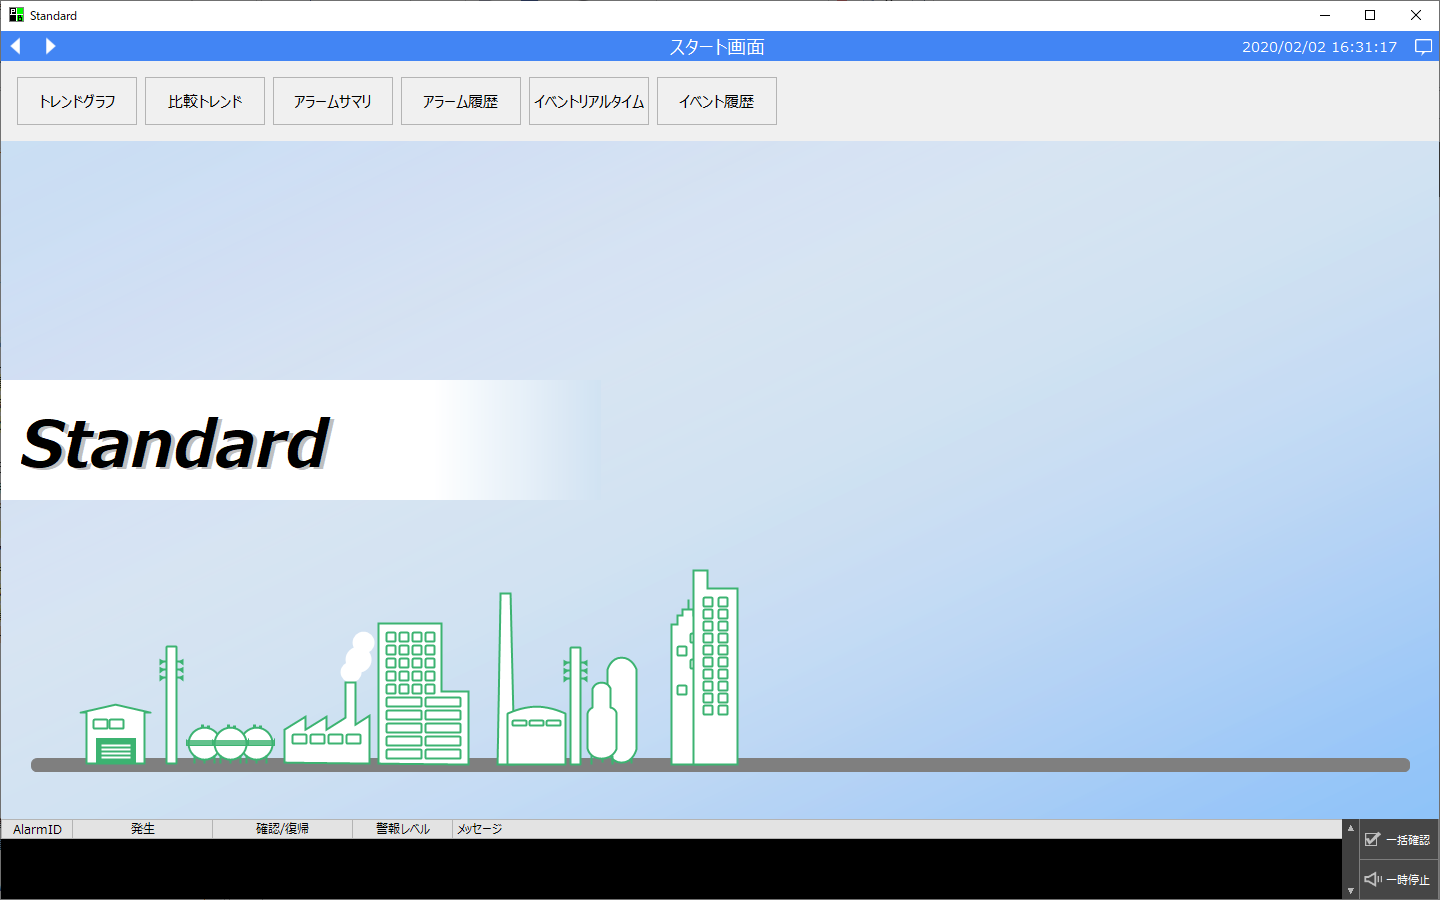
Click the buttons in the upper area to access the desired screen.
(Example of trend graph screen)
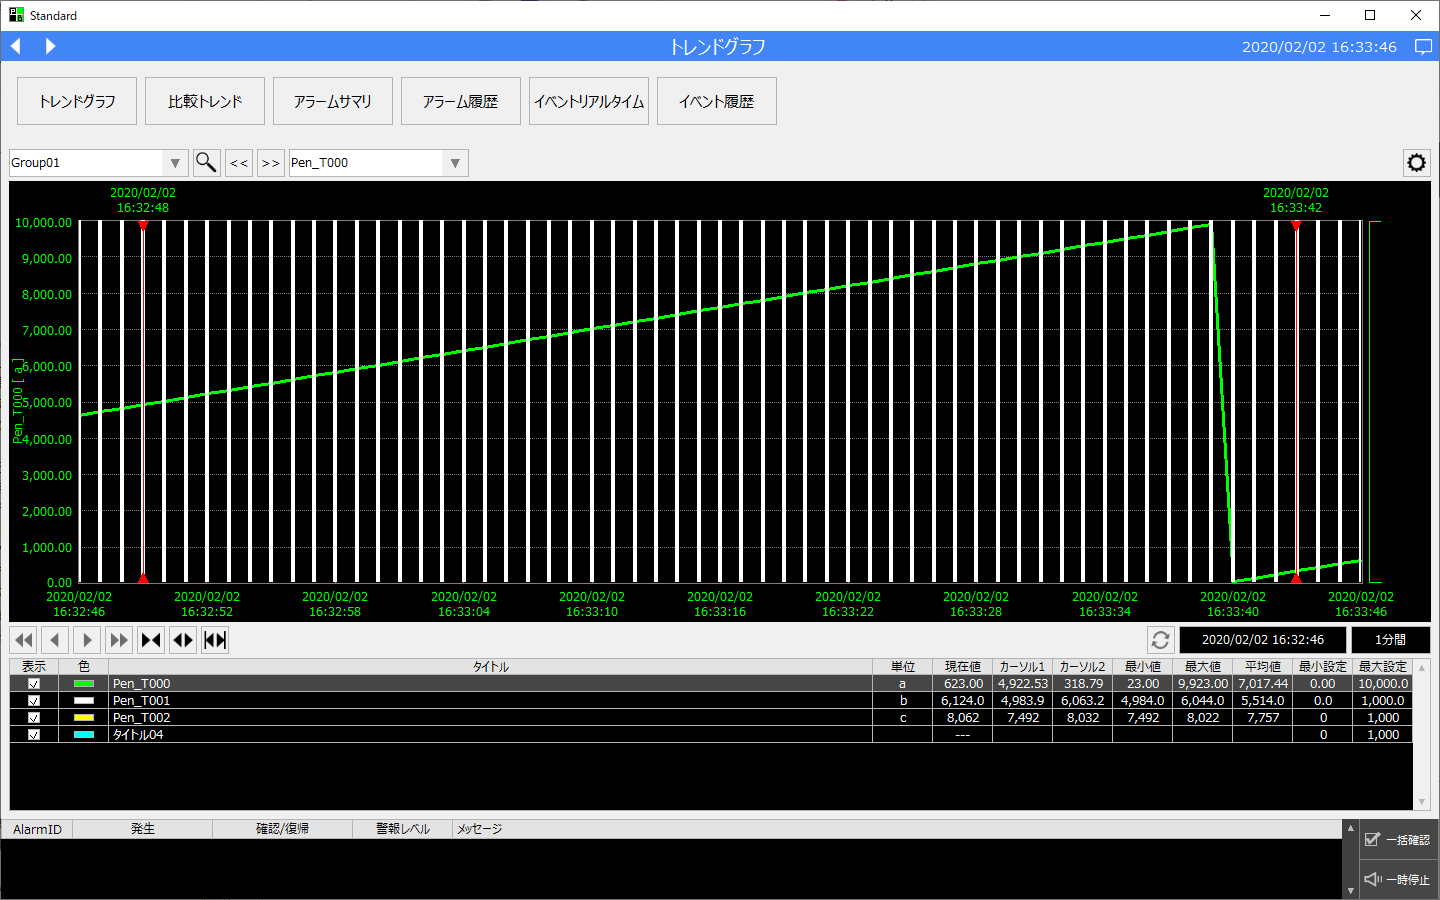
■ Application Examples
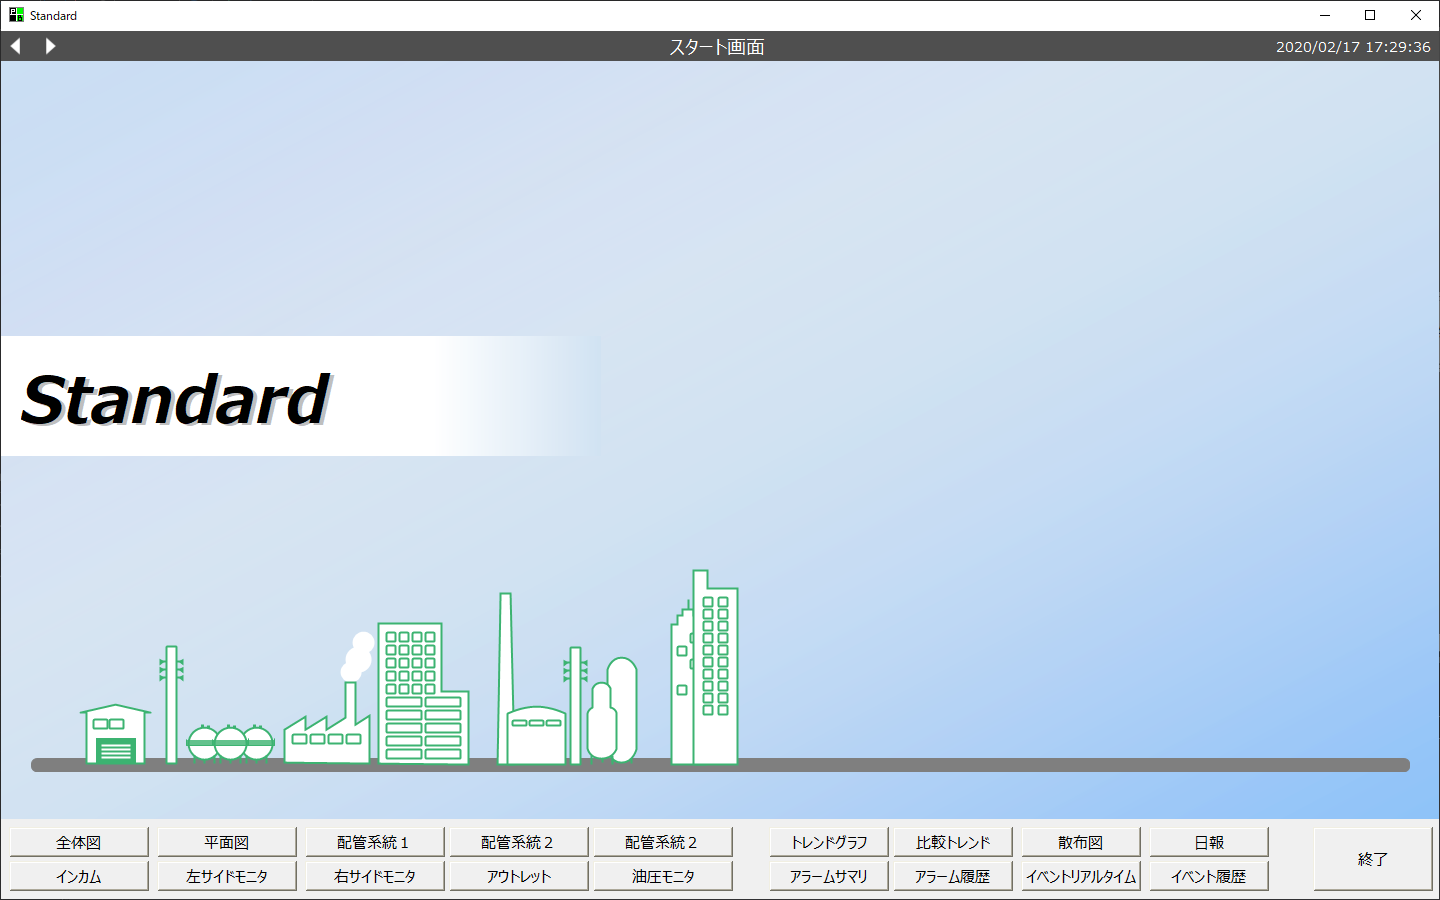
Below is an example in which the header area is hidden and the screen title is displayed, along with a previous screen button, next screen button, and exit button.
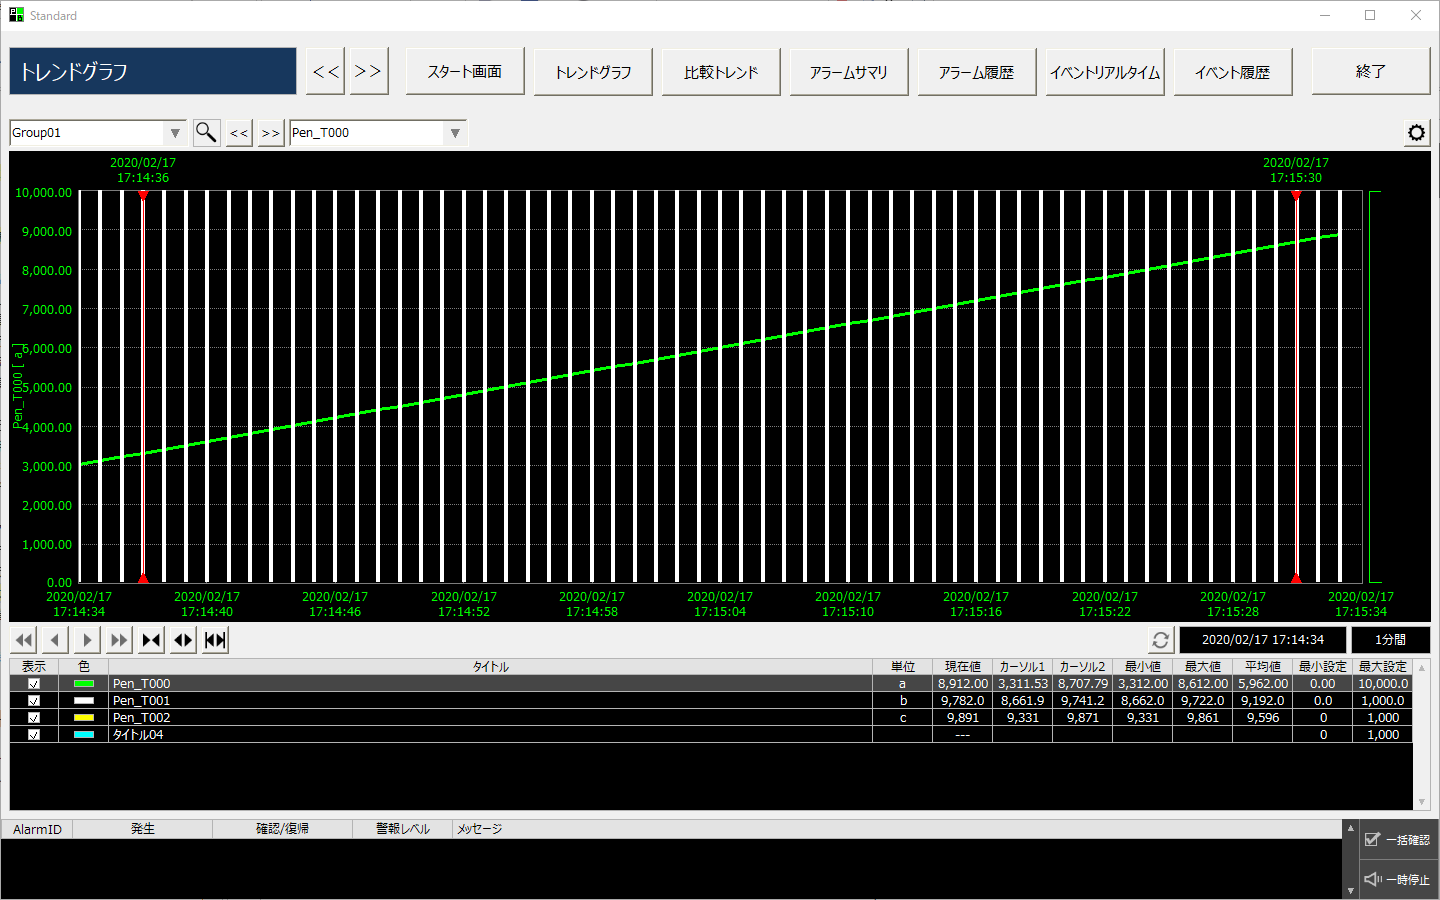
Configuration Example
•Hide the header area in the layout settings of the system settings. Also, in this example, change the theme to a "Gray 3D" theme.
•In the form at the top of the page, place a label to display the title, and bind the Text property to Browser tag "$#_sys._Common.Title". Change the display colors such as TextColor and FillColor according to your needs.
•Select and place a previous screen display button and a next screen display button from the parts library. Set the captions of each part to "<<" and ">>".
•Select and place an Exit button from the parts library. Set the caption to "Exit" and the confirmation screen display for the part to "Do not display." Also, set the AutoResizeX property of the Exit button to "RIGHT".
Below is an example of placing buttons in the other areas (note that the button placement, size, and color scheme are just examples. You can freely customize them).
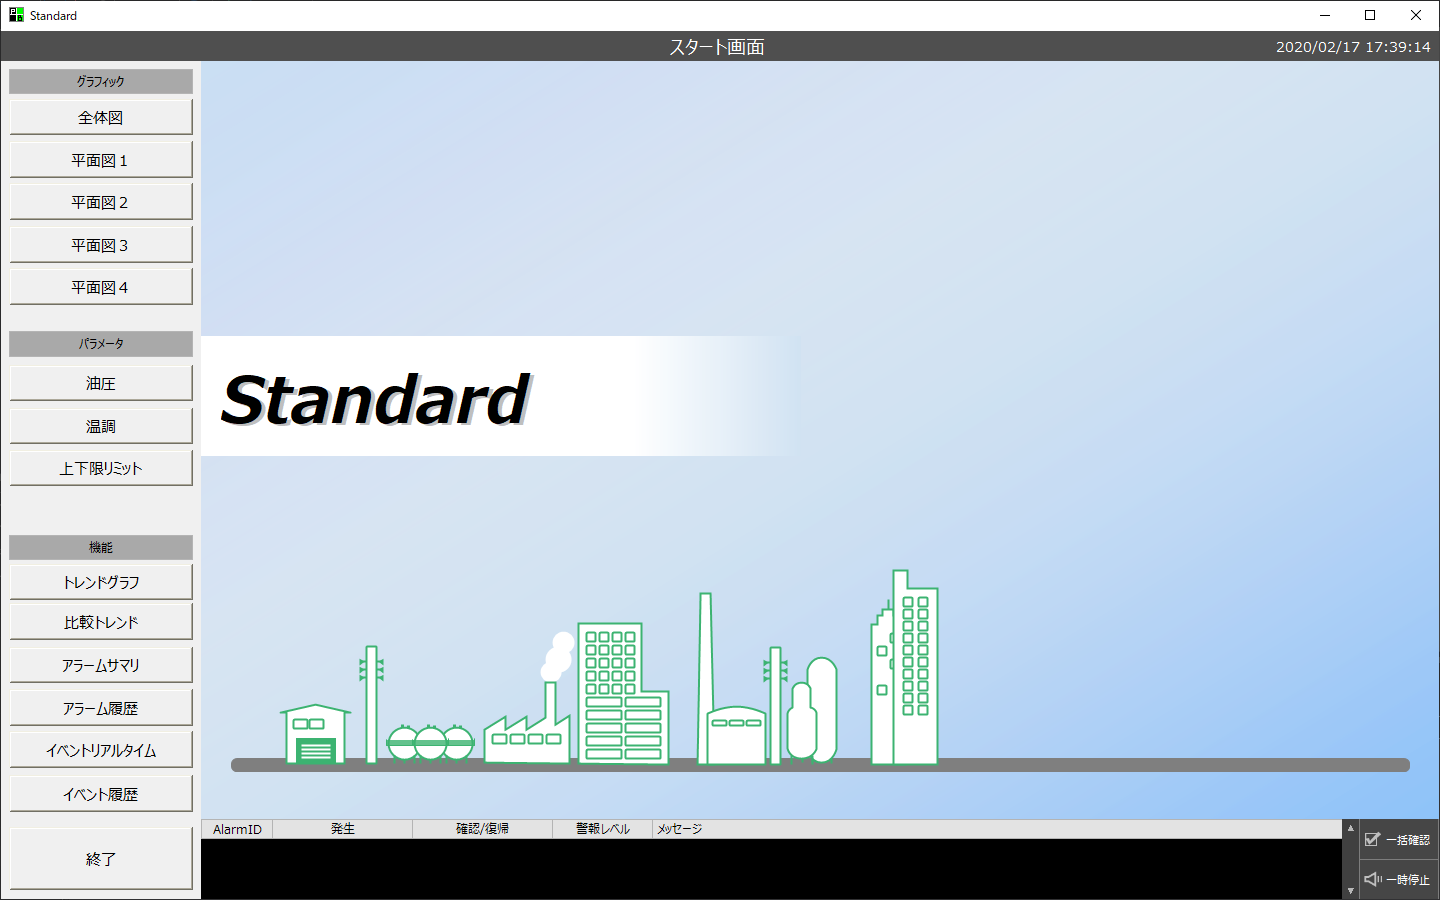
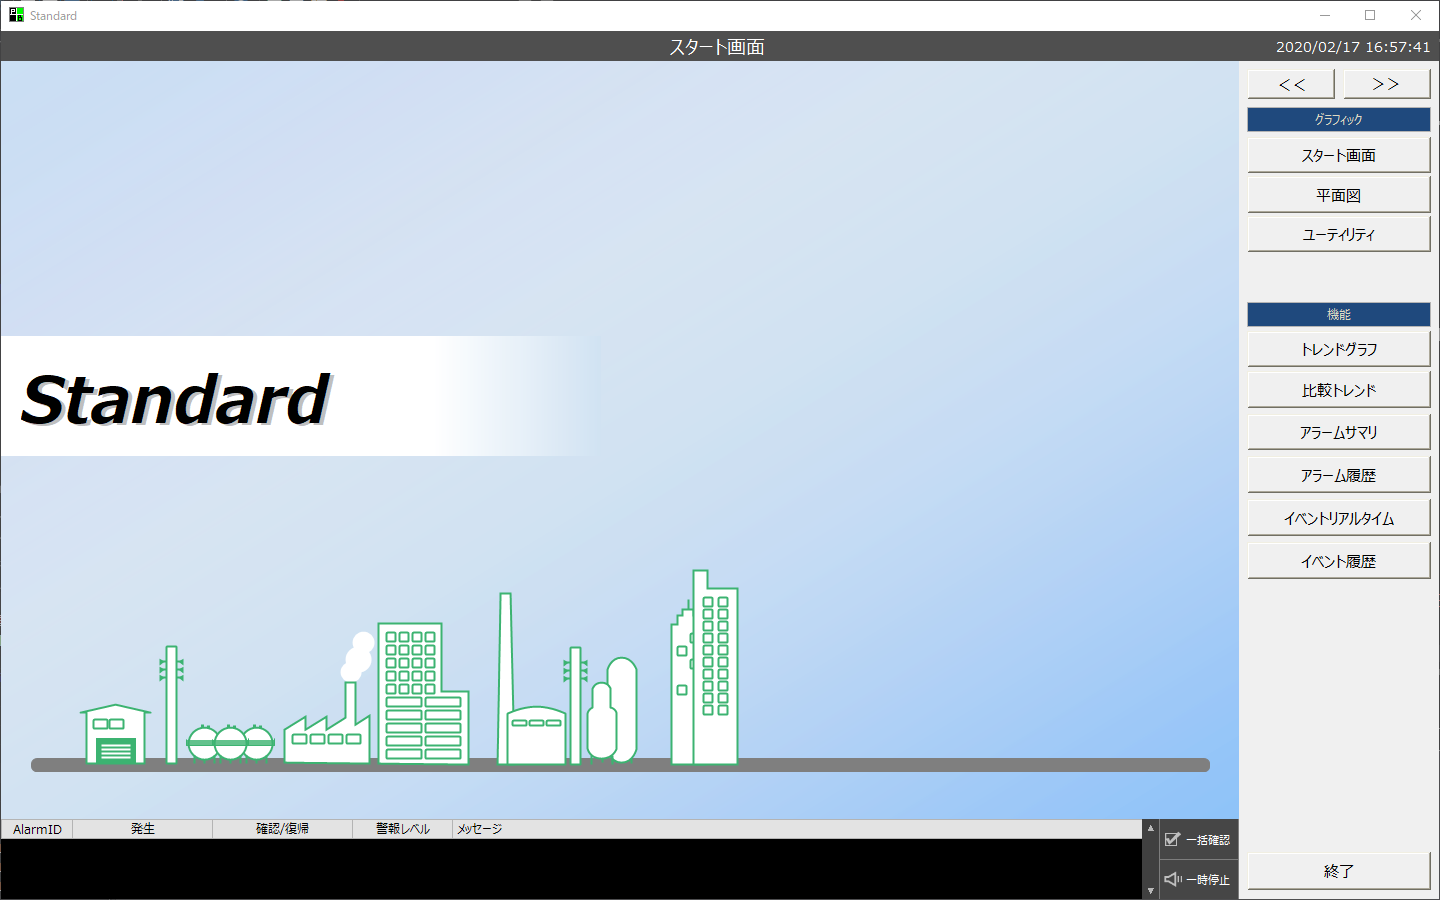
|
The title of the standard framework screen is stored in Browser tag "$#_sys._Common.Title". You can display the title of the screen by binding this tag to the Text property of a label, etc. |