Registering and editing user groups
The user's group information must be registered in the system in advance.
This section describes how to set up group registration.
■ Registering and editing user groups
To register or edit a user group, select the "User Management" tab on the System Settings screen and select "Group Registration" from the menu.
|
The screen shows the groups that have already been registered. You can change the group name, style, level, and access permissions from the screen.
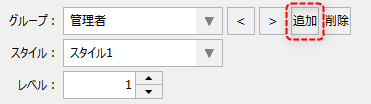
To add a new group, click the "Add" button to the right of the group selection combo box.
This will add a new group called "Group1".
|
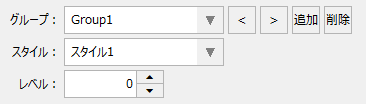
Specify any name for the group.
Select the style you want to apply to the group from the styles registered in the style settings of the system settings. By defining styles for each user group, you can dynamically switch the screen layout and menu items depending on the group to which the logged-in user belongs. For details on editing styles, see "Editing Layouts and Menus (Style Settings)" in the system settings of the standard project.
Any integer value can be set for the level. When a user logs in, the value set for the level of the group to which the user belongs is stored in the PSUserLevel root property and $USERLEVELBrowser tag. By referencing these from scripts or bindings, you can, for example, automatically control whether or not a button placed on a custom graphic screen can be operated (the button's Enabled property is enabled/disabled) depending on the level value of the currently logged-in user. Developers are free to decide how to handle the level value. For more information about user levels, see "Implementing logic based on user levels" in the function explanation.
■ Deleting a user group
Click the Delete button to the right of a group to delete the currently selected group.
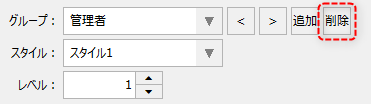
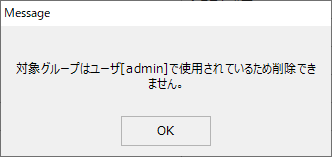
If the group you want to delete is already being used by a user, the following message will be displayed and the group cannot be deleted.
(Message that group cannot be deleted)
■Editing Access Permissions (Standard)
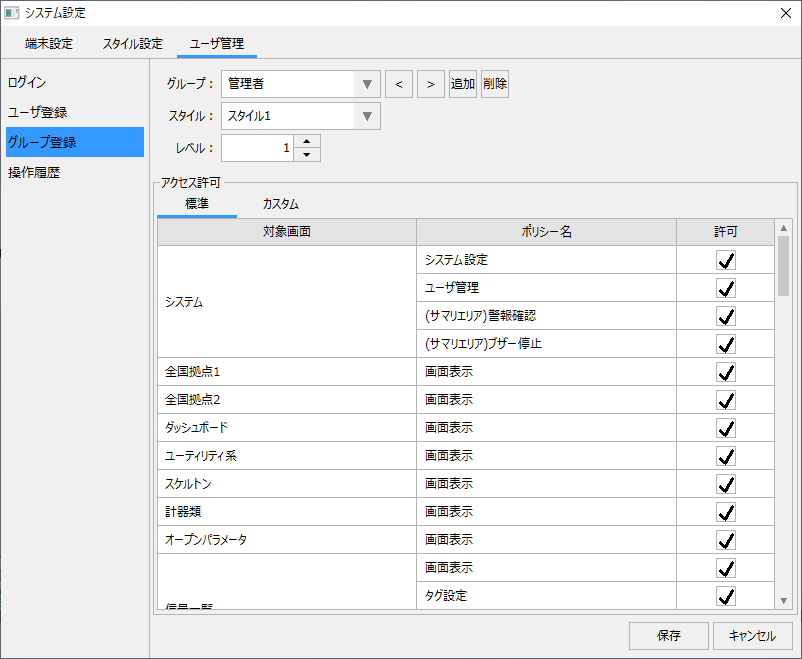
One of the important settings for a user group is the access permission setting, which is done from the access permission list in the center of the screen.
|
If you check the "Allow" column in the list from the Standard tab, the target screen and policy operations will be permitted.
|
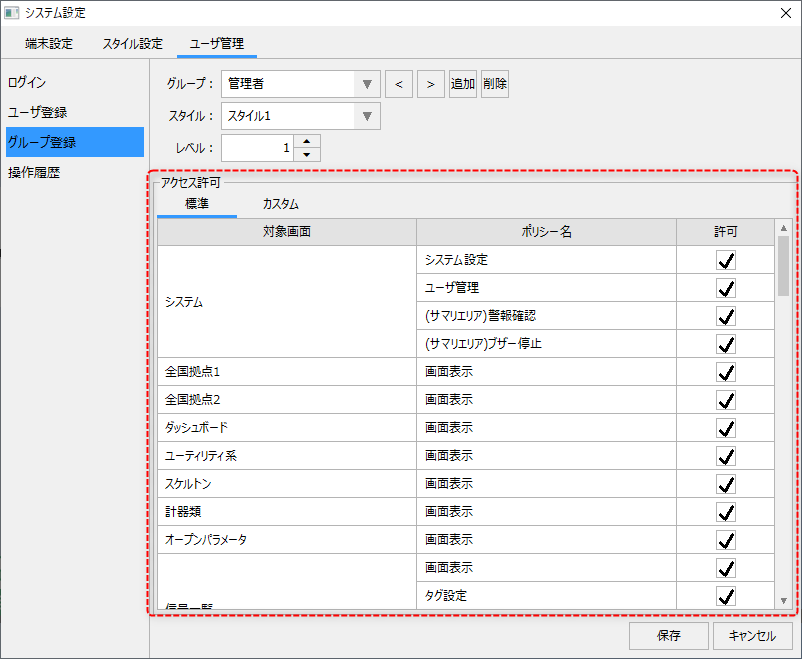
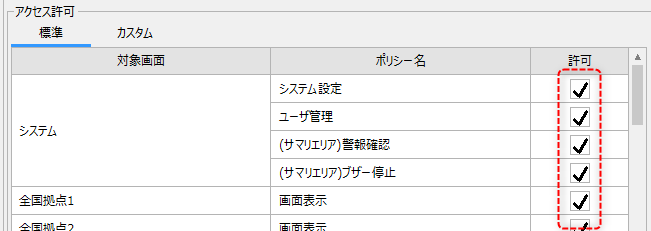
By configuring access permissions appropriately, you can restrict the use of functions depending on the logged-in user, or control access by preventing the screen from being displayed at all. For example, you can allow only users in a certain group to set trend pens, while prohibiting users in other groups from editing pens. For details about access permission policies, see "Access permission policy definition" in the function explanation.
■ Custom permissions for access permissions
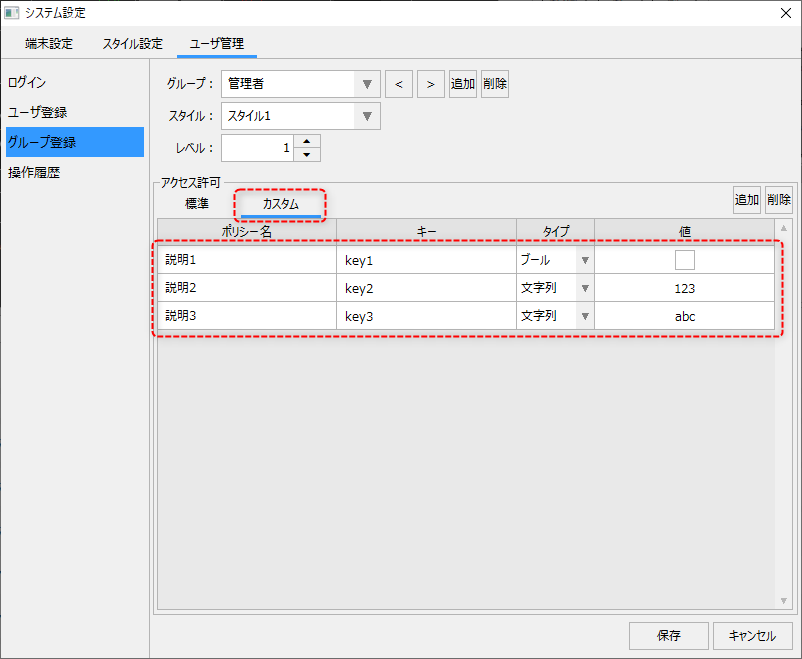
The access permissions have a tab called "Custom," which allows you to register your own access permissions.
|
This setting is used to register your own custom permissions that are not defined in the standard permissions. The unique custom permissions registered here can be retrieved from scripts and used for various processing decisions.
For information on how to register and use custom permissions, please refer to "Custom permission settings for access permissions" in the function explanation.
|